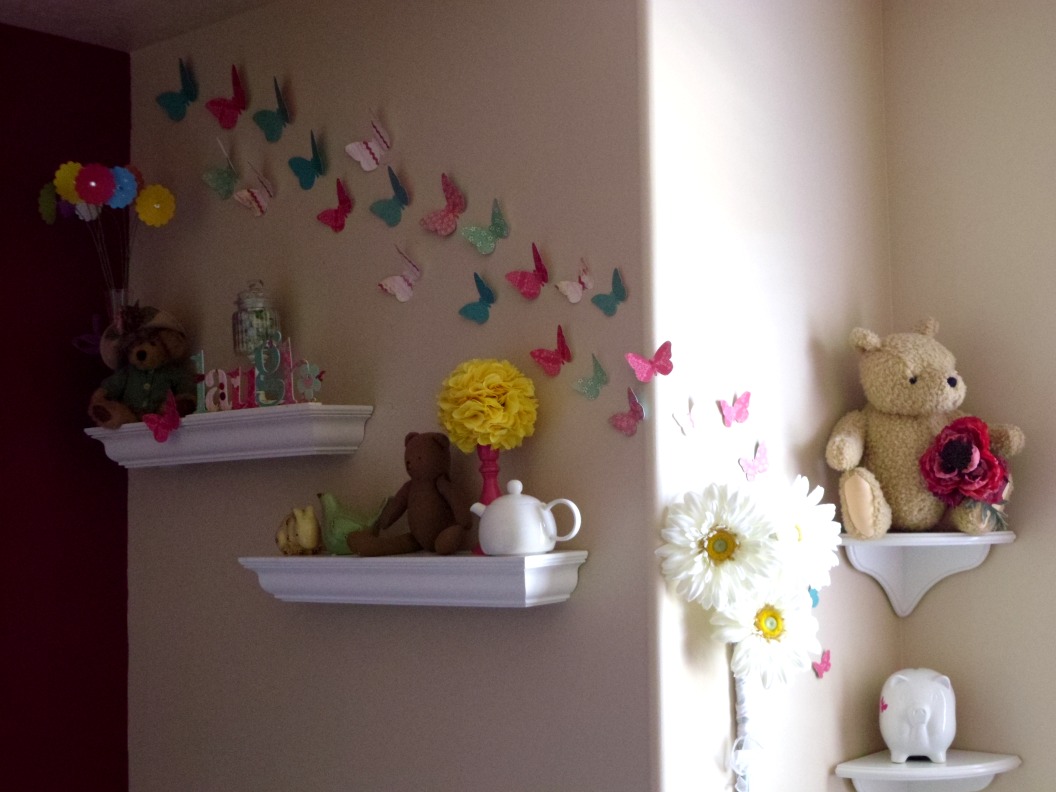
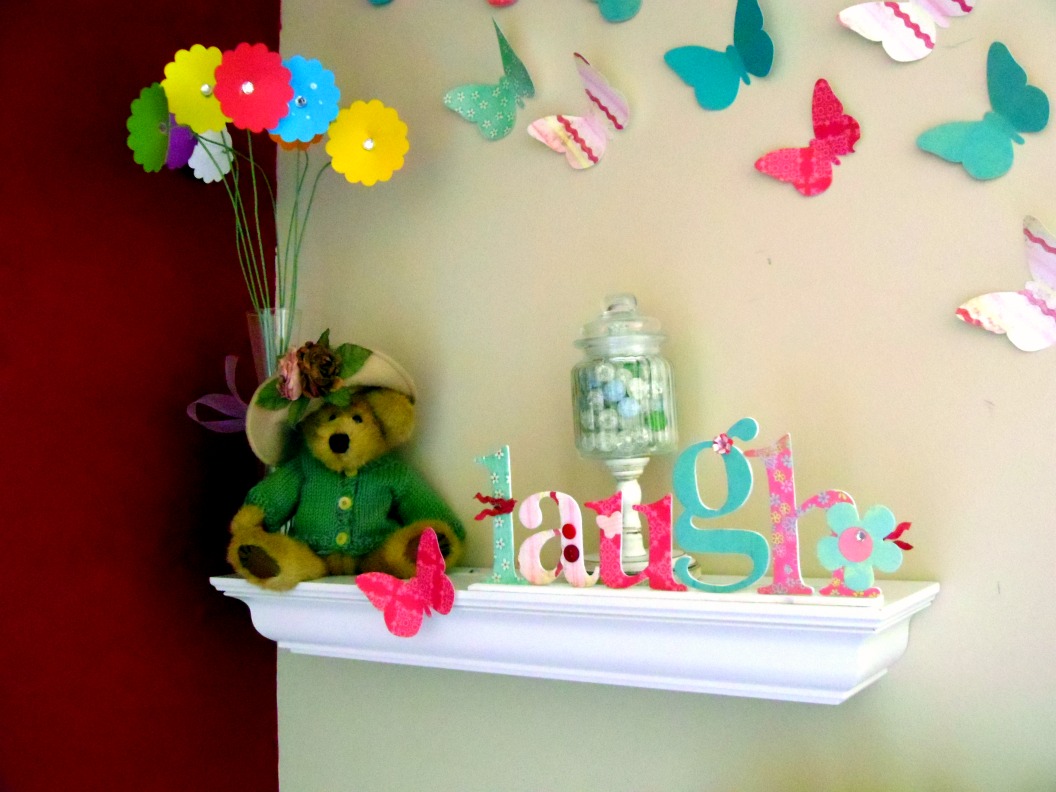
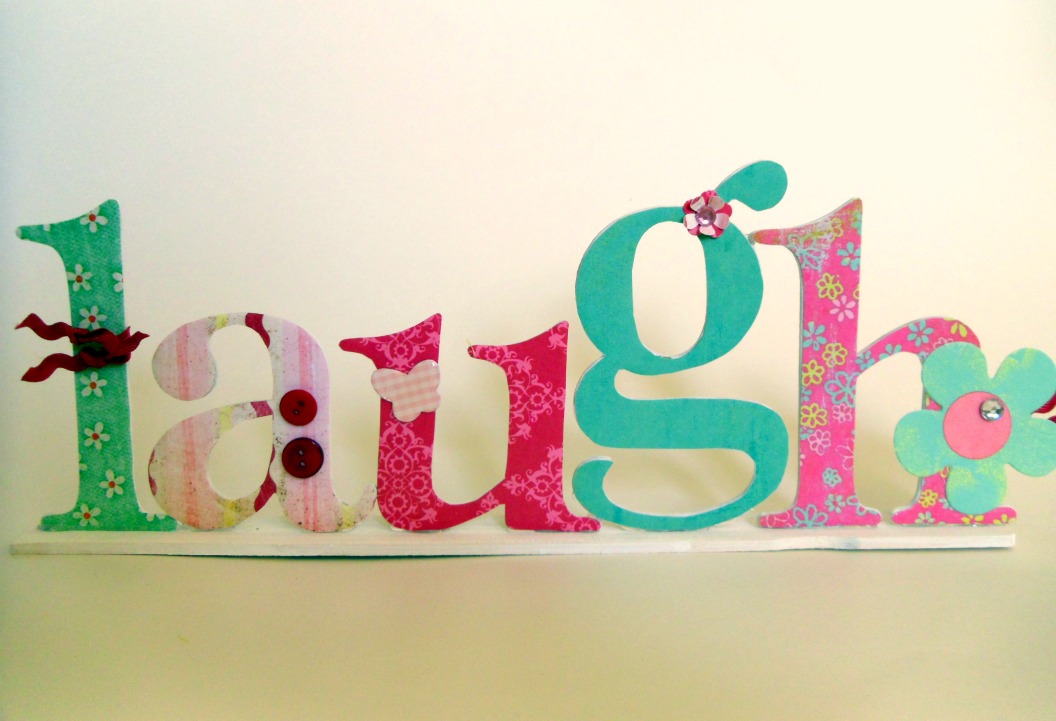
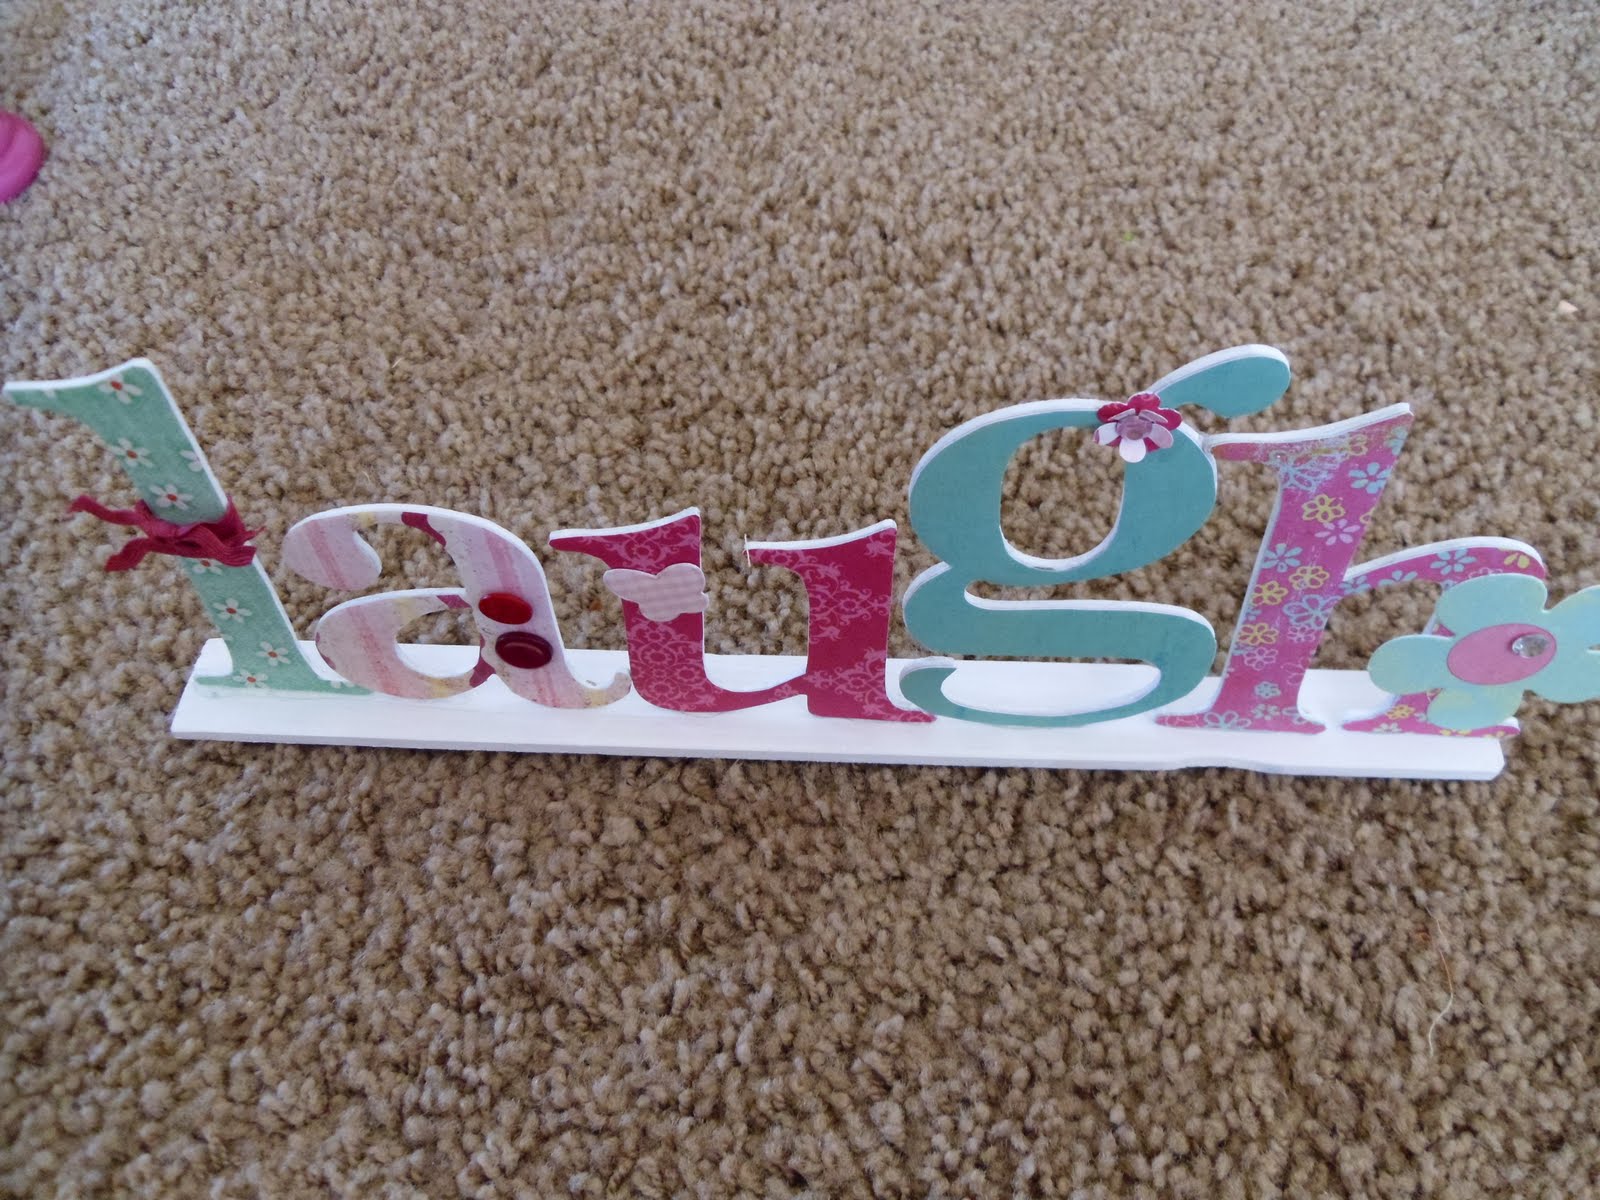
Here’s a close up of the first shelf. I have a tutorial on how to make the laugh sign at the end of the post. The jar is hot glued onto a wood candlestick and filled with marbles I got from my mother-in-law that she got from her grandfather- so they’re my daughter’s great-great grandfather’s marbles, kind of fun. The bear is from my mom and my daughter made the flowers for me for Mother’s Day. I cut out tons of butterflies using my Cricut in sizes ranging from 1 1/2″ to 3″. I stuck them to the wall using poster putty.
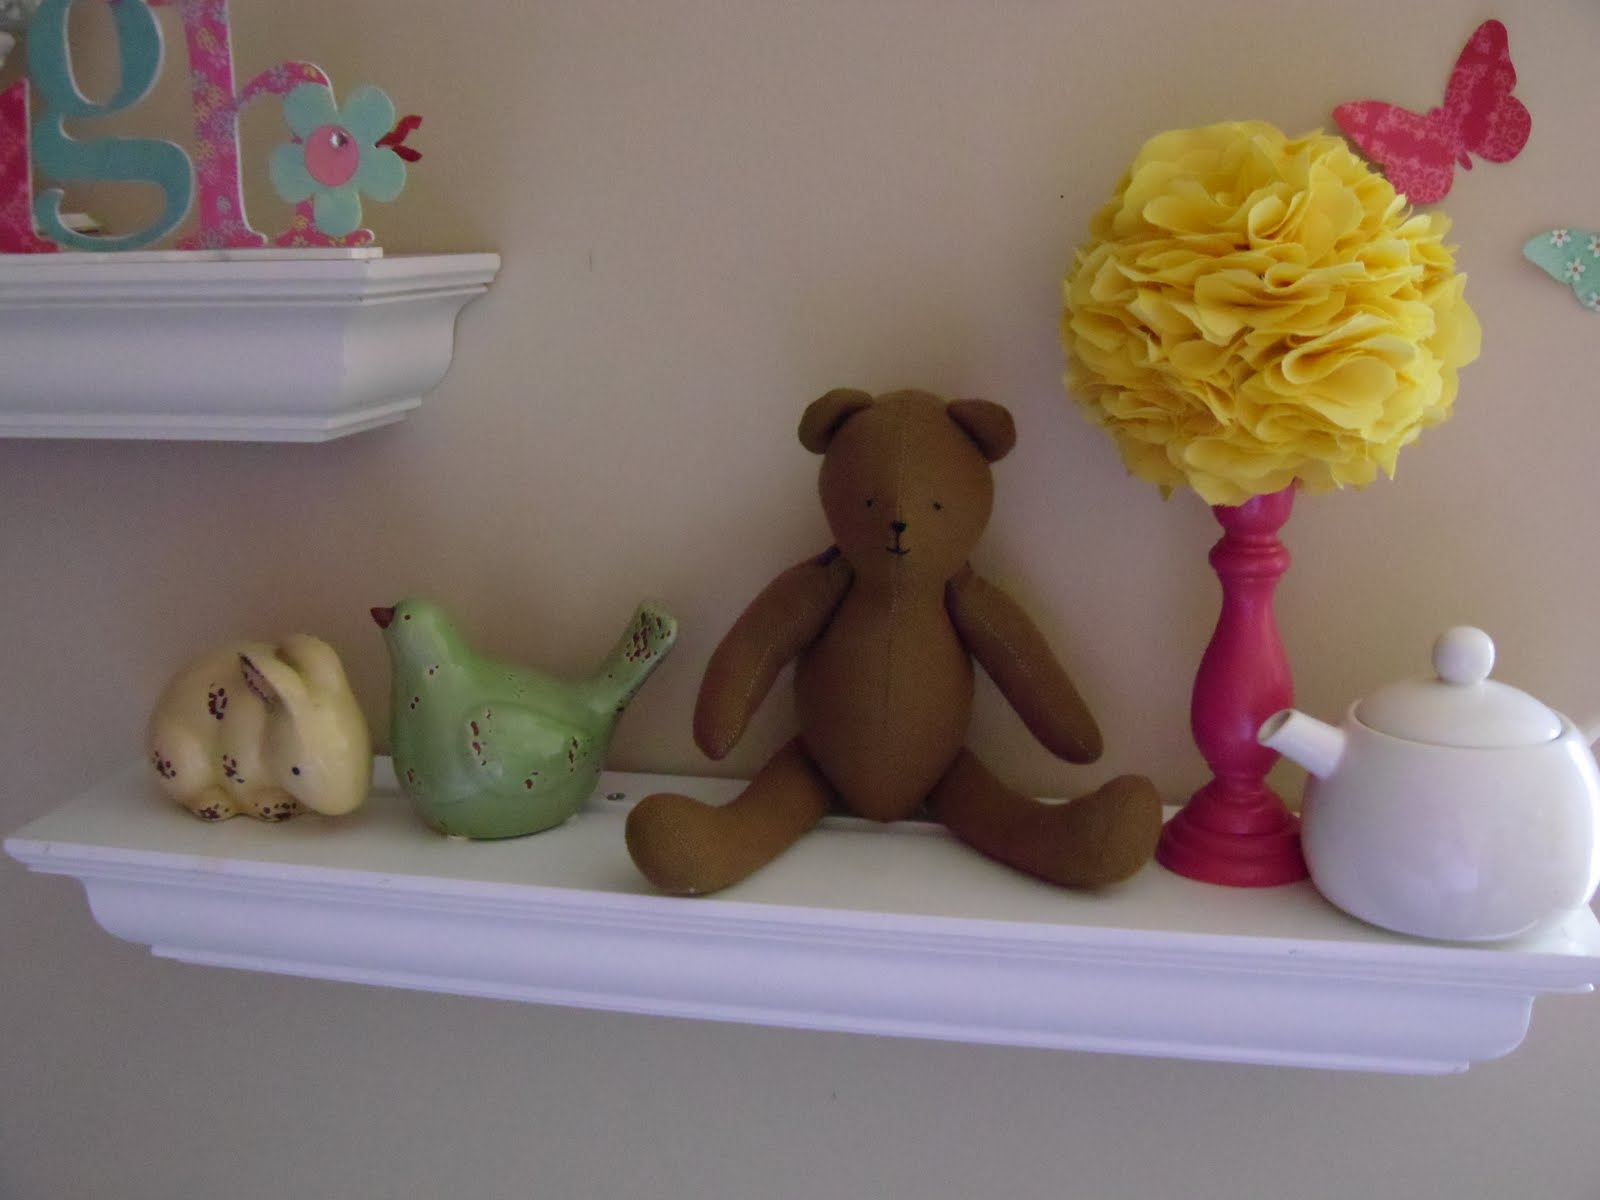
You might recognize the flower ball from the Spring Point of View reveal. I pulled out the petals and put them on a smaller ball so it would fit on the smaller, painted candlestick. The bear is a hand-me down from my college friend and the small animals and tea pot I got at a local store (Tai Pan).
While I was shopping I saw a few really cute word signs, but I didn’t have the budget for them. So, I decided to make my own.
And, I even mocked up some shots to give you a full tutorial. Yay! 😉
Anyway- here’s what you need:

Chipboard letters spelling out your word, scrapbook paper, paint to finish the edges of the letters, paint stir stick{what I had on hand and it worked out perfectly!}, (*not shown: glue gun, tacky glue, embellishments)
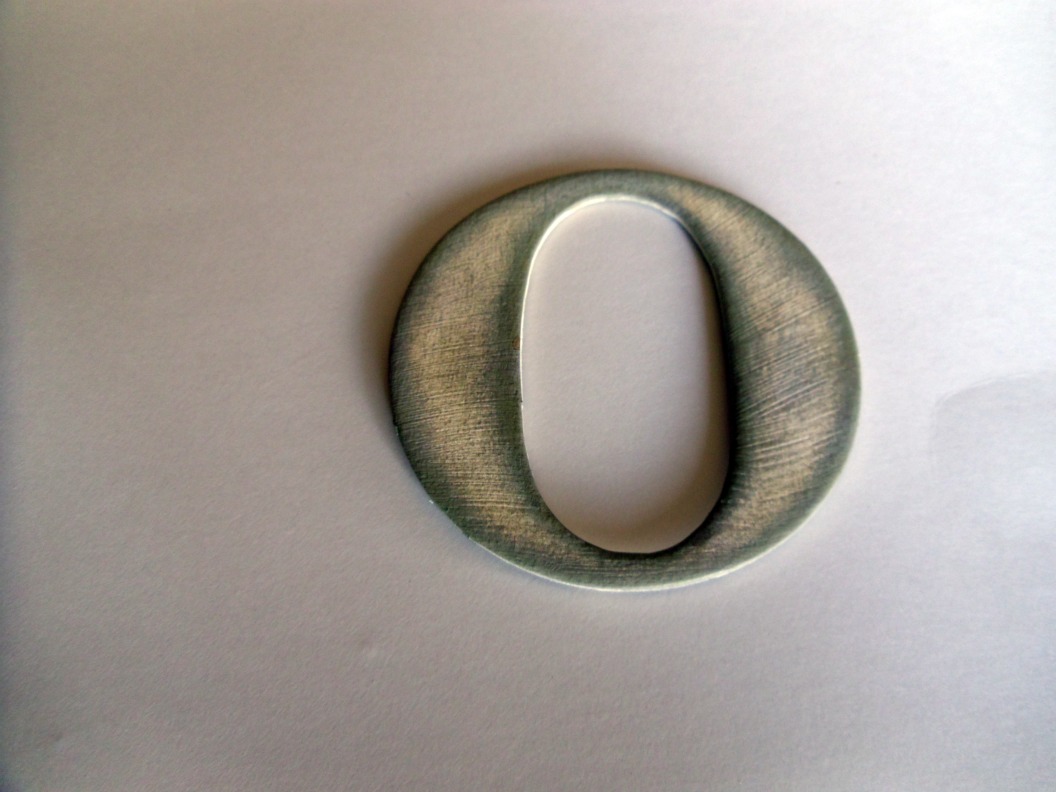
The first thing you will want to do is finish the edges of your chipboard letters. This one is inked, but for the laugh letters, I just painted them white. I also painted the stir stick the final color (white in my case). *you will need to see how long your word ends up being, you may want to trim your stir stick to fit the word better- I totally lucked out and mine just fit perfectly. {let dry}
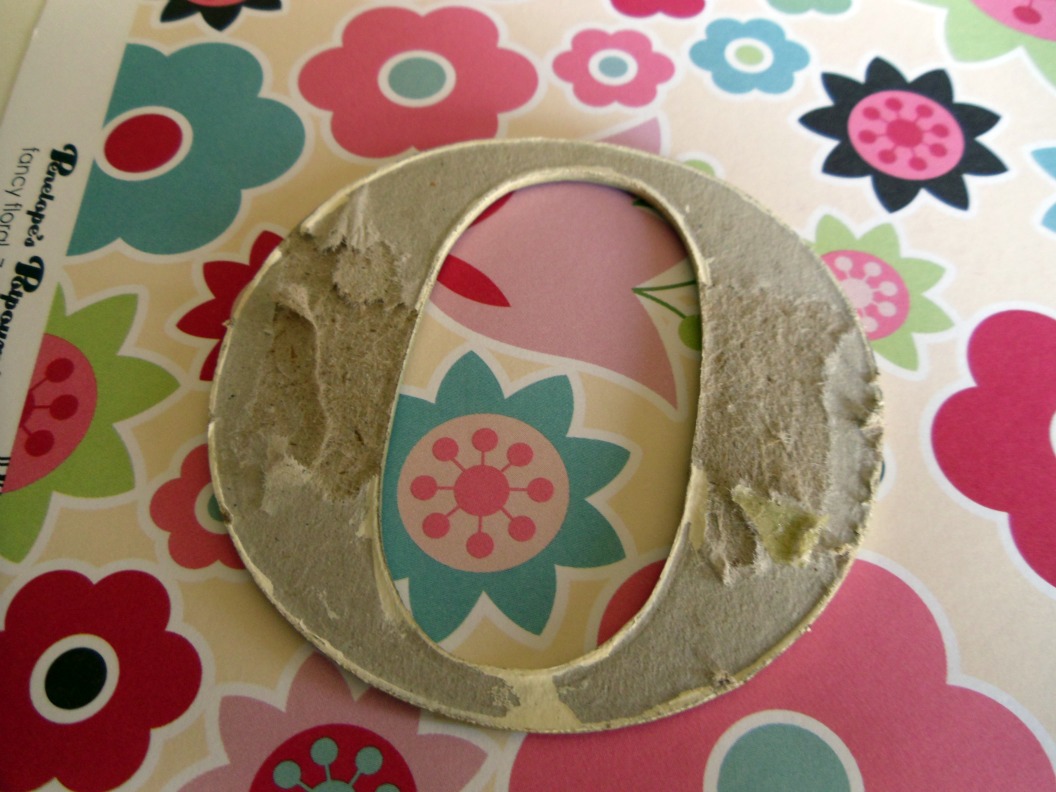
The next step is to trace the letters onto the scrapbook paper. You will want to trace the letter face down on the WRONG side of the paper. Cut out the letters and use the tacky glue to stick it to the chipboard letters. *you could also mod podge these on, but I was in a hurry, and since these are just sitting on a shelf, I’m not worried about wear and tear. {let dry}
 |
| Angled view to show placement of the letters on the paint stick. |
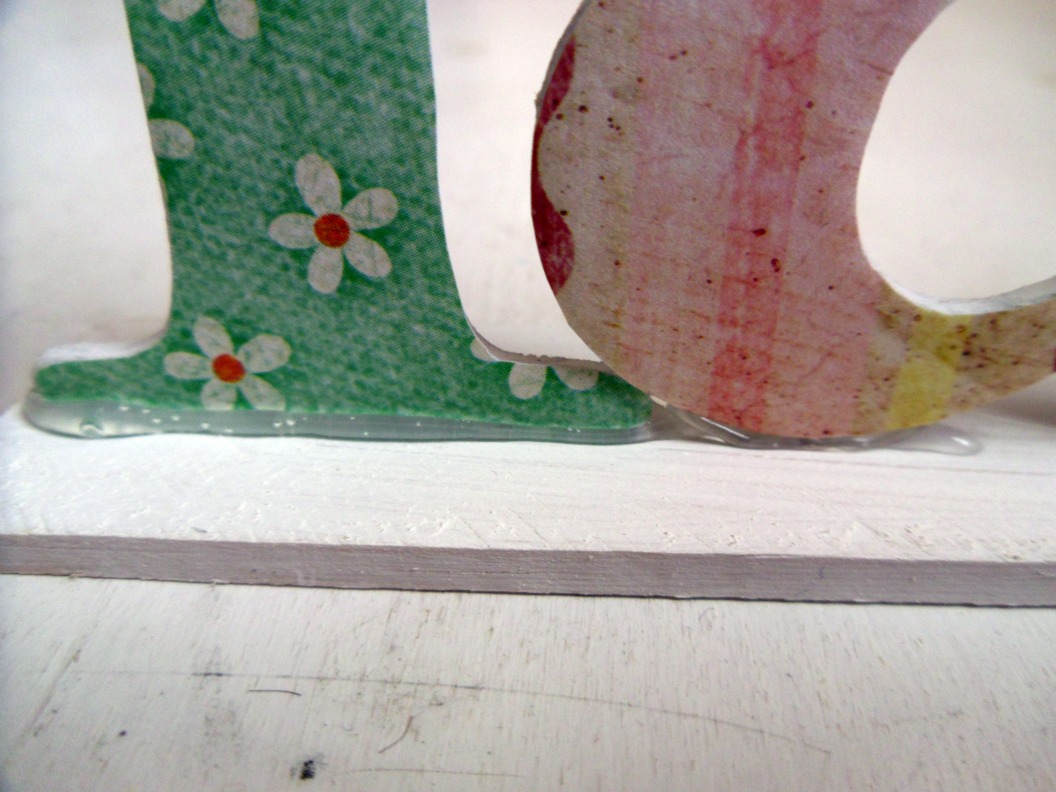
Now you’re ready to glue them down. Start with the first letter of the word. I found it was easiest to run a bead of hot glue along the edges of the letter that will be touching the stick. {you may want to draw a faint pencil line on the middle of the stick for guidance} While the glue is still hot place the letter on the center of the stick. Continue down the word. If letters touch it’s also helpful to place a small bead of glue at those points for added reinforcement.
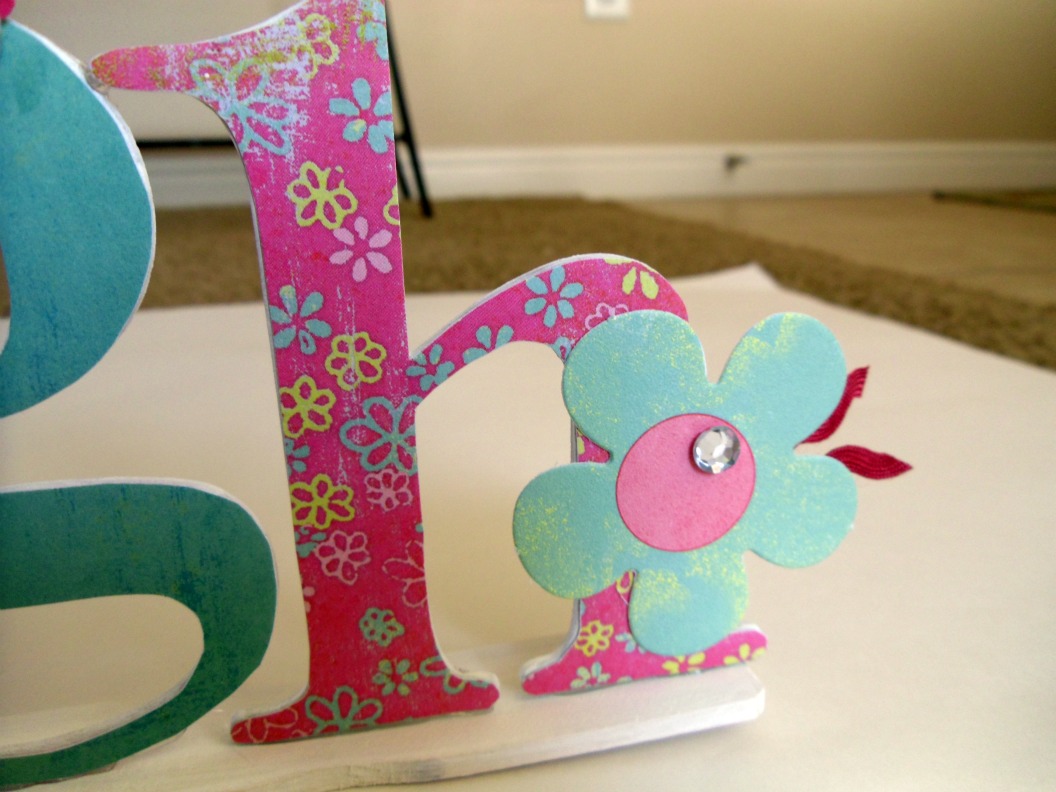

Now, embellish to your hearts content. I added ric rac, buttons, flowers and rhinestones for some bling and fun. And just like that you have your own custom word art.
Linked up to Think Pink Sundays with Flamingo Toes, and Get your Craft on at Today’s creative blog.


Gwen @ Gwenny Penny
June 24, 2011 at 12:48 pmThe shelves look wonderful, Amy! So colorful. It's so nice to have things with a story behind them to display in your home. Great job with the word art tutorial… love it! And the butterflies are awesome!
Jonie Marie
June 24, 2011 at 1:07 pmAny little girl would probably LOVE to have these bright and fun shelves in their room. What a fun idea! You always seem to come up with the funnest things.
Leanne
June 24, 2011 at 1:29 pmLove these shelves. The sign turned out adorable and I absolutely love the butterflies. I bet she loves her shelves. I'm sorry I think I forgot to text you back. My brain is mush. See you tonight.
ZiaMaria
June 24, 2011 at 1:45 pmThank you for sharing, the shelves turned out wonderful, very nice!
Karen
June 24, 2011 at 5:54 pmIt turned out great! Those butterflies were the perfect touch.
Michelle
June 24, 2011 at 7:06 pmIt turned out super cute! Love the butterflys and the words. Good idea to just glue them!
Kara
June 24, 2011 at 9:11 pmIt turned out so cute! I love the fun colors. And what a great idea to use a paint stick as a base!
Lorene (just Lu)
June 25, 2011 at 3:43 amI LOVE the sign — I would never have though of using chipboard! It stands up so nicely and ties everything together so nicely.
Patti Smith
June 25, 2011 at 4:02 amAmy – that is so adorable! I LOVE it!
Toqua's Crafts
June 25, 2011 at 9:25 pmGreat shelves! Great things on the shelves! Great tutorial for "laugh" (I love the paint stick idea!)
Spunky Junky
June 26, 2011 at 2:34 pmWOW! Your shelves are amazing, and I love the butterflies! So cute–makes me wish I had a girl! I actually did sneak a few butterflies into Punk's room. hahaha.
Thanks for stopping by to say, "hi!"
Halz
Julie
June 30, 2011 at 12:10 amHow girly! You have a great eye for decorating…and great taste in colors!