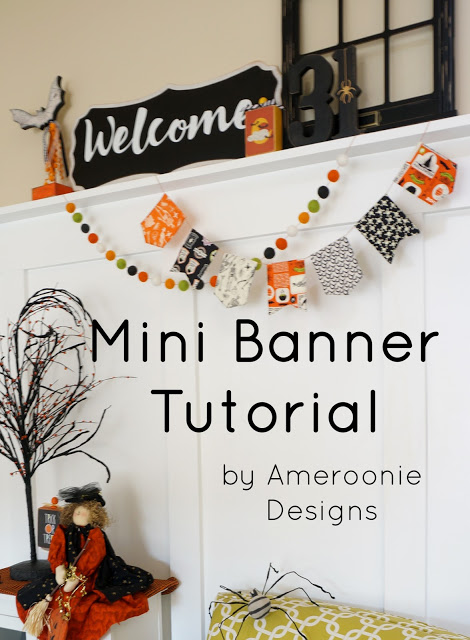
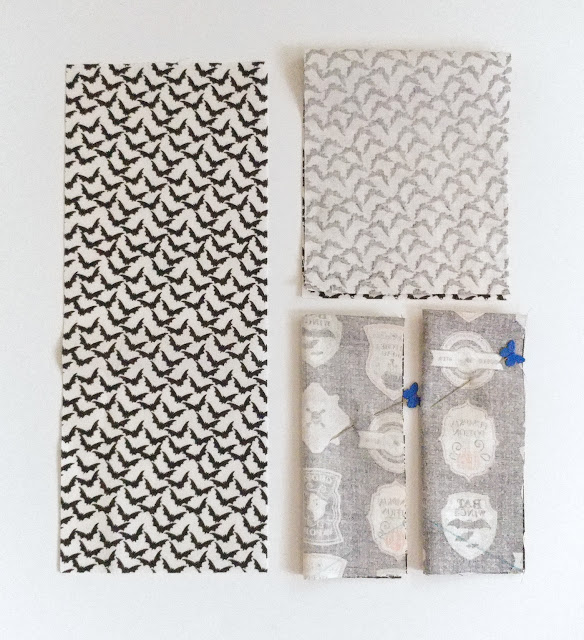
I love making mini banners for accent pieces in my decor. They use a fairly small amount of fabric, can be customized for any style and they are a quick and satisfying project for an afternoon. Today I’m going to share with you the measurements and methods I use to make these mini banner flags.
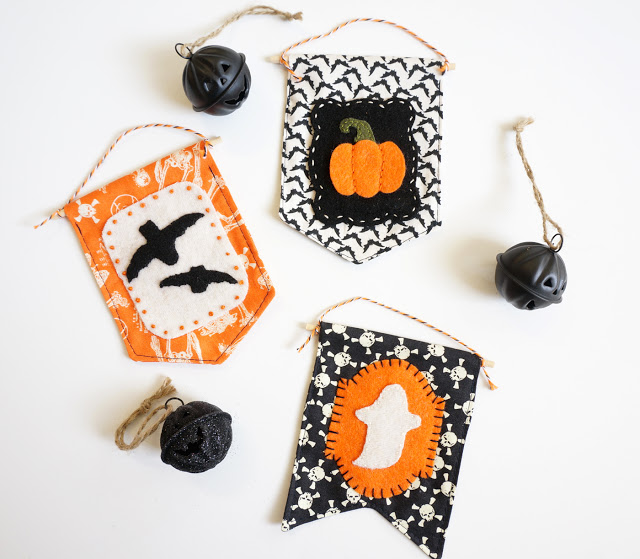
You can hang them individually with dowels and twine. They make a great addition to a gallery wall. Or, use them as ornaments on a seasonal tree. **If you would like to embellish your banners with these badges, you can find the patterns Here on my Halloween Mini Banner post.
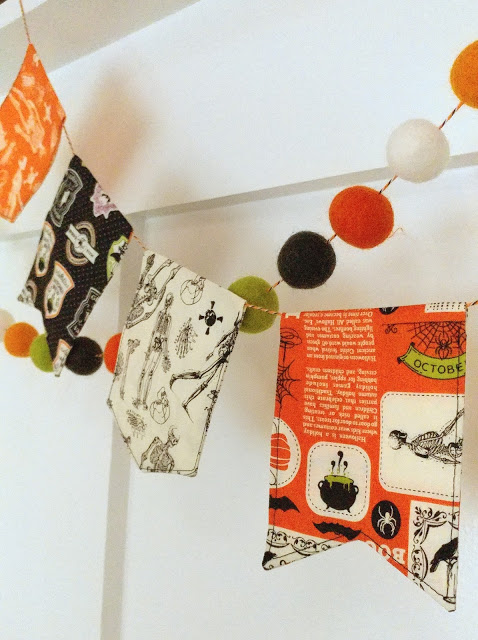
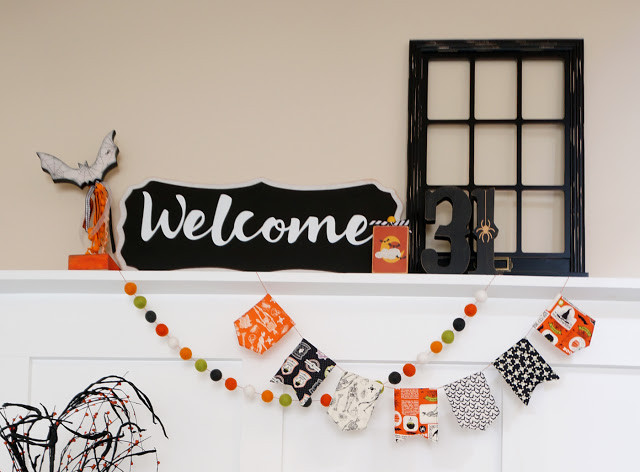
Or, string them together to make a bunting.
Are you sold? Ready to make some?
If you want one center point on the bottom:
- measure up 1″ on the side OPPOSITE the fold
- draw a line from that point to the opposite corner on the bottom.
- Cut along that line
If you want two points on the sides on the bottom:
- measure up 1″ on the side WITH the fold
- draw a line from that point to the opposite corner on the bottom
- cut along that line
For both:
*If you want to embellish the flags, you can do it either before or after you sew the sides of the banner together. I like to do it after so that I can use more dimensional embellishments without it making it harder to sew the flags together, but if you don’t want to see the stitching on the back, you may want to do it before.
- Unfold the center fold to go back to your 5″ X 4″ rectangle, now with angles at the bottom.
- Starting 1/2″ down from the top fold, start sewing around the flag, using a 1/4″ seam allowance.
- Once you have sewn down 1 side and the bottom (the part with the angles) sew up the last side, leaving a 2″ opening for turning before finishing the side 1/2″ from the top.
- Clip the bottom angles
- turn right side out and press
- topstitch around the flag, leaving 1/2″ opening from top on both sides to create a channel for stringing or dowels, making sure to close the opening left for turning.
- Repeat for as many flags as you’d like
If you are making individual banners, cut your dowel down to 4 1/2″ long and string through top channel on flag. Tie twine or ribbon on both sides of dowel to create hanger.
If you are making a bunting, arrange the flags in your desired order then string onto twine or ribbon.
Let me know if you have any questions!
xoxo,
Amy



Mandy
October 17, 2017 at 11:57 amClicked to get pattern and only got the instructions to make banners, where are the patterns?
grandmacummings5
October 17, 2017 at 3:10 pmNO pattern and only 3 images. Cute idea but only 3 images? Can you fix the problem? Would love to make this.
Megan
October 17, 2017 at 11:21 pmI am also looking for the pattern. Do you have an easy way to print without cutting and pasting?
Michael Boulos
October 24, 2017 at 2:20 pmThis comment has been removed by a blog administrator.
Tammy D
August 4, 2018 at 4:49 pmThe instructions ARE the pattern. Cut a piece of fabric 4"x10" fold in half twice, measure in 1" where you want your fork to be,mark & cut. Theres your pattern. Everyones preferences on size may be different, but its a pattern. Not all patterns are pre-laid out shapes.