I can’t believe we’re already into December. The days and weeks and months just fly by. I hope you’re all more prepared for your Holiday celebrations than I am. But, I still have a couple of weeks left, right? Anywho- Are you ready to share some ORNAMENT goodness?
 Pretty awesome right?
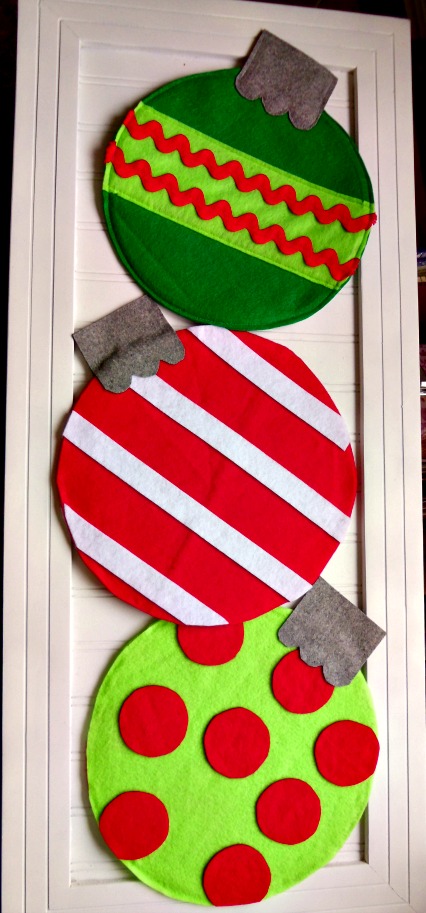
This is my full project.
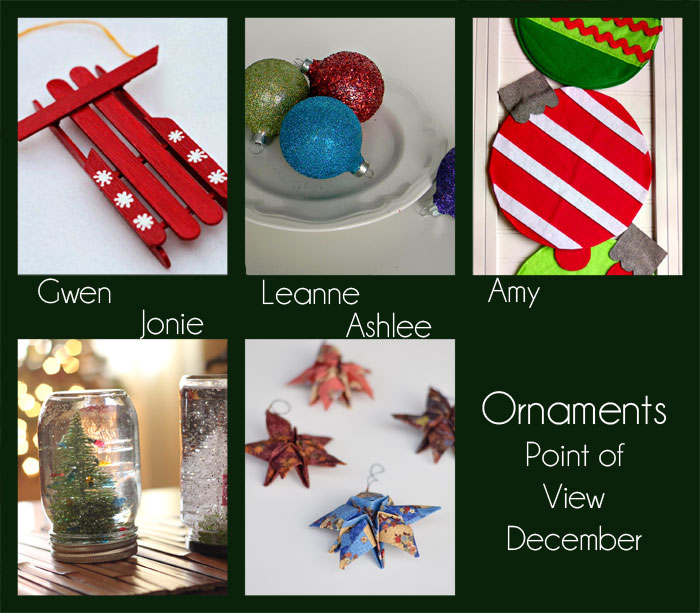
Okay:
Gwen: Gwenny Penny
Leanne: Organize and Decorate Everything
Amy: scroll down past the link party
Jonie: Just Between Friends
Ashlee: I’m Topsy Turvy
And now you: Link up your ornament goodness right here-
Now for the Details about my project.
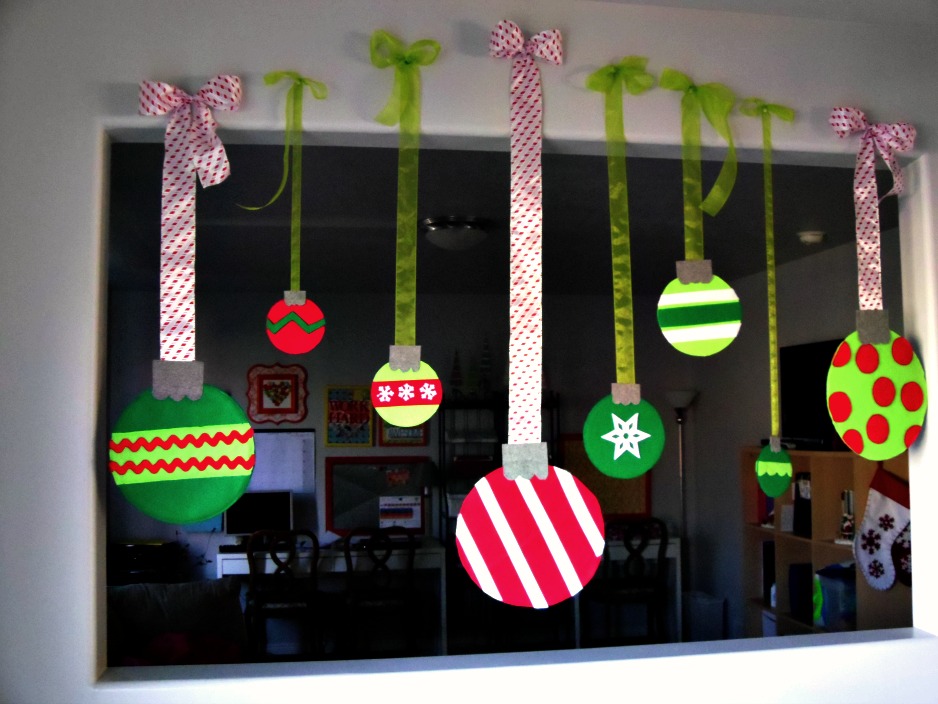
There is this opening between the kitchen and the family room in my house. I really like that it helps keep the children and their messy eating habits corralled in the kitchen, and it’s a fun place to decorate. This year however, we needed a little change. First, with the addition of the homework station, there is a lot more color this area is exposed to. Second- we moved our sofa so it’s right under this opening, which means anything that gets put there is fair game to be touched/ grabbed and/or handled in some way by small children. This necessitated the creation of some new decorations.
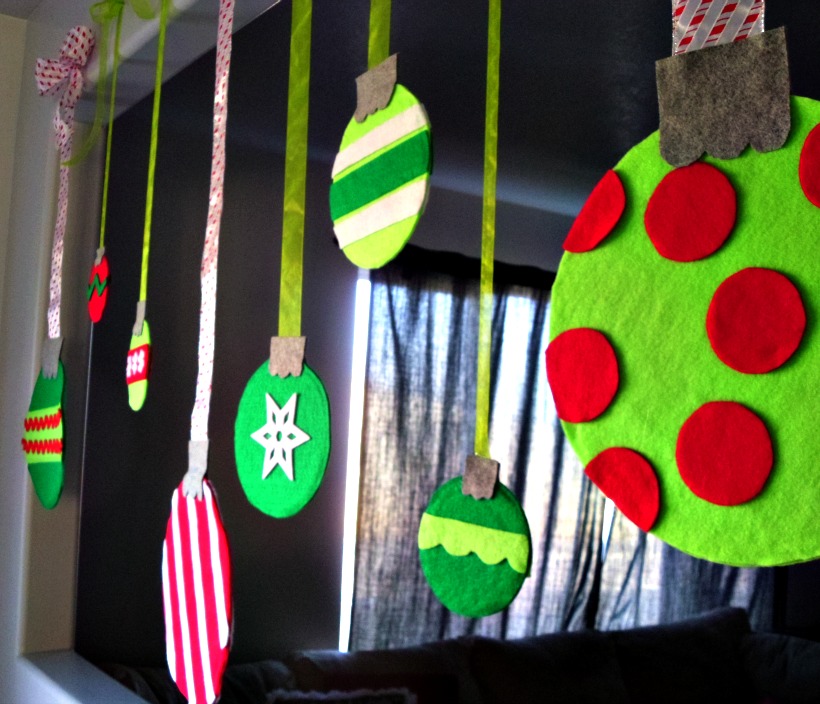
These babies were quick, cheap and virtually indestructible. The triple threat of holiday decorations in my house.
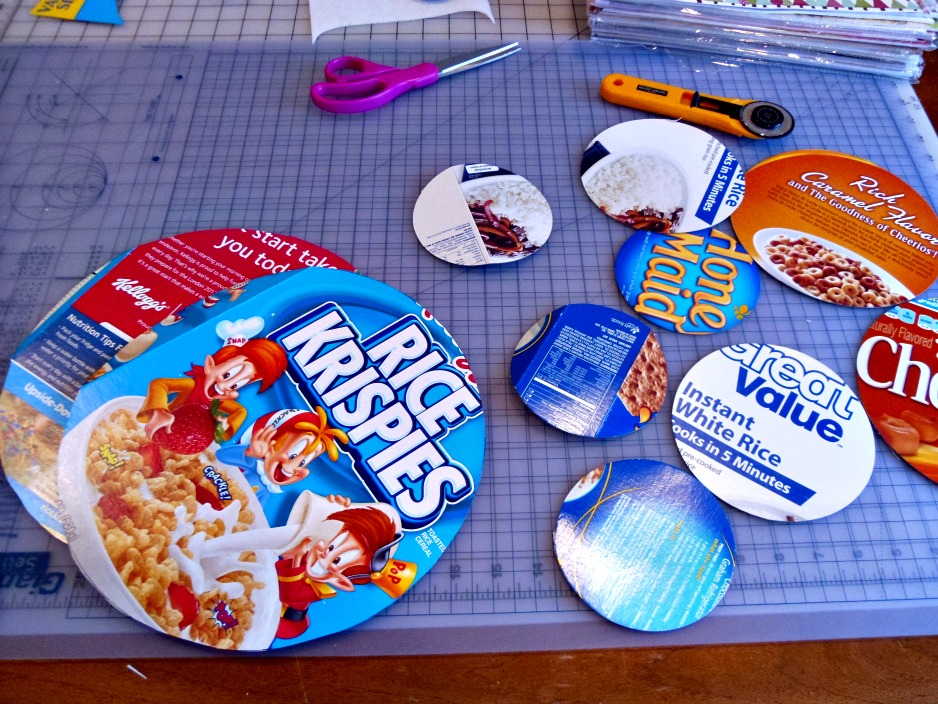
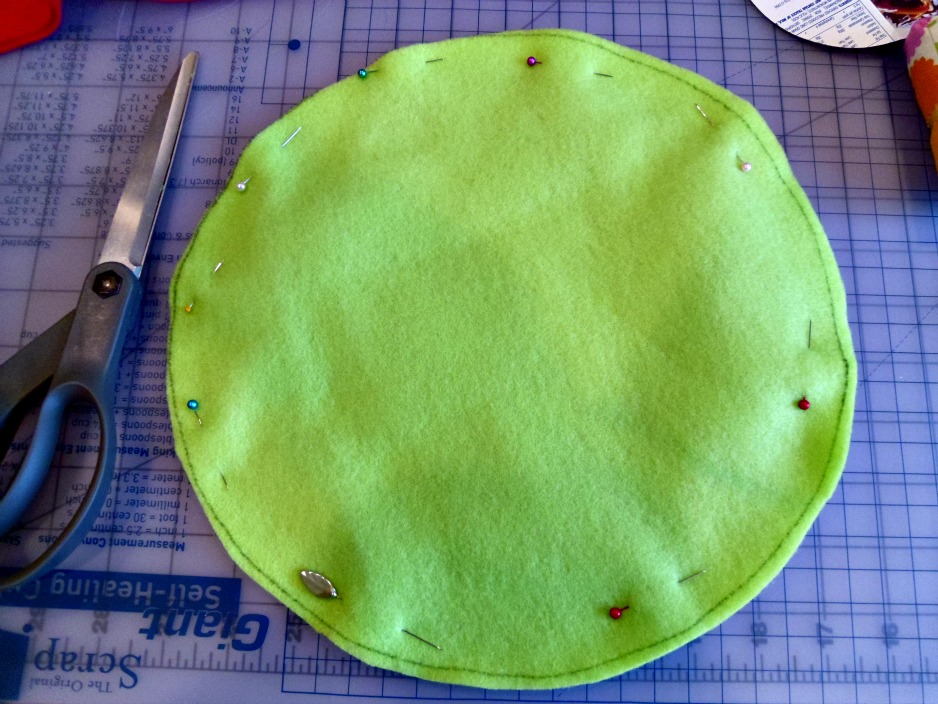
I have just two tutorial pictures. The rest I think you can handle on your own. First, I cut out various sized circles out of boxes. This gives the ornaments some stiffness. Second, I traced the circles onto a double layer of felt and cut them out. *Two bits of advice: Pin, pin, pin. I know I typed it three times, but it’s just the first bit of advice. 😉 The second is, don’t do what I’m illustrating and cut the felt larger, once you’ve traced the circle onto the felt, cut your cardboard template just a bit smaller so it won’t show through the sides.
The rest of the project involves hot glue and your imagination. Have at them and hang them all over.
I hope you’re having a wonderful season, full of cheer, family and happiness. I look forward to seeing you and what you’ve been up to.
xoxo,
Amy


Gwen @ Gwenny Penny
December 7, 2012 at 9:20 pmCute project, Amy! I love that each one is a different design. They add so much holiday color to that space. Great idea!
Karen
December 7, 2012 at 10:09 pmno sew… my kind of project.
So… i actually linked a project! yay me 🙂 Hope you're making progress on all of your other projects you have going on. See you soon!
Naturally Carol
December 8, 2012 at 5:24 amGorgeous ideas..a bit of sparkle and bright colour and you can't go wrong at Christmas!
Lorene (just Lu)
December 8, 2012 at 7:29 amLove it! Pinned it 🙂
Michele Pacey
December 14, 2012 at 4:14 amhey, there's cereal boxes under there. wahoo! very sweet- and indestructible – ornaments you made there Amy!
Kathy Shea Mormino
January 8, 2013 at 10:15 pmHello, new follower here and I’d like to invite you to join me at my weekly Clever Chicks Blog Hop: http://www.the-chicken-chick.com/2013/01/clever-chicks-blog-hop-16-hogwash-soaps.html
I hope you can make it!
Cheers,
Kathy Shea Mormino
The Chicken Chick