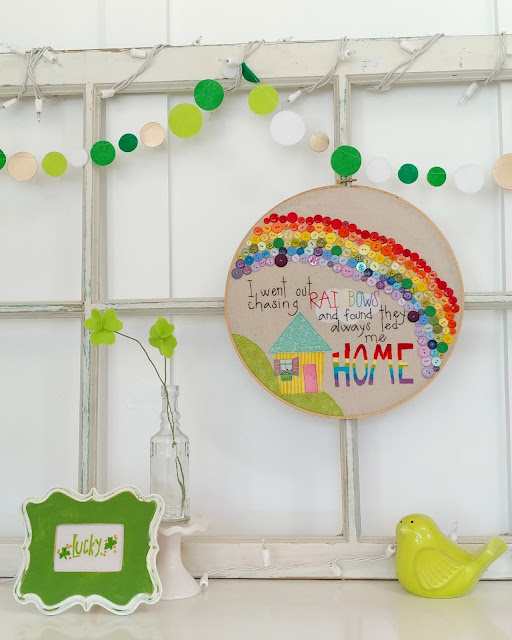
I don’t know if you’re like me, but I don’t have a ton of decorations for St. Patrick’s day. However, I have kids who love when things look festive, so this year, I came up with a couple of simple (and cheap!) decorations that don’t take long to make, but add a bit of fun to my decor.
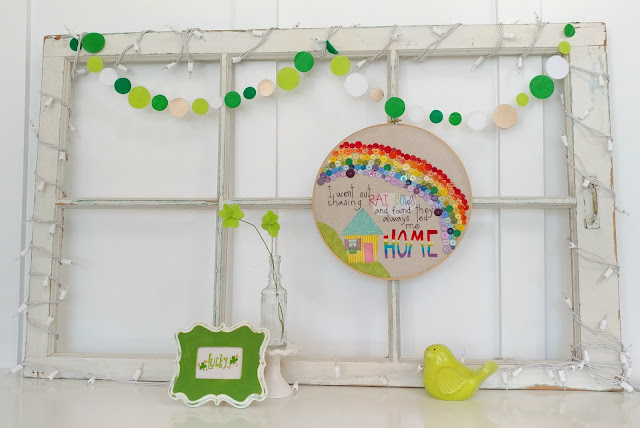
Today, I’m going to share with you how I made the felt circle banner, the felt shamrocks and give you the pattern for the lucky stitching. The rainbow embroidery hoop is an old project I re-used in my set up. If you want to see it a little closer up, you can check it out here– but sorry, there’s no pattern- I just drew it right on the fabric and stitched it up. Rookie blogger mistake. lol.
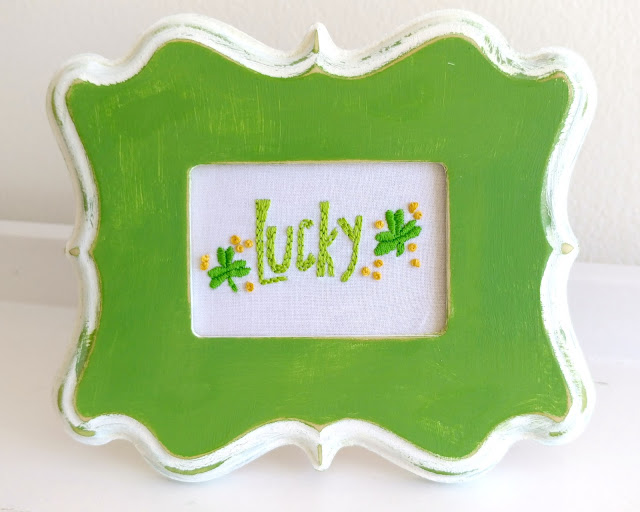
I’m always a fan of a simple embroidery project, and this one is just the ticket for a little bit of holiday fun.
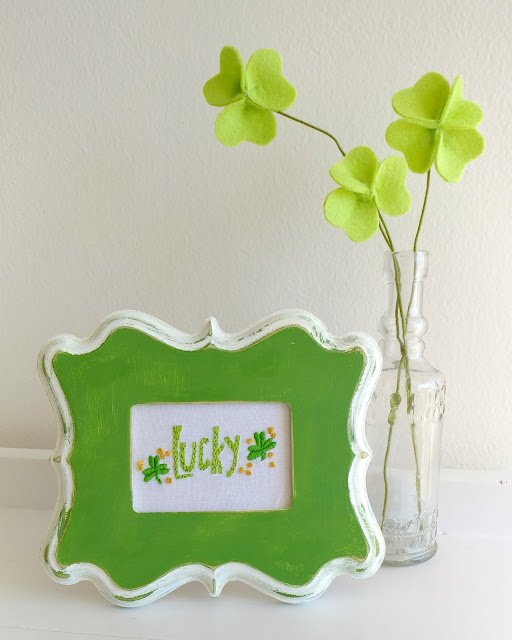
I originally intended to keep it in the 3″ hoop I stitched it in, but then I found this fun shaped frame in my stash and decided to use it instead. I love the pop of color it adds. You can find the embroidery pattern here. I used three strands of floss for all of the stitching.
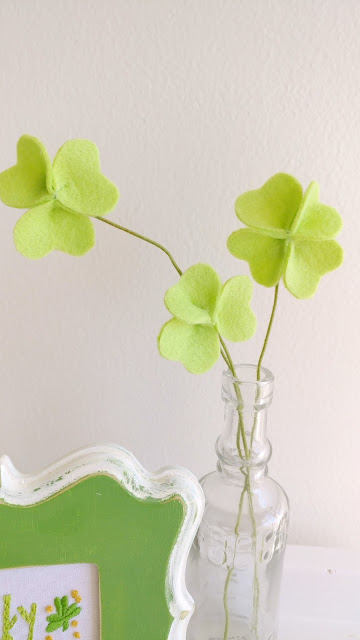
The second project I decided to tackle were these simple shamrocks out of felt. I love how they add some height and whimsy to my decorations.
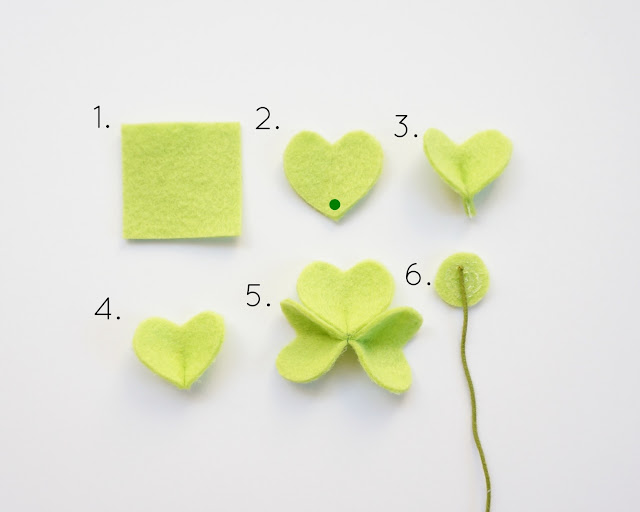
As you can see, the steps are pretty simple. All you need is some felt, scissors, hot glue gun with glue and floral wire.
1. Start with a small square of felt, I used 1 1/2″ squares.
2. Cut heart shapes out of your squares of felt. I just free hand cut them, but if you are more comfortable- you can create a template and trace them. Place a dot of hot glue on the bottom peak of the heart as shown in the picture.
3. Pinch the bottom of the heart in half, hold in place for a few seconds to allow the glue to cool.
4. Trim the bottom of the heart off to give you a flat edge on the bottom of the heart, just be sure not to trim off all the glue.
5. Put a small bit of glue on the flat edge of one heart and match it up to the bottom of a second heart. Then add glue to the edge of a third heart and center it over the joining of the first two hearts.
6. Cut a small circle of felt that will be hidden behind the shamrock. Put some glue on the circle and place the top of your floral wire in the center of the circle. While the glue is still warm, put the shamrock on top of the wire. Aannnd- you’re done!!
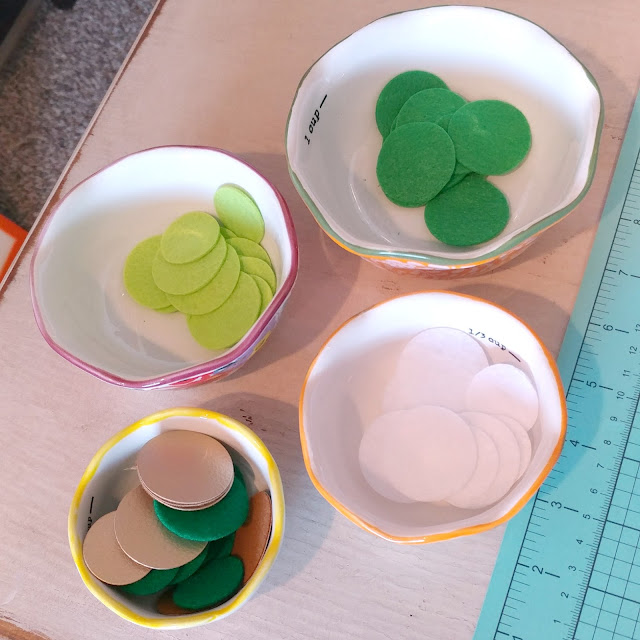
The last project I’m going to share is this fun circle garland. I love making these for every holiday. They are quick to put together and can easily fit any theme by switching out the colors.
All you need is a bunch of circles in the colors you like and a sewing machine. I use my very old school sizzix machine with a circle die to cut out my circles, but you can always just use scissors. Then, I just run them through my sewing machine, one after the other. I try to vary the size of the circle and the color, but I usually just keep the order random. Depending on the look you want, you can leave some space between the circles, or run them rapid fire through the sewing machine. One last tip is to sew them about 1/3rd of the way down from the tops of the circles, this way they hang flat and don’t twist like they do if you sew through the centers of the circles.
I love hanging them from my window frame, I also have some branches in a vase that I string them in too. They would be fun on a window sill, a mantle or a bookshelf. These are addicting, so consider yourself warned!
And there you have it! Three simple St. Patrick’s Day decorations that add a bunch of fun with just a little bit of effort.
I hope you enjoy getting your green on!
xoxo,
Amy





Korindi Totten
March 10, 2017 at 5:20 amSuper cute ideas thank you!