This is a sponsored conversation written by me on behalf of Cricut. The opinions and text are all mine.

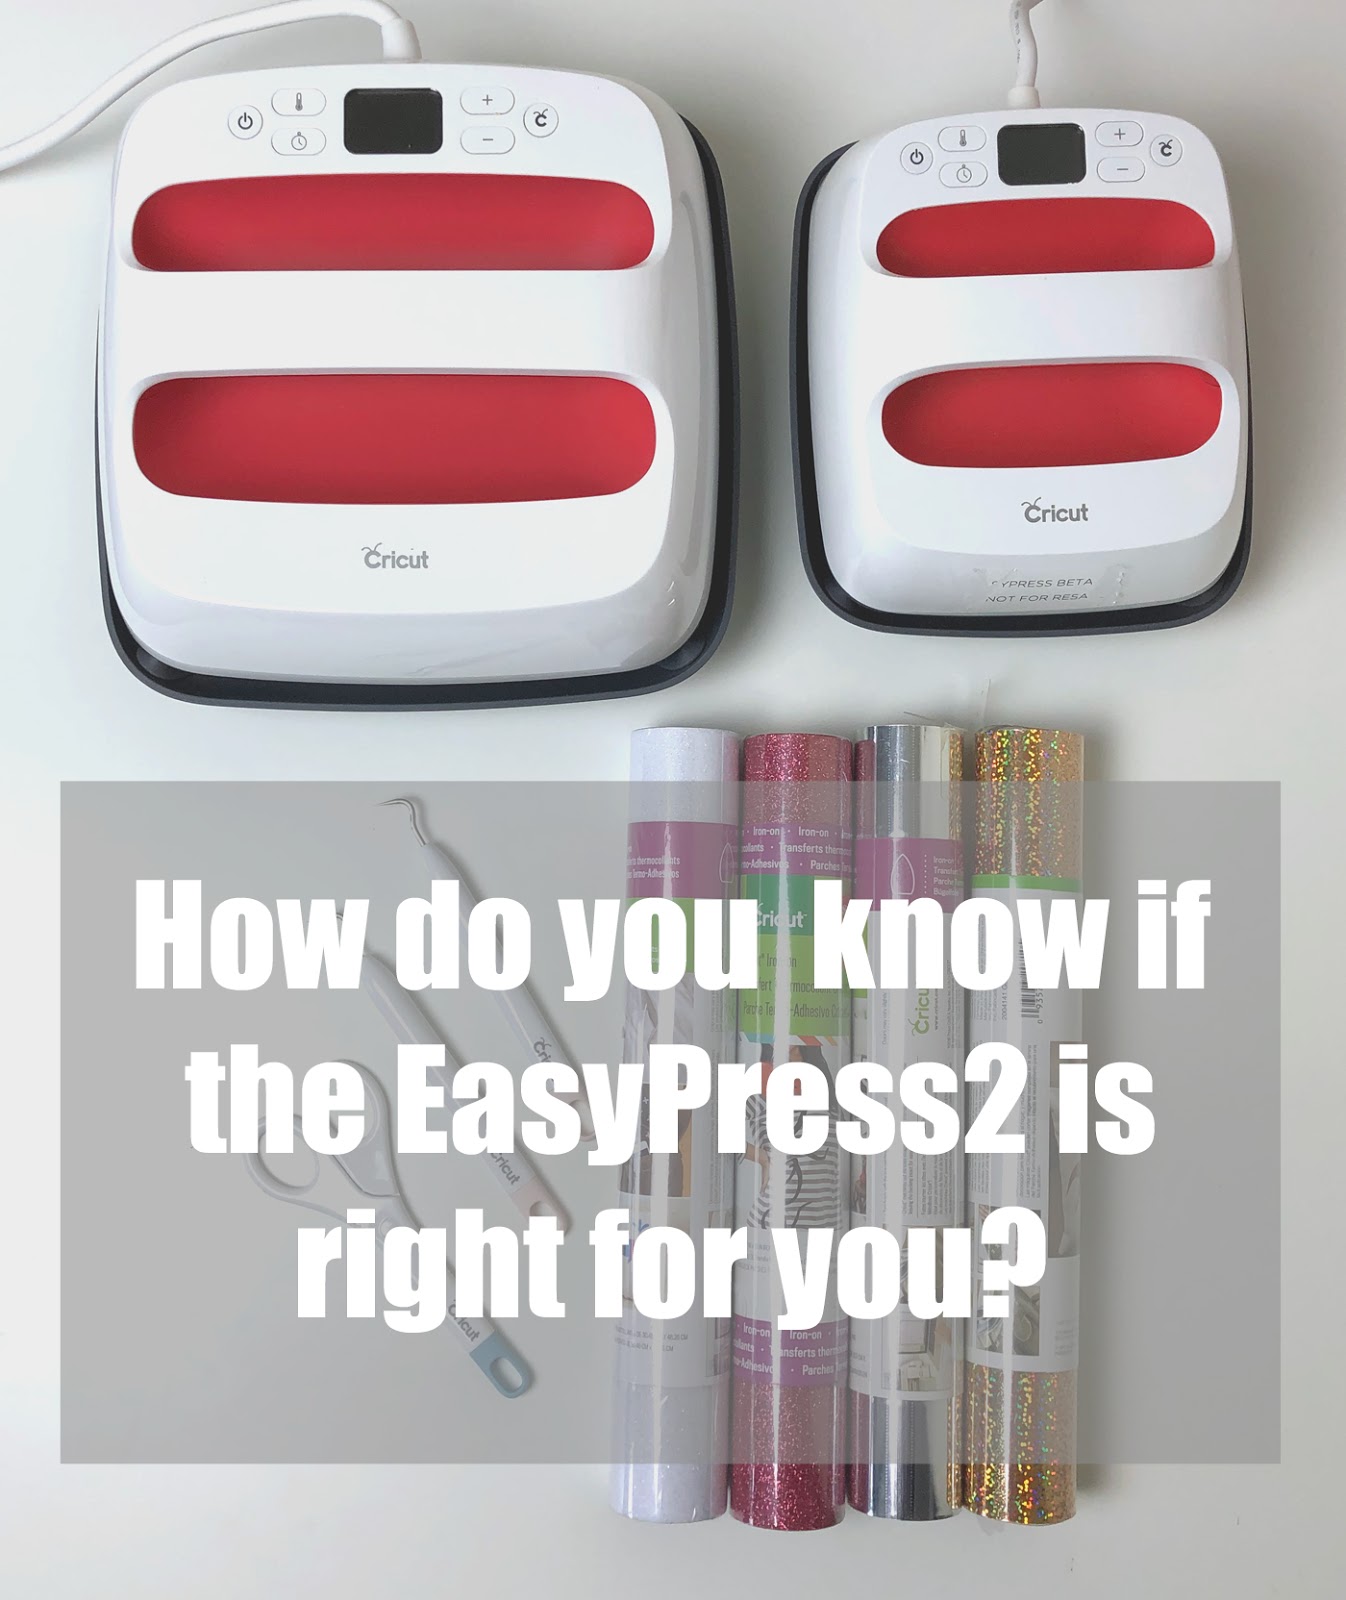
Are you considering purchasing a Cricut EasyPress or EasyPress 2? In this post we will chat about why an EasyPress 2 is better than your home iron for iron-on projects, what size EasyPress 2 you might want and why, what the best way to cut iron-on is, and some other helpful information you may want to consider before purchasing your next heating tool for iron-on. This post is sponsored by Cricut but the opinions (mostly good, but also some points to think about) are all mine. It also contains affiliate links (which means I will receive a small amount of compensation should you make a purchase, but at no extra cost to you).

The first question you are probably wondering is if you even need an EasyPress 2. Right? Let’s list some pros and cons.
Pros-
- the ceramic plate heats evenly across the entire EasyPress 2 ensuring the entire project is heated evenly for proper adherence.
- The temperatures are accurate and consistent, not a general range of values which is important for a good result with iron-on
- The EasyPress 2 is easy to put away and store when not in use.
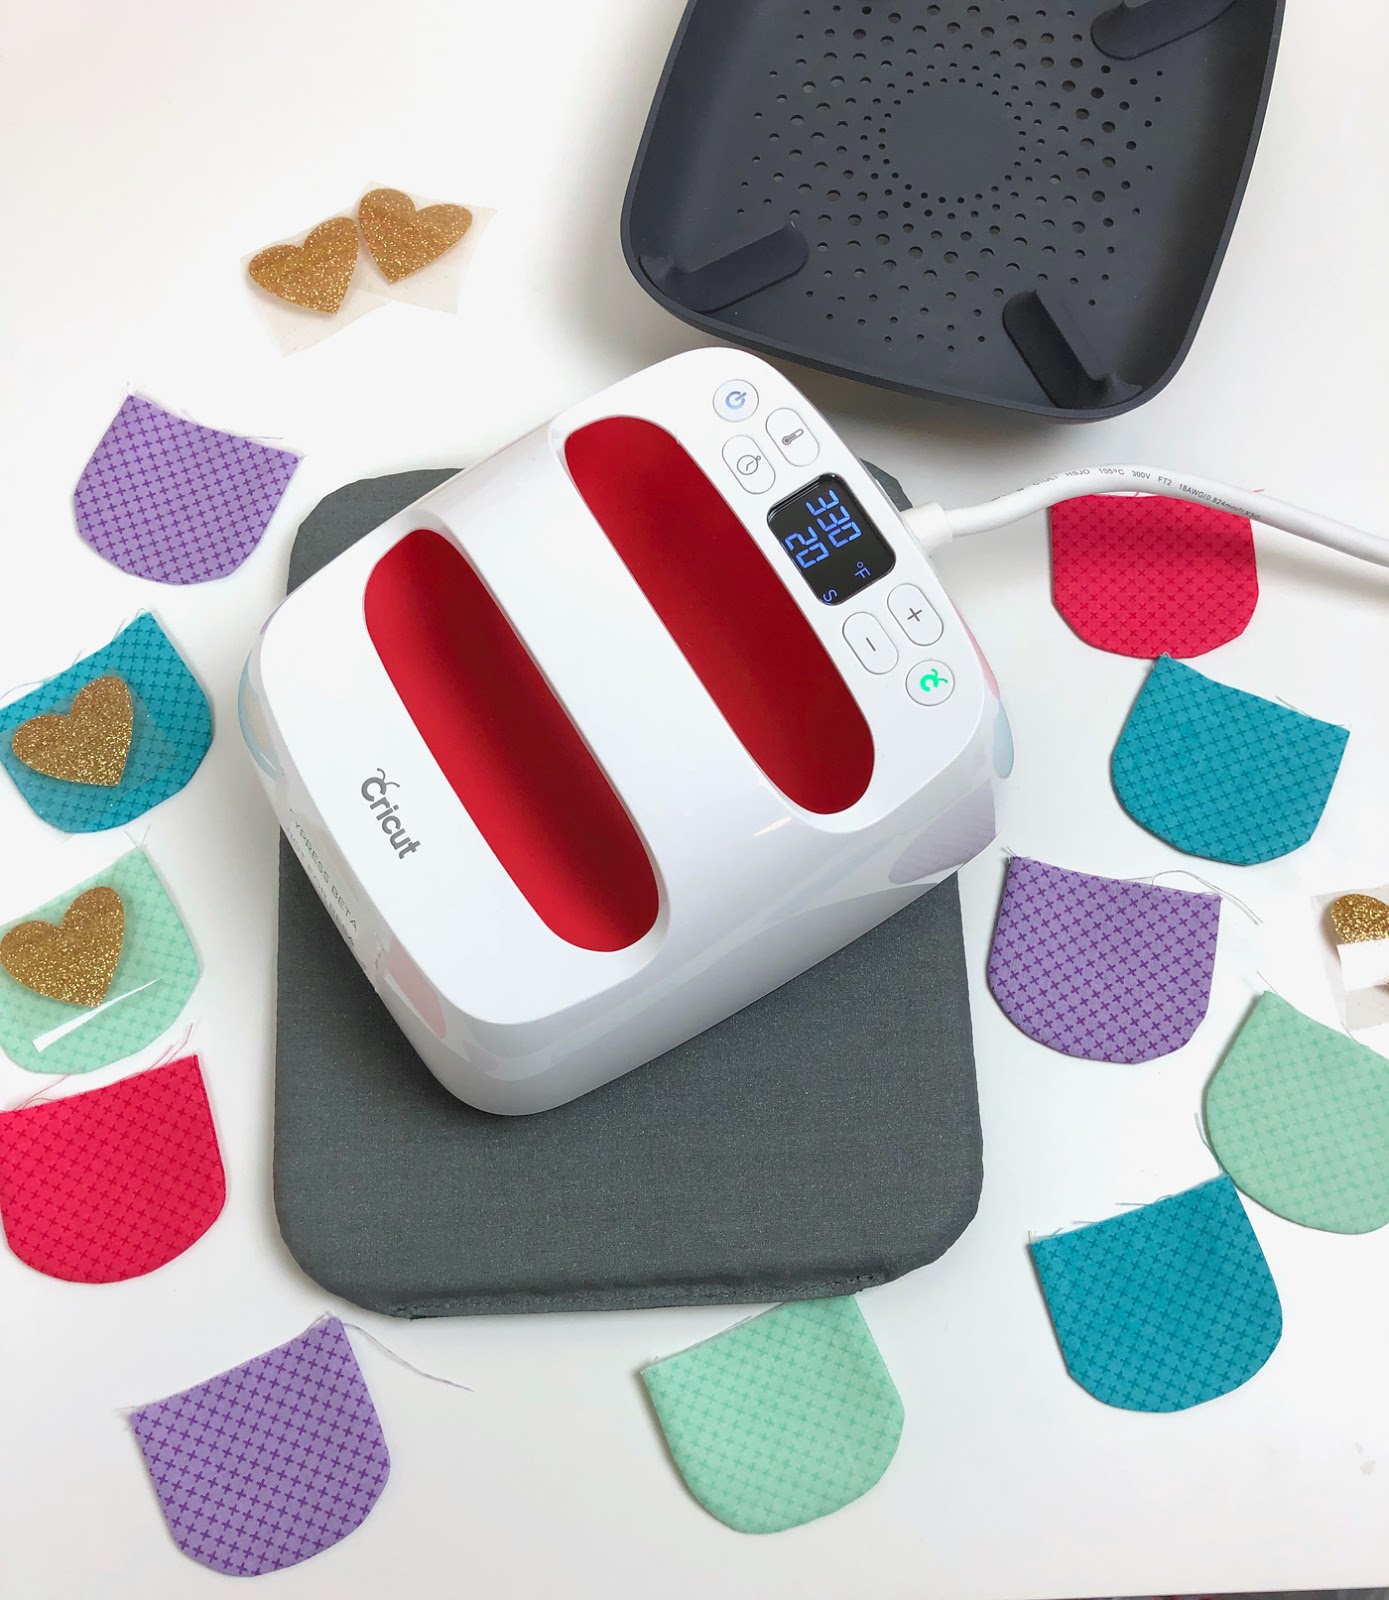
- And my very favorite PRO? The countdown timer- I am absolutely notorious for speed counting when pressing my iron-on. And then I wonder why it’s not sticking properly and I have to go back and repeat the heating time again and sometimes again. NO MORE with the EasyPress2!! I just set the correct time, hit start (the green Cricut logo) and wait for it to beep to tell me I’m done. So easy and hands down my very favorite thing!
The Cons
- For me, the price. I buy cheap irons for a reason- I’m cheap. 😉 (actually I have 6 kids to feed and man, those little guys want to eat EVERY DAY!) It might not be a huge dent in your extra spending, but for me it’s a serious consideration to make, especially since many households already have an iron.
- Also, if you sew like I do, you will still need your regular iron. I use the pointed tip of my iron all the time to get into tiny corners and creases, as well as to press seams open when quilting. I also NEED the steam feature frequently to adhere interfacings so it’s not something I can do without.
So, to clarify- if I had needed to pay for an EasyPress 2, (I received one to use so I could write this post) I would definitely still have set aside the money over time (or asked for it instead of the FitBit my husband got me for Christmas 😉 ).
If you do very much work with Cricut Iron-on or other HTV at all, this is a tool that will take all your projects up a notch and is very worth the money. If you only do a tiny amount of work with iron on, you can probably make do with your home iron.
And we haven’t talked much about commercial heat presses, but for the cost, size and space they take up in your craft area, unless you are a full production shop selling multiples of the same products, you would probably be much better off with an EasyPress 2.

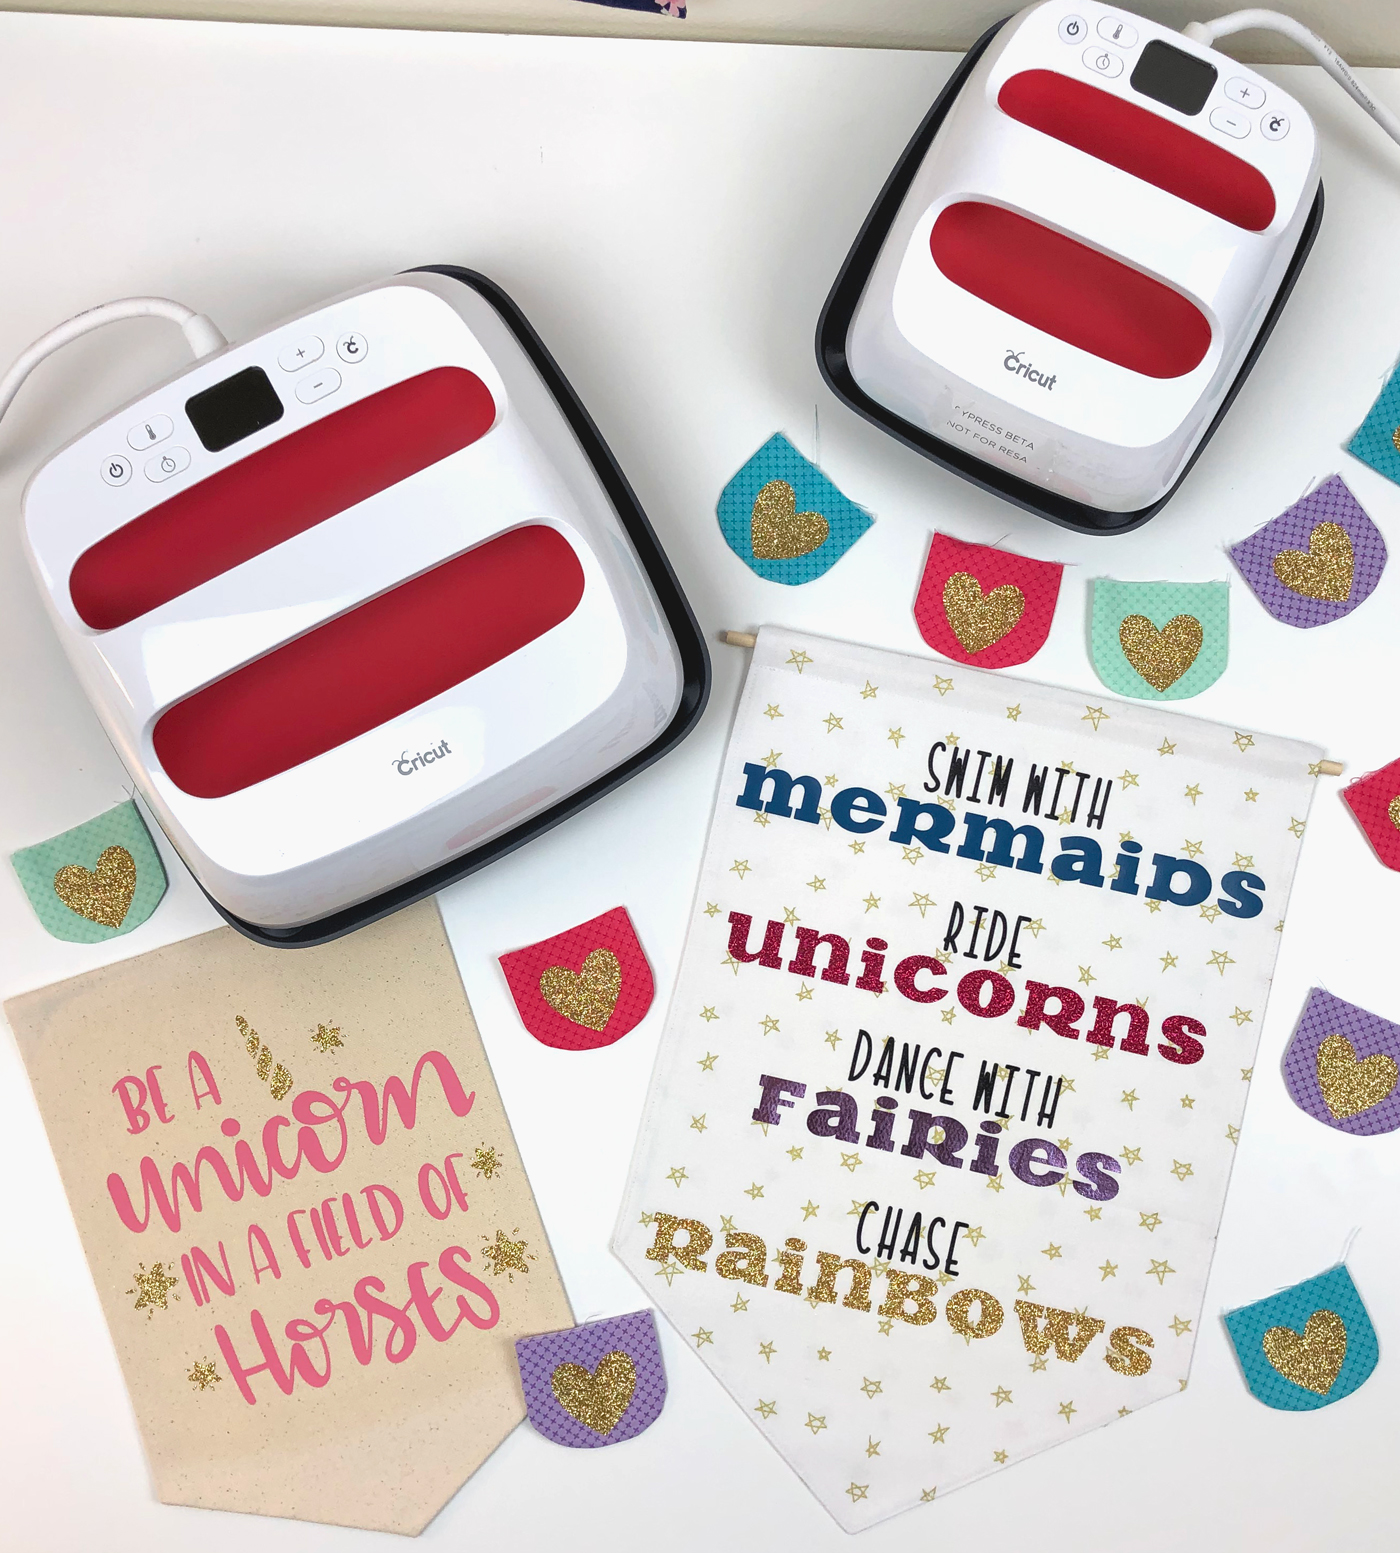
The Cricut EasyPress 2 comes in 3 different sizes. Shown in picture above are the 9 X 9 and 6 X 7 models. Which size you need will be determined largely by the kinds of projects you make. I typically deal with small size projects- banners, pouches etc. So the small 6 X 7 EasyPress 2 is perfect for me. It is super light, easy to store and even travels well. If you do more shirts and large projects, you might want to think about getting the larger sizes of EasyPress 2.
What about the mats you can purchase to work with your EasyPress 2? While they don’t come with the machine (The storage base does!) they are really convenient to have on hand. I only have the small size, so when I use my larger EasyPress 2, I use a thermal pad my grandma bought me, but you can also use a folded up towel.
Anytime you use your EasyPress regardless of what you have underneath make sure it’s on a surface that is heat resistant and solid. I have used the EasyPress on top of my cutting mat (duh) and it warps it from the residual heat. My ironing board is flimsy and unstable and not a good choice either.
Let’s finish up with a brief chat about the different Cricut Materials available for your projects. In the category of Iron-on- you have:
- Everyday Iron on- matte finish, lots of colors, versatile and can be used as a base layer for other types of iron on. Also, the easiest iron-on to work with. If you are new to the HTV world, I would definitely start with this!
- Glitter- my girls’ favorite! plenty of colors, glitter stays put, lots of sparkle
- Sports-Flex- great for projects with any kind of stretch- jerseys, knits
- Foil- my favorite look, but also I find the trickiest to work with (and photograph, but that’s another discussion). Probably the biggest reason I love my EasyPress 2 is that I can finally get my foil iron-on to stick well and stay put without wrinkling or creasing.
All of these iron-on materials can be cut with any Cricut (or even non- Cricut) cutting machines. In order to produce the best results with your Iron-on materials, follow the directions on the package for temperature and time, but if you are using your EasyPress or EasyPress 2, Cricut has developed a fantastic interactive guide for helping you determine which settings are optimal for the materials you are adhering, what surface you are sticking them onto and what you are using under your project to protect from the heat (the Cricut pads need different temps than a towel). Pretty great, right?
Honestly, I love my EasyPress 2! I use the small 6 X 7 one all the time and it has made such a difference for me in how my projects using iron-on turn out. In fact, it has me more excited to make projects with iron-on because I don’t have to fight with it so much anymore!
If you have any questions, please don’t hesitate to ask in the comments or on my Instagram or Facebook Pages! I’m happy to help!
xoxo,
Amy


Carol S.
February 28, 2019 at 4:17 amGreat info…thank you! Now I just need to go open the box. :O)