I am a 2022 Husqvarna Viking sewing Ambassador. Mentions of my Opal 690Q are a reflection of that relationship. All opinions and projects are my own. This post may also contain affiliate links which provide a small commission to me at no additional cost to you. See the legal link in my footer for more information.
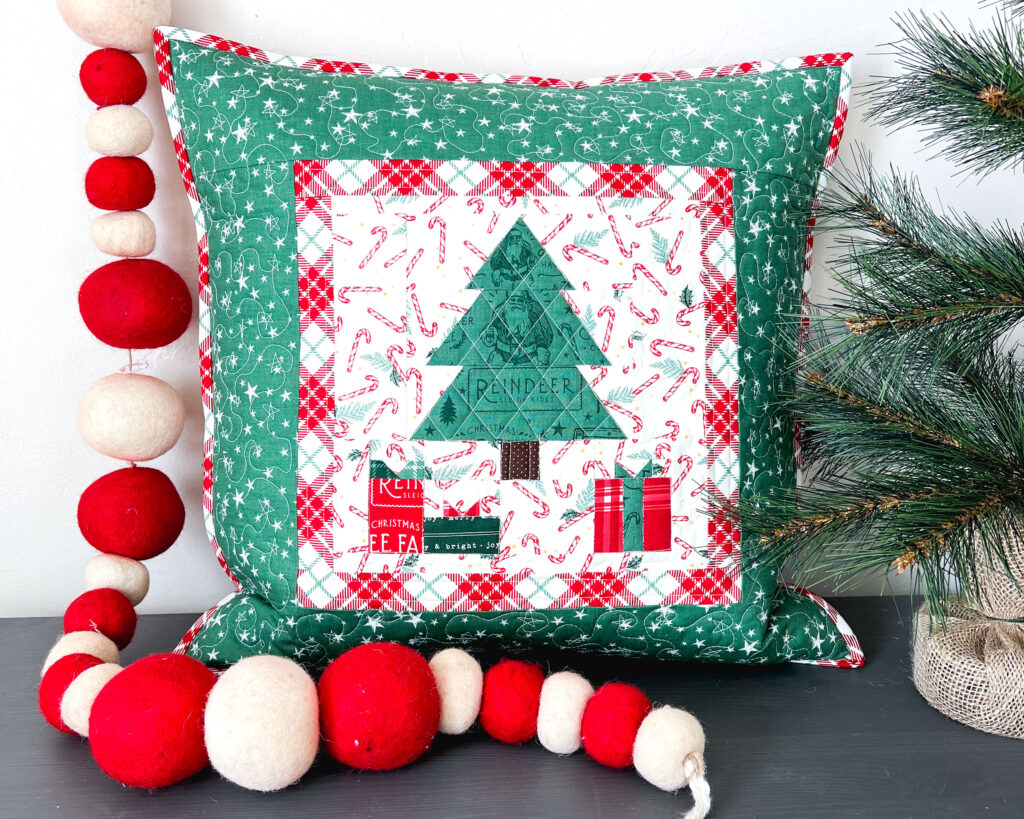
I love it when a quilt block has amazing details, but sometimes working with all those little pieces can feel so fussy it’s not worth it! Today I am sharing 3 simple tips to stay sane when piecing small quilts. I am using my Gifts Around the Tree Mini Quilt to demonstrate these tips, you can find it in my Etsy shop here.
Small Piecing Tip #1- STARCH
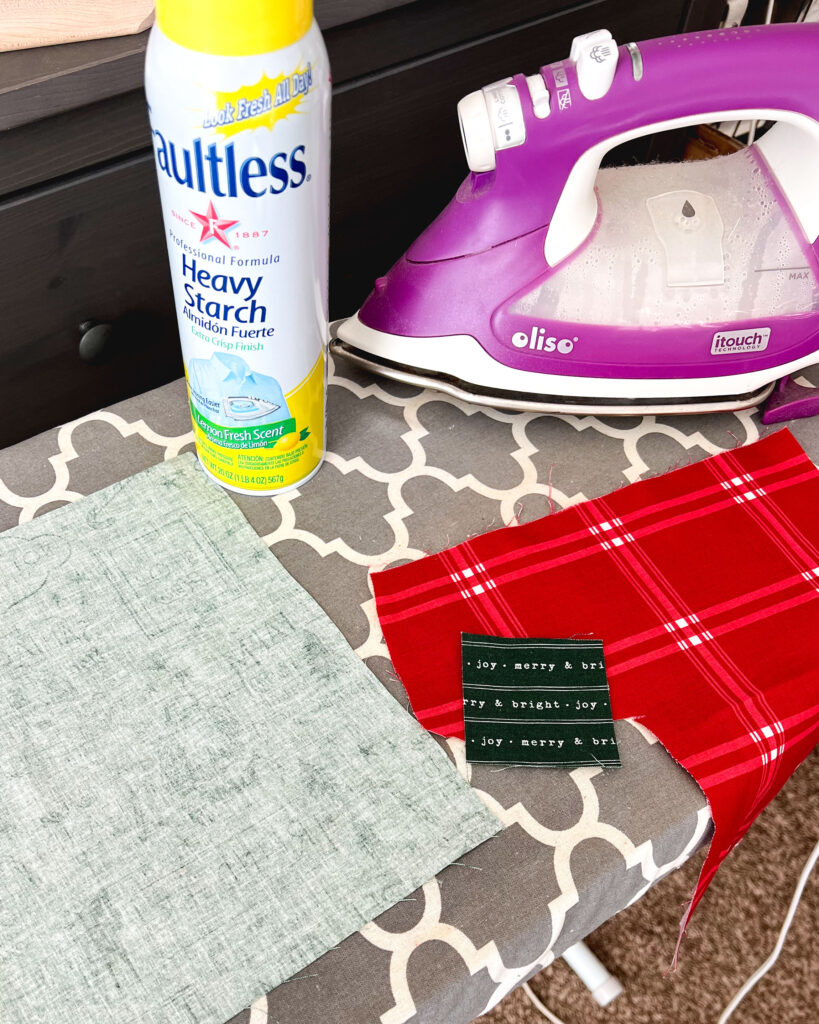
I didn’t used to be a big fan of starch. It felt like an extra step that just added time to my project. Until I used it for piecing small projects. It’s a game changer! Starch the fabric you are going to use BEFORE cutting out the needed pieces. This will help the fabric keep its shape as you sew with it. Plus, it has the added bonus of helping the seams lay more flat when pressing.
Small Piecing Sanity Saver Tip #2: Pressing Matters
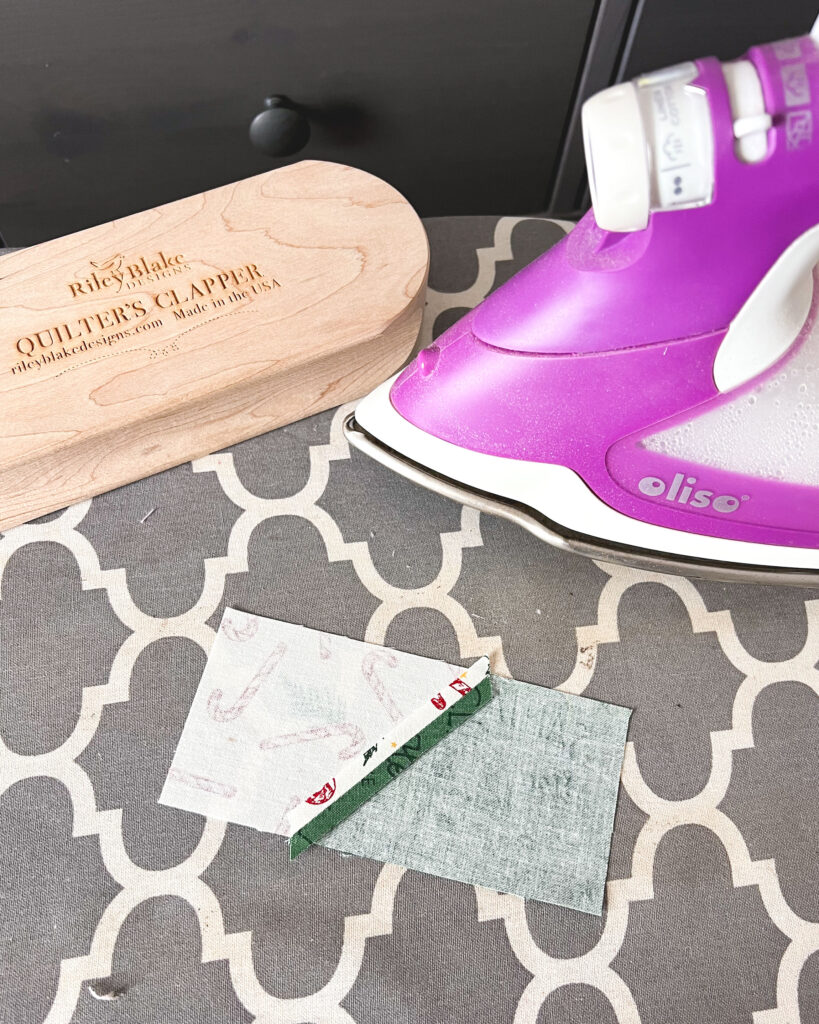
When you are working with small pieces, seams become even more important and the bulk becomes even more noticeable. Unless written into the pattern instructions to do otherwise, pressing the seam allowances open will help distribute the bulk of the extra fabric. This helps the project lay flat and keeps things from getting distorted. One other handy tool when it comes to pressing is a Quilters Clapper. It’s a piece of wood that you place on the seam after it has been pressed. It helps to cool down the seam and keep it flat as it cools to create a more crisp seam. Taking the time to carefully press seams will go a long way in the success of your project.
Tip #3: Accurate seam allowances
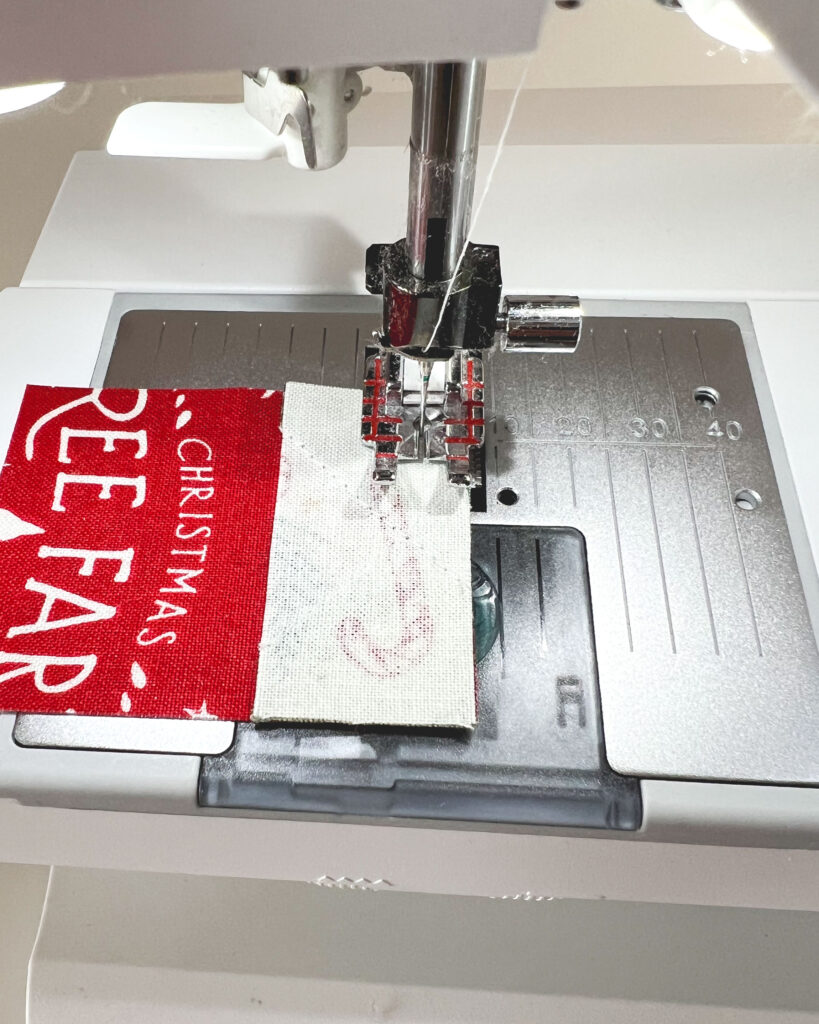
While we are on the topic of seam allowances- an accurate and consistent seam allowance is probably the most critical tip for finding success when piecing small quilts. If you have a 1/4″ foot, like I do for my Opal 690Q– I strongly recommend using it. I am not kidding when I say it has changed the accuracy of my piecing dramatically! If your machine does not have a 1/4″ foot- use a piece of washi tape or a marker to figure out and mark your 1/4″ seam- the more consistent you are, the better your project will turn out!
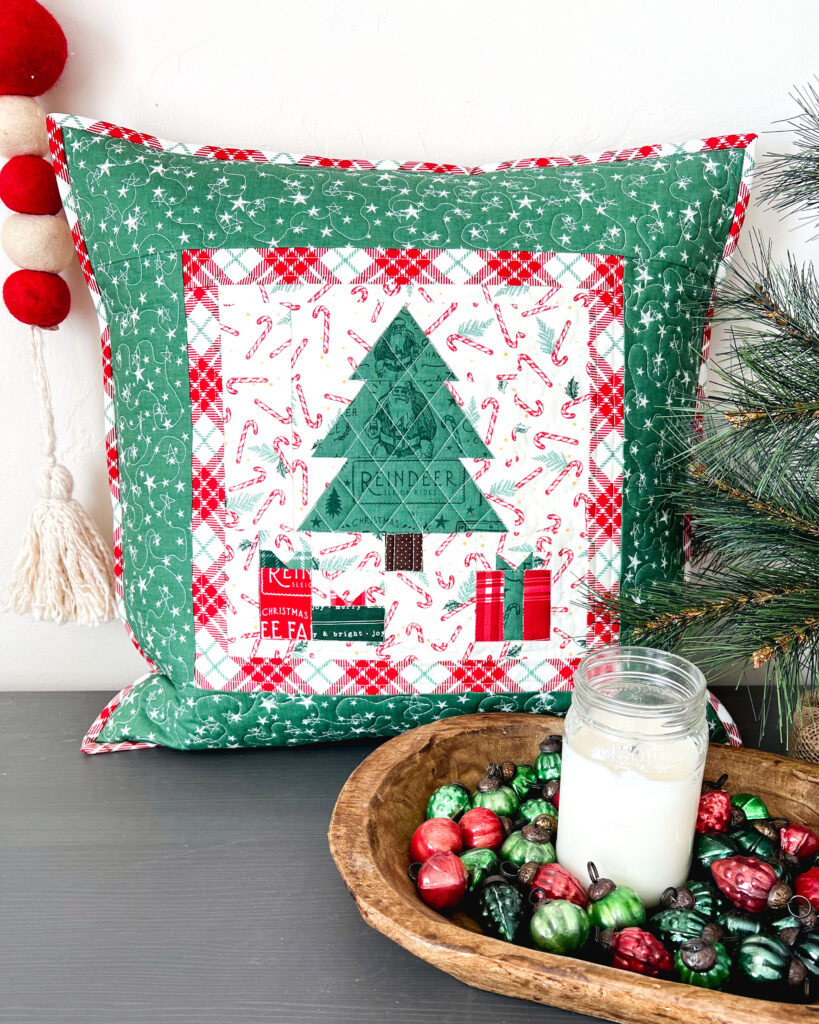
Piecing small projects can be fun and rewarding- and with these 3 tips, now you can stay sane at the same time! 😉 And if you like this project- I have a full video tutorial on my YouTube channel here.
Looking for more projects to try your new skills on? Here are a couple of fun ones:
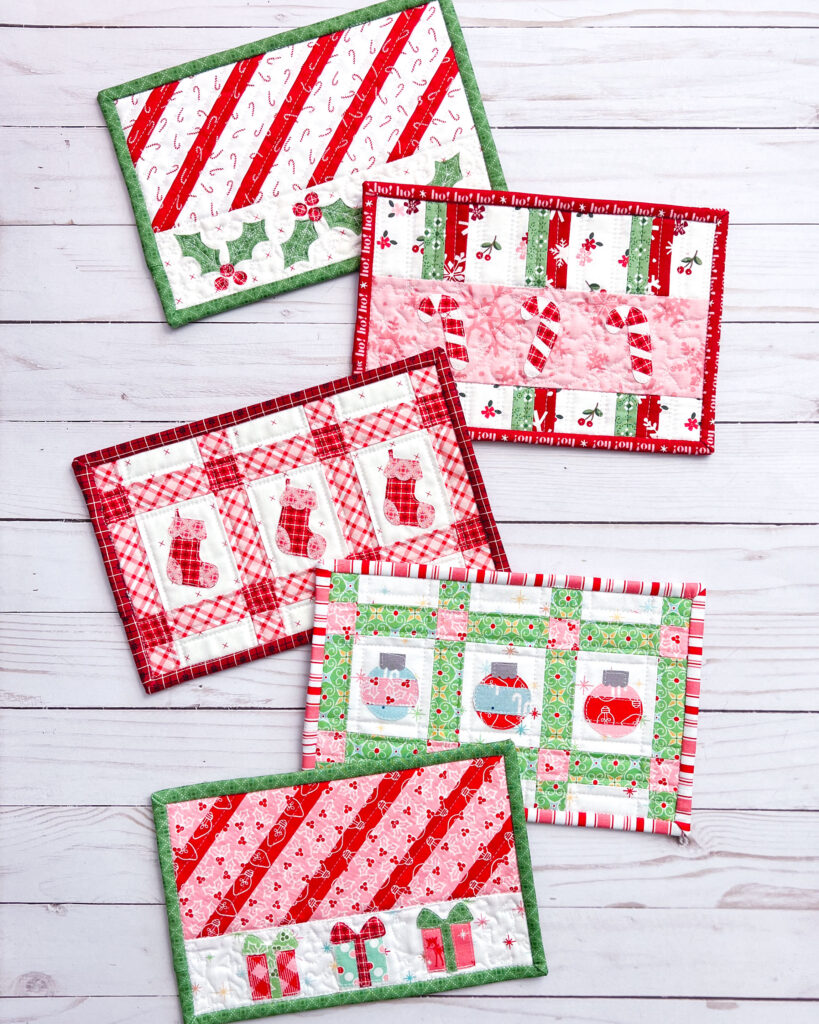
These Christmas Mug Rugs are a great way to work on your piecing in a quick and small project. Plus they make awesome gifts and dress up your desk, nightstand or coffee table with fun holiday cheer.
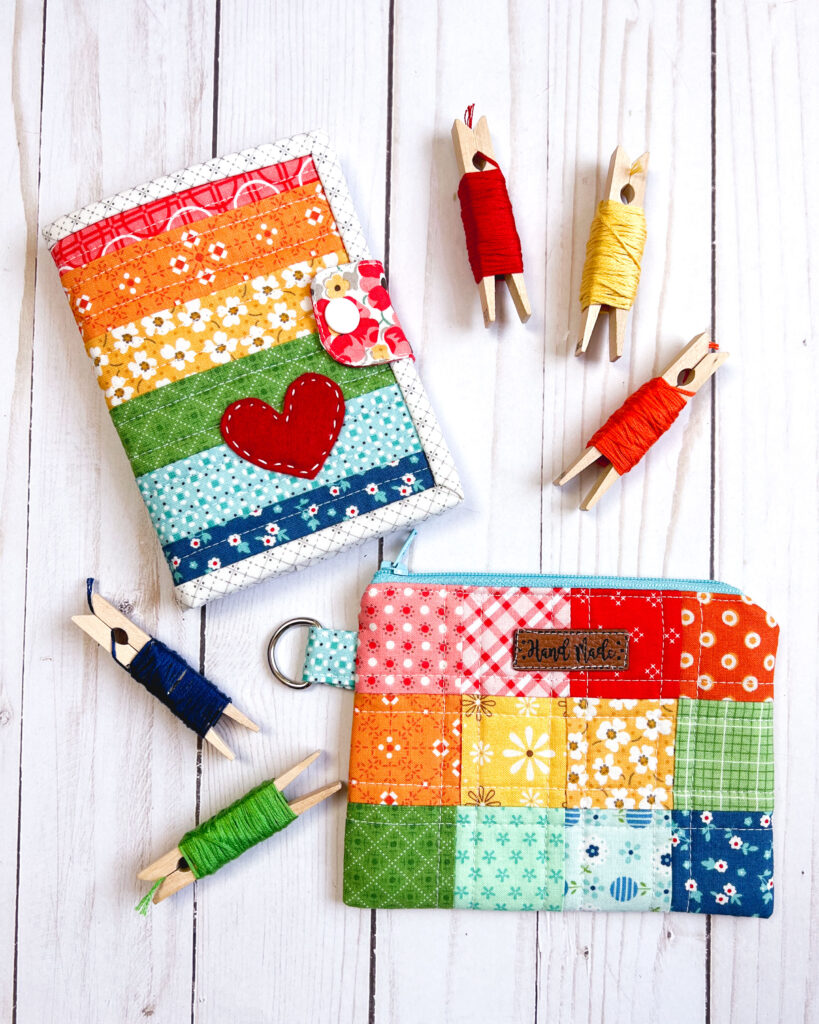
Or sew something super useful like this Needle Book! You can find the post all about it here. There are so many fun projects to sew- and now that you know how to get the results you want- Let’s SEW!!

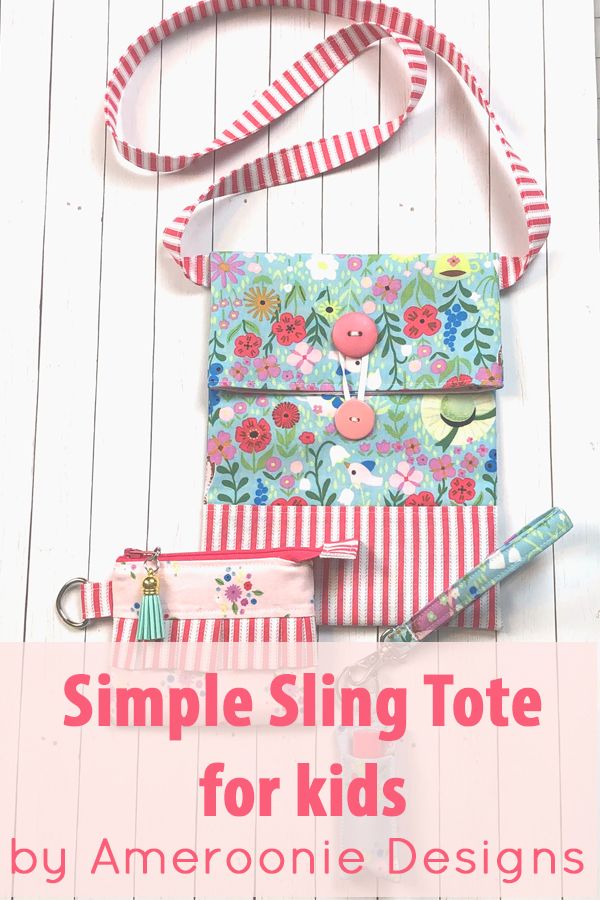


How to sew a pretty patchwork pillow with pizzazz - Ameroonie Designs
December 30, 2022 at 2:20 pm[…] 36- 1 1/2″ X 1 1/2″ squares- from accent fabric *TIP: starch your fabric before cutting out the squares- it will help with accuracy in cutting and piecing. (for more tips on sewing with small pieces check out this post here.) […]