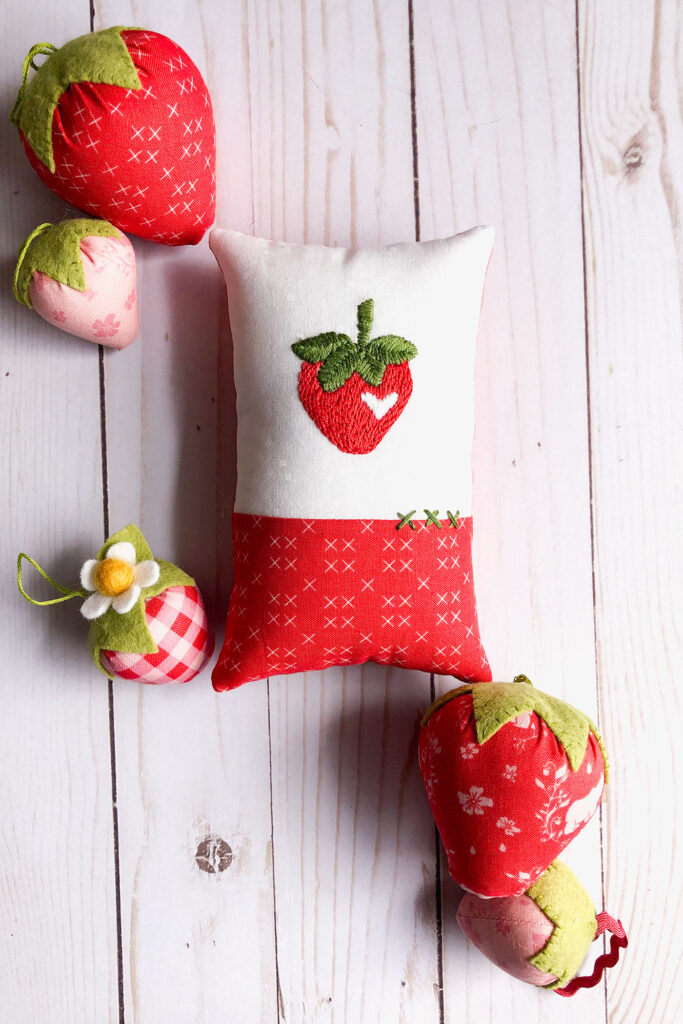
Looking for a fun project to liven up your tiered trays or shelves? This easy embroidered strawberry mini pillow is a quick finish with lots of beautiful details that will add texture and fun to your seasonal decor. If you want to sew up a few juicy stuffed strawberries to compliment your gorgeous new pillow, you can find the pattern for them here.
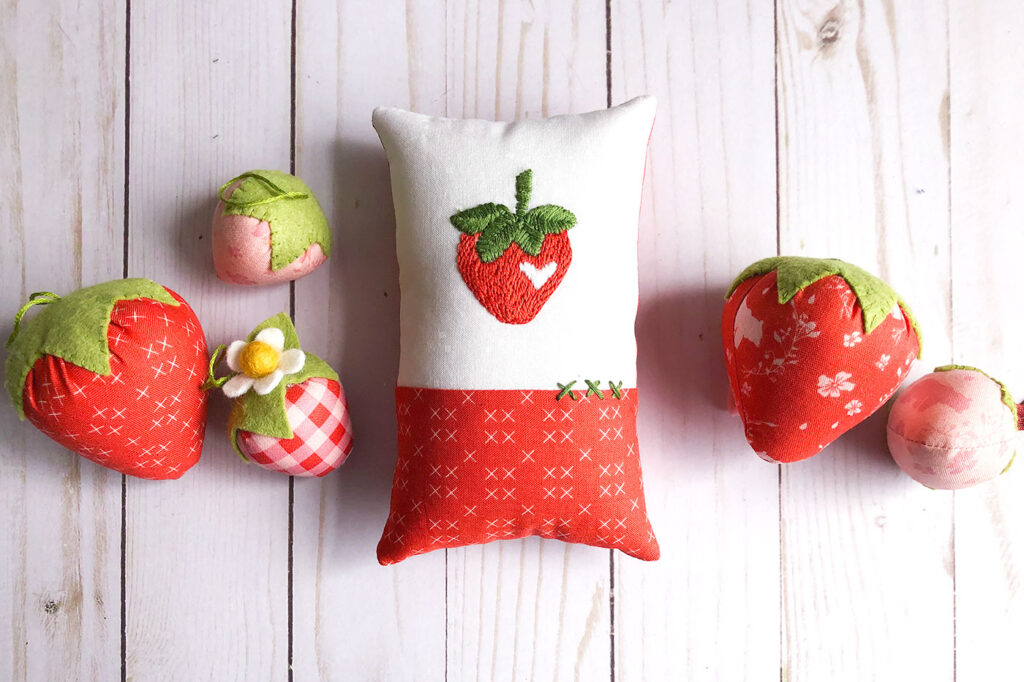
Embroidery projects are a summer go to for me. Portable, small and easy to finish they allow me to be creative without being tied all day to my sewing machine. Whether you are at the pool, the park or on a road trip, embroidery can always be at your fingertips. Get the free embroidery pattern (and the pillow instructions) by signing up for my newsletter below.
And if you want a full video tutorial on how to stitch the layered back stitch that I used for this strawberry, you can find one in this post here.
Embroidered Strawberry Mini Pillow Tutorial
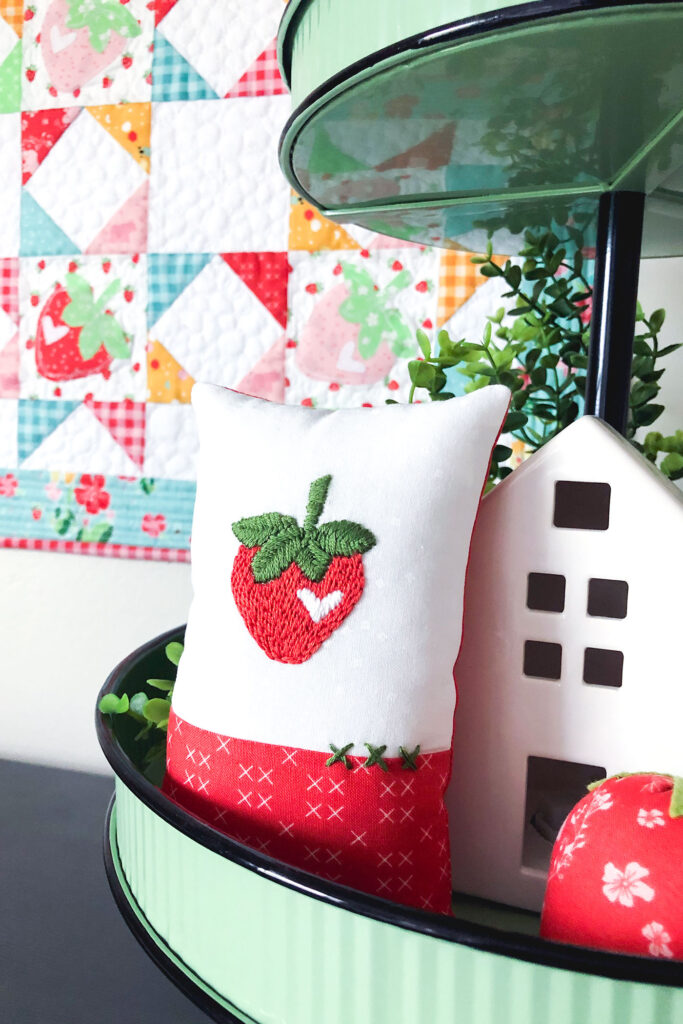
Mini pillows are so quick to sew and make fun accents in tiered trays or used for layering on shelves or mantels. This one is no exception. Read on for the full directions.
Embroidered Strawberry Pillow Supplies:
- Embroidery Pattern- get the free PDF pattern with strawberry and sewing instructions by signing up for my newsletter below.
- 6″ square of background fabric for embroidery- I am using white on white blossom.
- Accent fabric cut to 3″ (h) X 4 1/2″ (w)
- Pillow back fabric (I used the same as the accent fabric) cut to 7″ (h) X 4 1/2″ (w)
- Fusible fleece (optional) cut to 6 3/4″ (h) X 4 1/4″ (w)
Preparing pillow front:
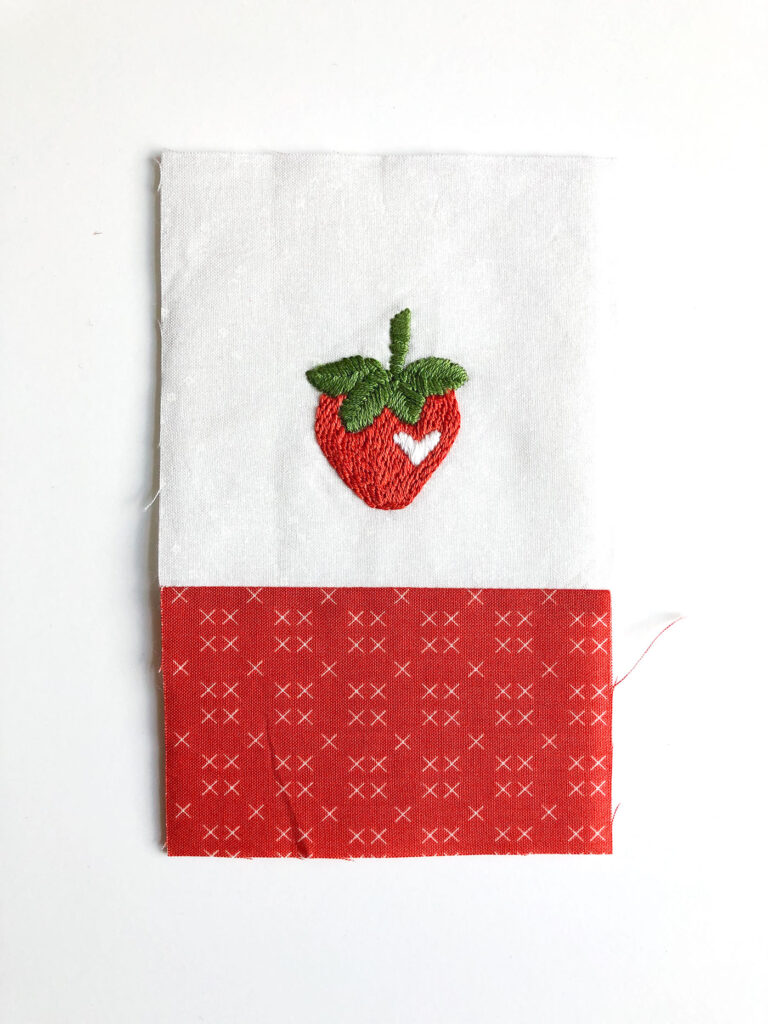
- First, embroider your strawberry just slightly below the center of the background fabric square.
- Trim your embroidery to 4 1/2″ square. The strawberry should end up slightly lower than center but in the middle of your background fabric.
- Begin by measuring 1″ from the bottom of the strawberry to cut the first side.
- Measure up from that cut side 4 1/2″ and cut the second side.
- Cut 2 1/4″ from the center of the strawberry on both sides.
- Sew the accent fabric to the bottom of the embroidered background fabric using a 1/4″ seam allowance. Press seam allowance toward accent fabric.
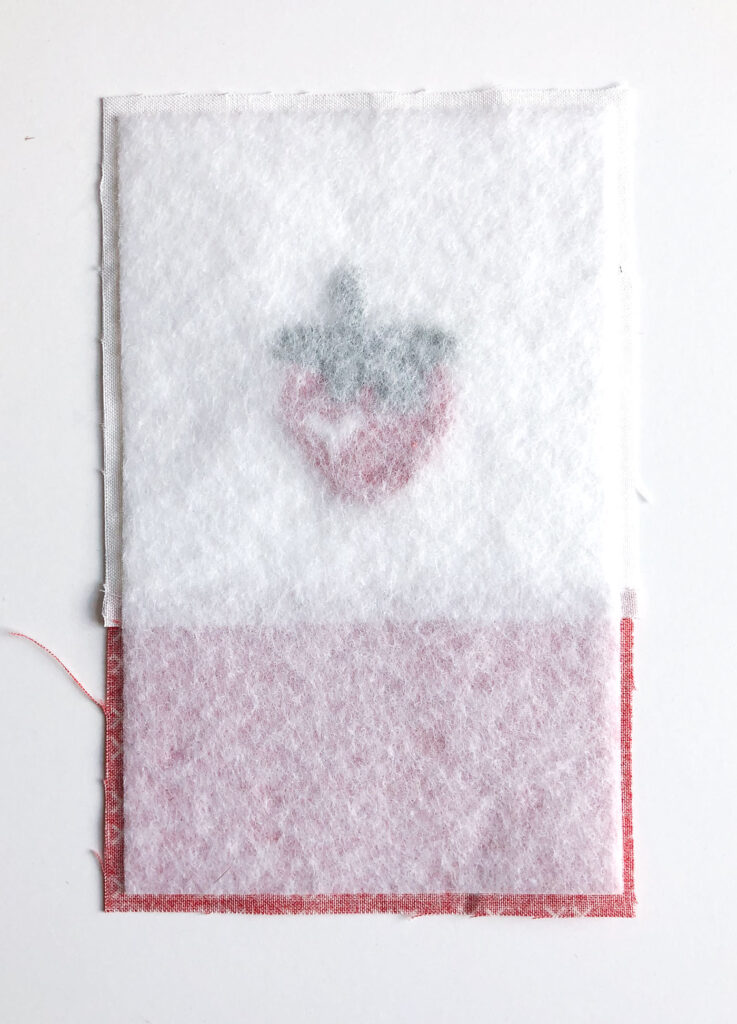
- OPTIONAL: I like to add fusible fleece to smooth out the pillow front as I add batting, and also to support and secure the embroidery. This step is optional, but if using fleece, center the fleece on the back of the pillow front and fuse into place. *NOTE: be careful pressing on your embroidery- you do not want to crush your stitches. Fuse around the strawberry, and if needed, fuse behind the strawberry from the back using a press cloth to protect your iron and a wool pressing mat, or fluffy towel to cushion your embroidery stitches.
- ALSO OPTIONAL: Add three “X” stitches across where the accent fabric and background fabric meet to add a fun detail. Use all 6 strands of embroidery floss.
Finish the Embroidered Strawberry Pillow
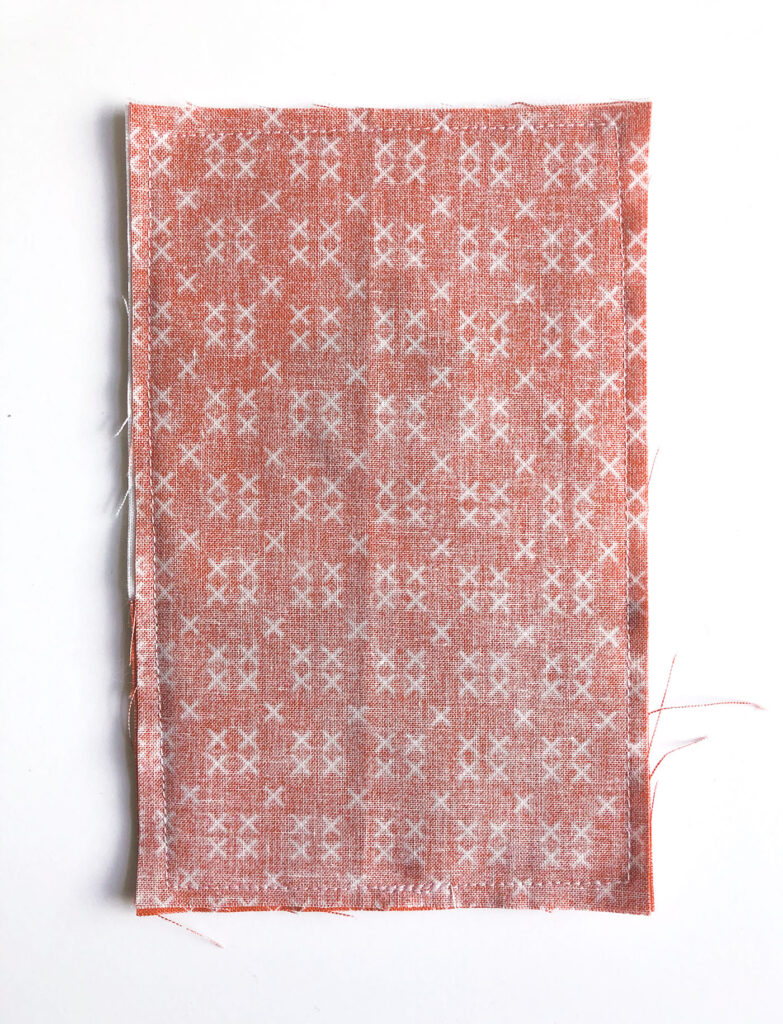
- Place the pillow back on the pillow front, right sides together, and sew around using a 1/4″ seam allowance. Leave an opening for turning if desired.
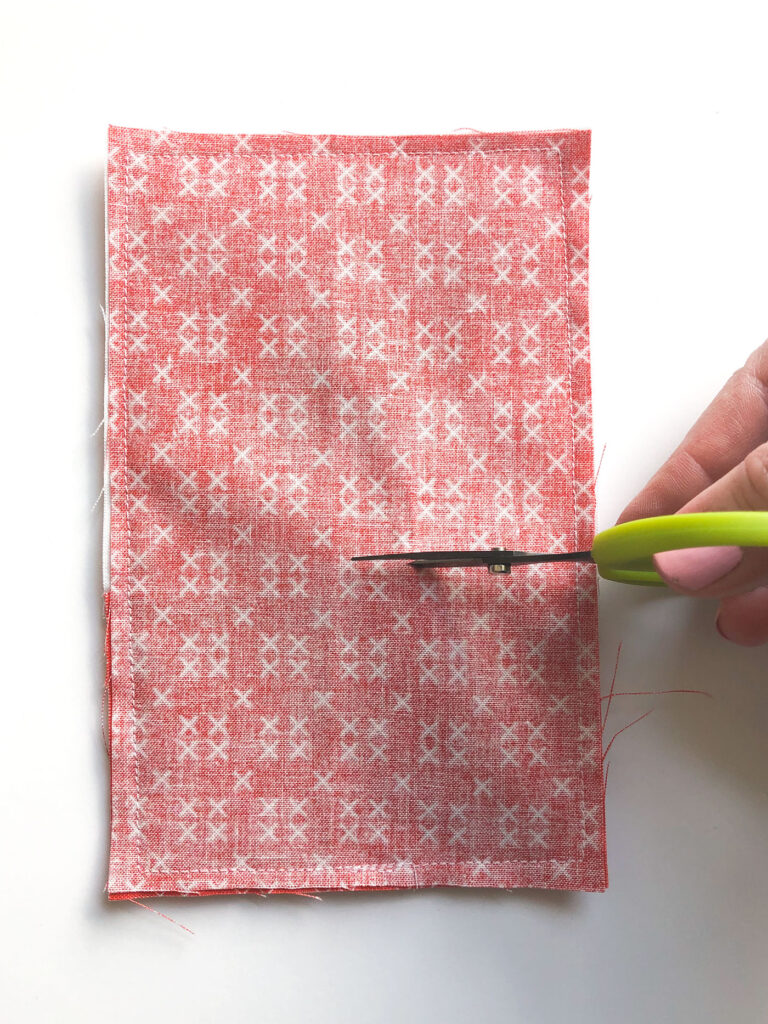
I tried a new method of turning the pillow by sewing around the entire pillow and then cutting a slit in the back of the pillow for turning. This method allows for even stuffing around all the edges of the pillow, which I actually liked.
Stuff the pillow as desired and close the opening left for turning- either in the seam, or in the backing.
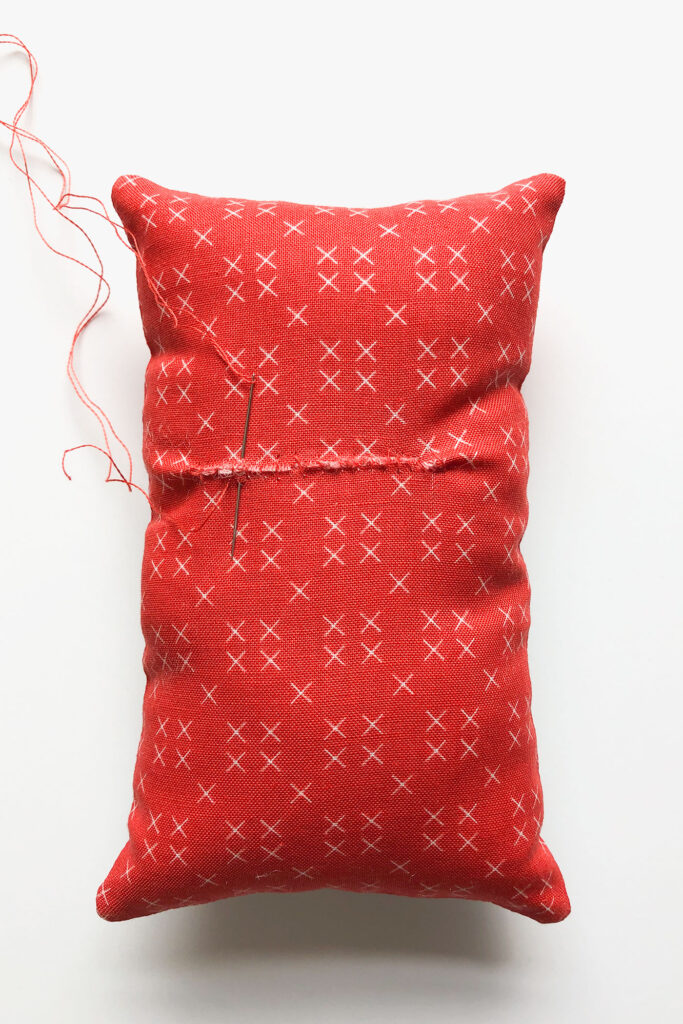
I did a simple whip stitch back and forth two times. Many people cover this stitching with decorative ribbon or felt. I simply left it as is for now as it won’t be seen in the tiered tray where I am displaying it.
If you are having fun with embroidery and want some more projects to work on- These embroidered word ornaments are so beautiful for Christmas and you will be ahead of the game!! Or you can add some fun embroidery details to these Patriotic mini flags for some gorgeous summer home decor.
Have fun stitching this summer! Amy


learn how to stitch a Layered Back Stitch with a video tutorial
May 18, 2021 at 9:02 pm[…] layered back stitch gives. The pattern for this strawberry, and the pillow I made using it can be found in this post. It’s a free PDF for newsletter subscribers. And if you are looking for the pattern for the […]