*I was given a stencil from Royal Design Studios to complete this project and will receive compensation in the form of credit to their store for this post. I hope that the fact that I am working for more stuff from Royal Design Studios shows how much I like their products. 😉 The ideas and opinions are all my own.

You know when you see something and you just really have to try to make it for yourself? I have been feeling this way about this darling sign from Peabody and Sassafrass. Did you click over? Isn’t it gorgeous? The whole look they create is just fabulous.
When I was contacted by Royal Design Studios about creating a holiday project I was excited for a reason to create some new art inspired by their gorgeous creation. And when I went to Pinners Conference and saw this deer head from The Wood Connection– I knew exactly what I was going to do.
Here’s how it came together.
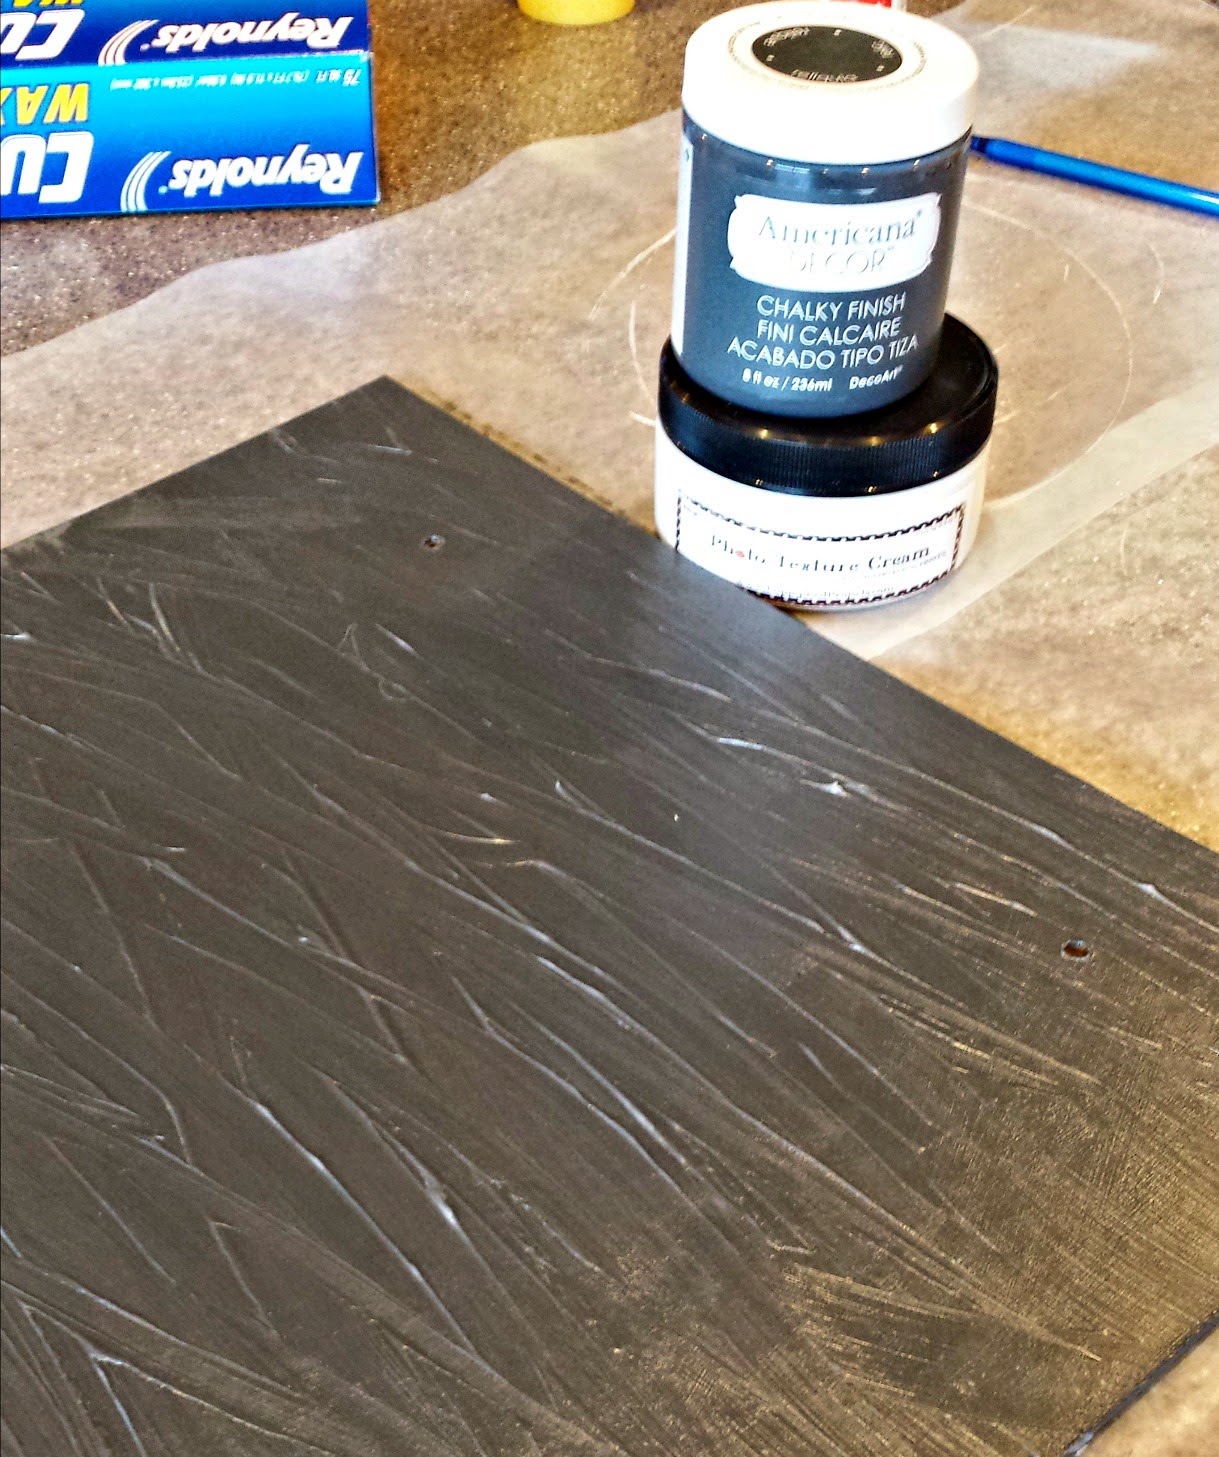
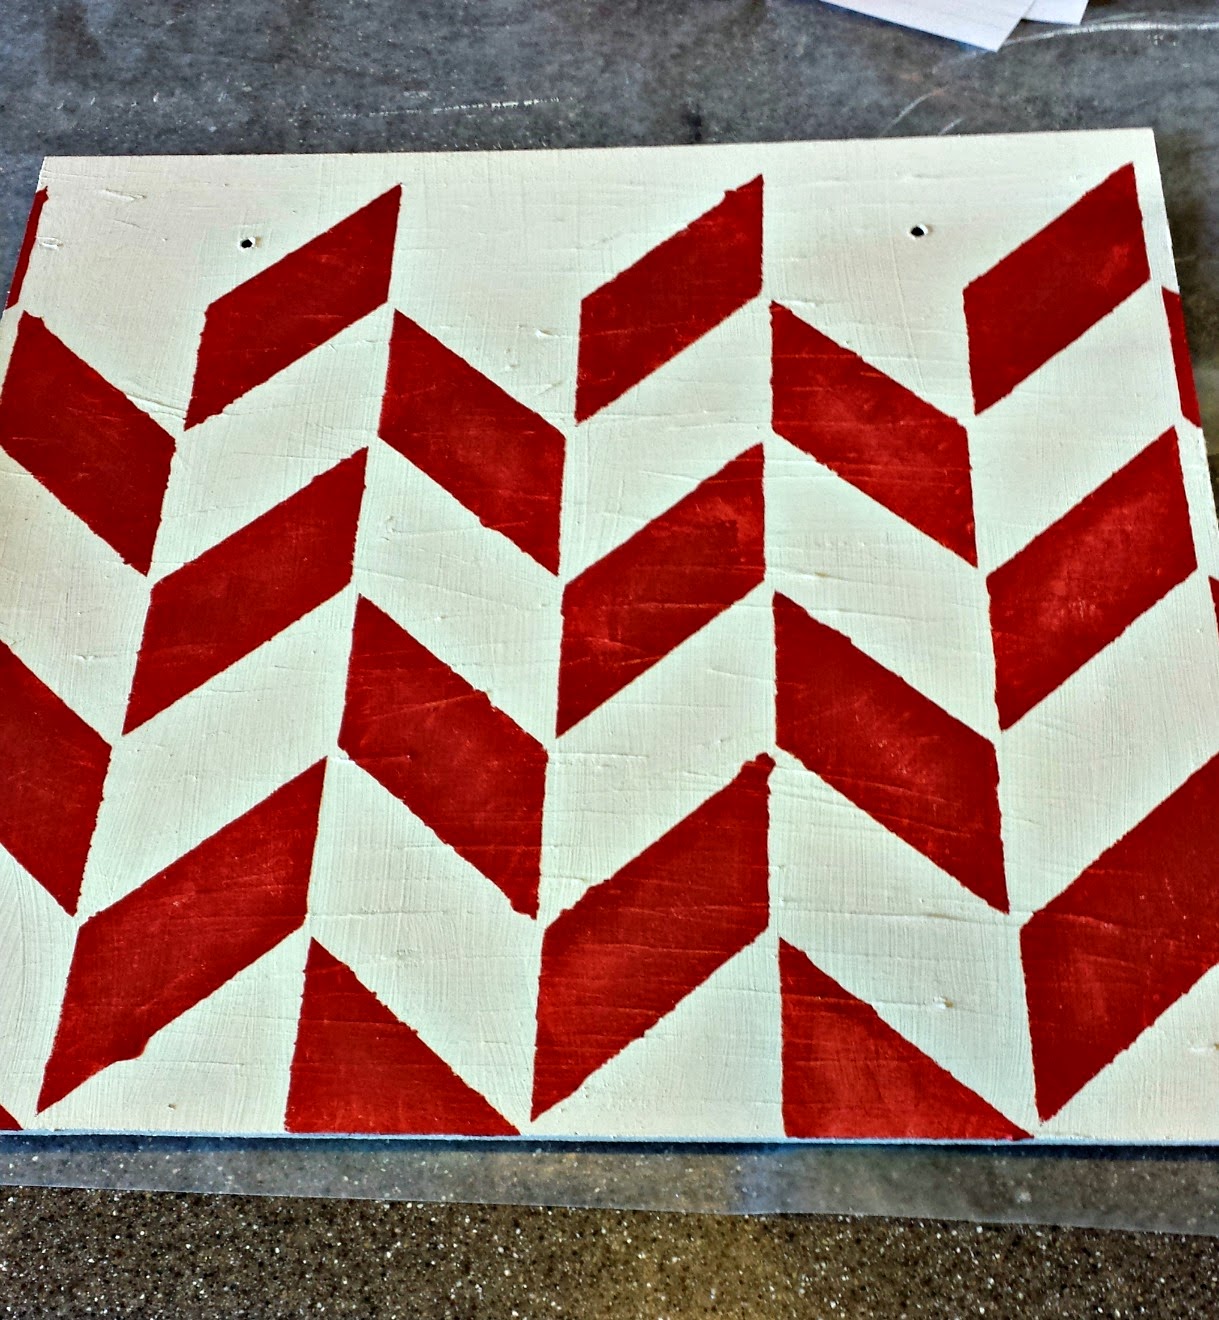
Once the texture cream was dry it was time to start adding the colors for the final project. I started out adding the cream. I used Antique White from Annie Sloan Chalk Paint because I had some on hand and it was the perfect color, feel free to use any kind of paint you want. For the red, I wanted a color that would match a project I am still working on, so I ended up mixing up my own color, but I simply used acrylic paint so find whatever color you love. This is where the Royal Design Studios stencil came in. I wanted something that would add some interest and dimension to the project and finally decided on this Herringbone Pattern Christmas Stencil. I absolutely love the look it gave my project. They have so many fabulous options it was hard to choose, but this one was a simple, classic design that was exactly what I was looking for. Because there was so much texture on my board, it was hard getting the lines exactly perfect, but I was hoping for a bit of a handmade/ distressed look, so I wasn’t worried about it. When you purchase a stencil from Royal Design Studios they send you directions on how to stencil if you don’t know already. I found these tips really helpful because I am definitely no expert.
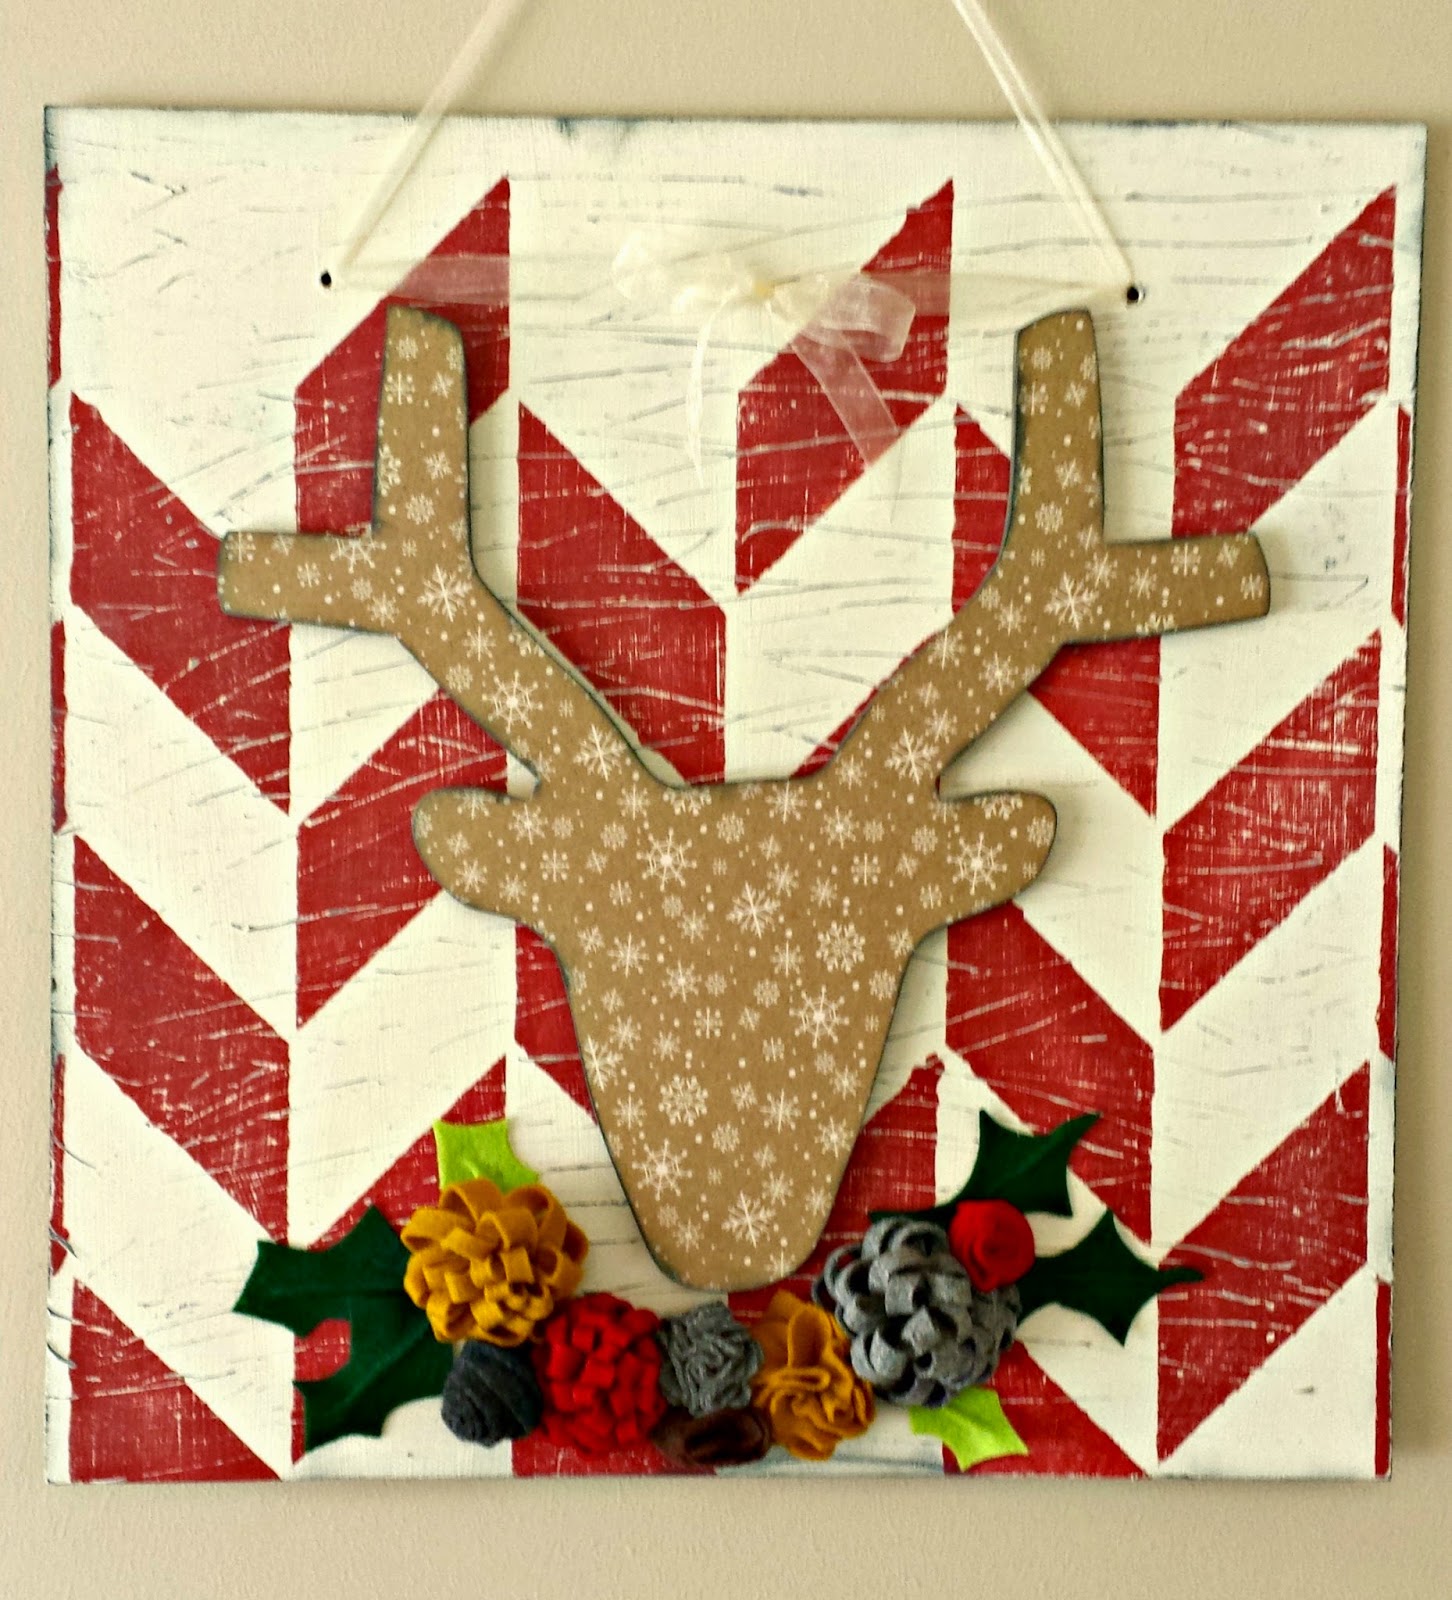
While my paint was drying I prepped my deer head. I traced the shape onto the paper I wanted to use, cut it out and mod podged the paper to the head. Then I let it dry. Once it was dry I sanded the edges of the deer to get rid of any extra paper that might hang over the edges.
The final step before assembling is to distress our board. I used a fresh piece of sand paper and sanded over the whole thing. You will see that the raised parts exposed the gray underneath.

Once I decided where to place my deer head I realized that the brown head wasn’t standing out as much as I would like, so before I glued it down I went around the edges with some charcoal ink and it was exactly the touch it needed.
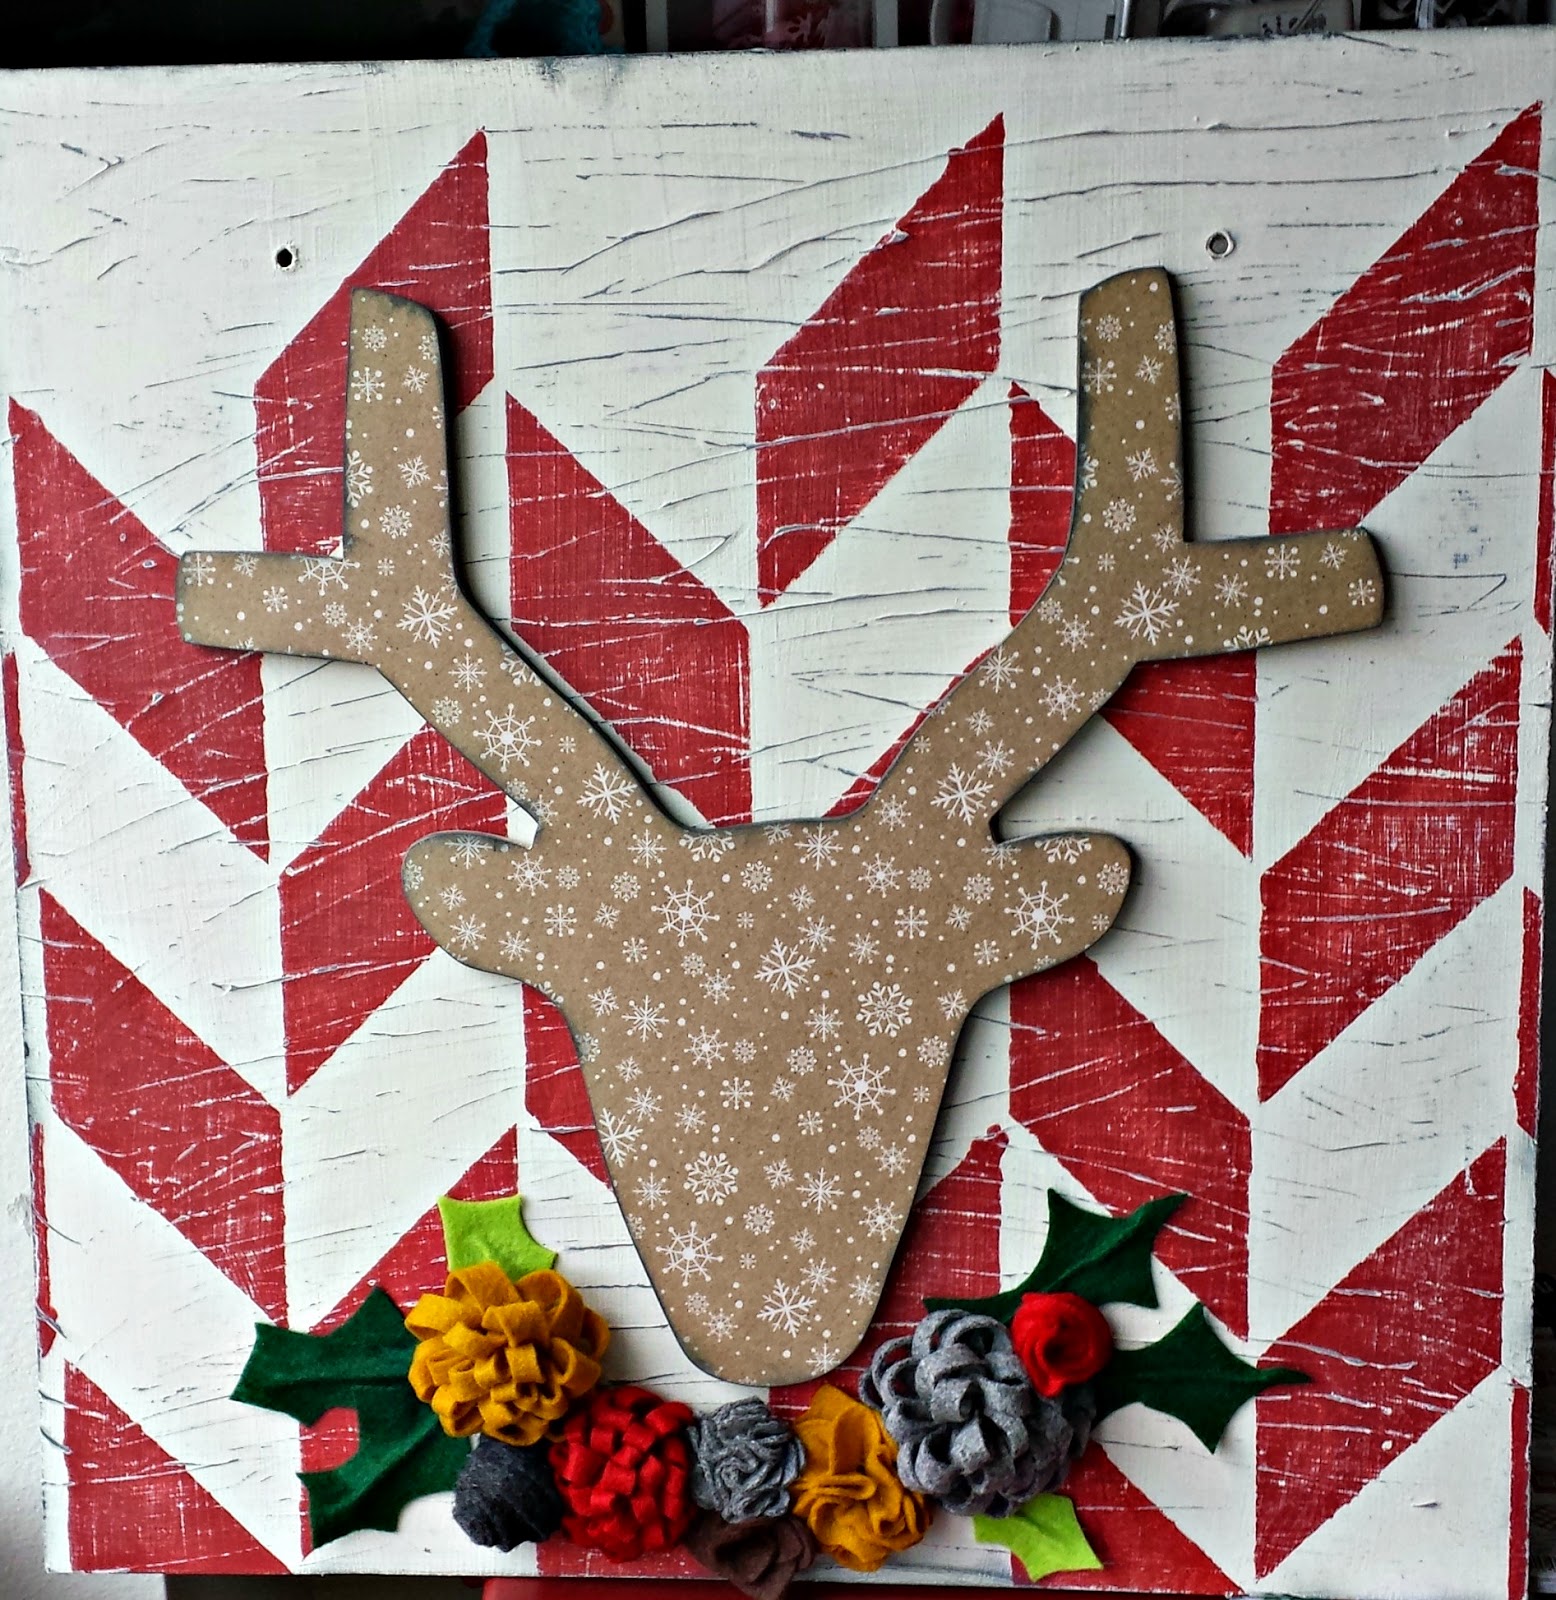
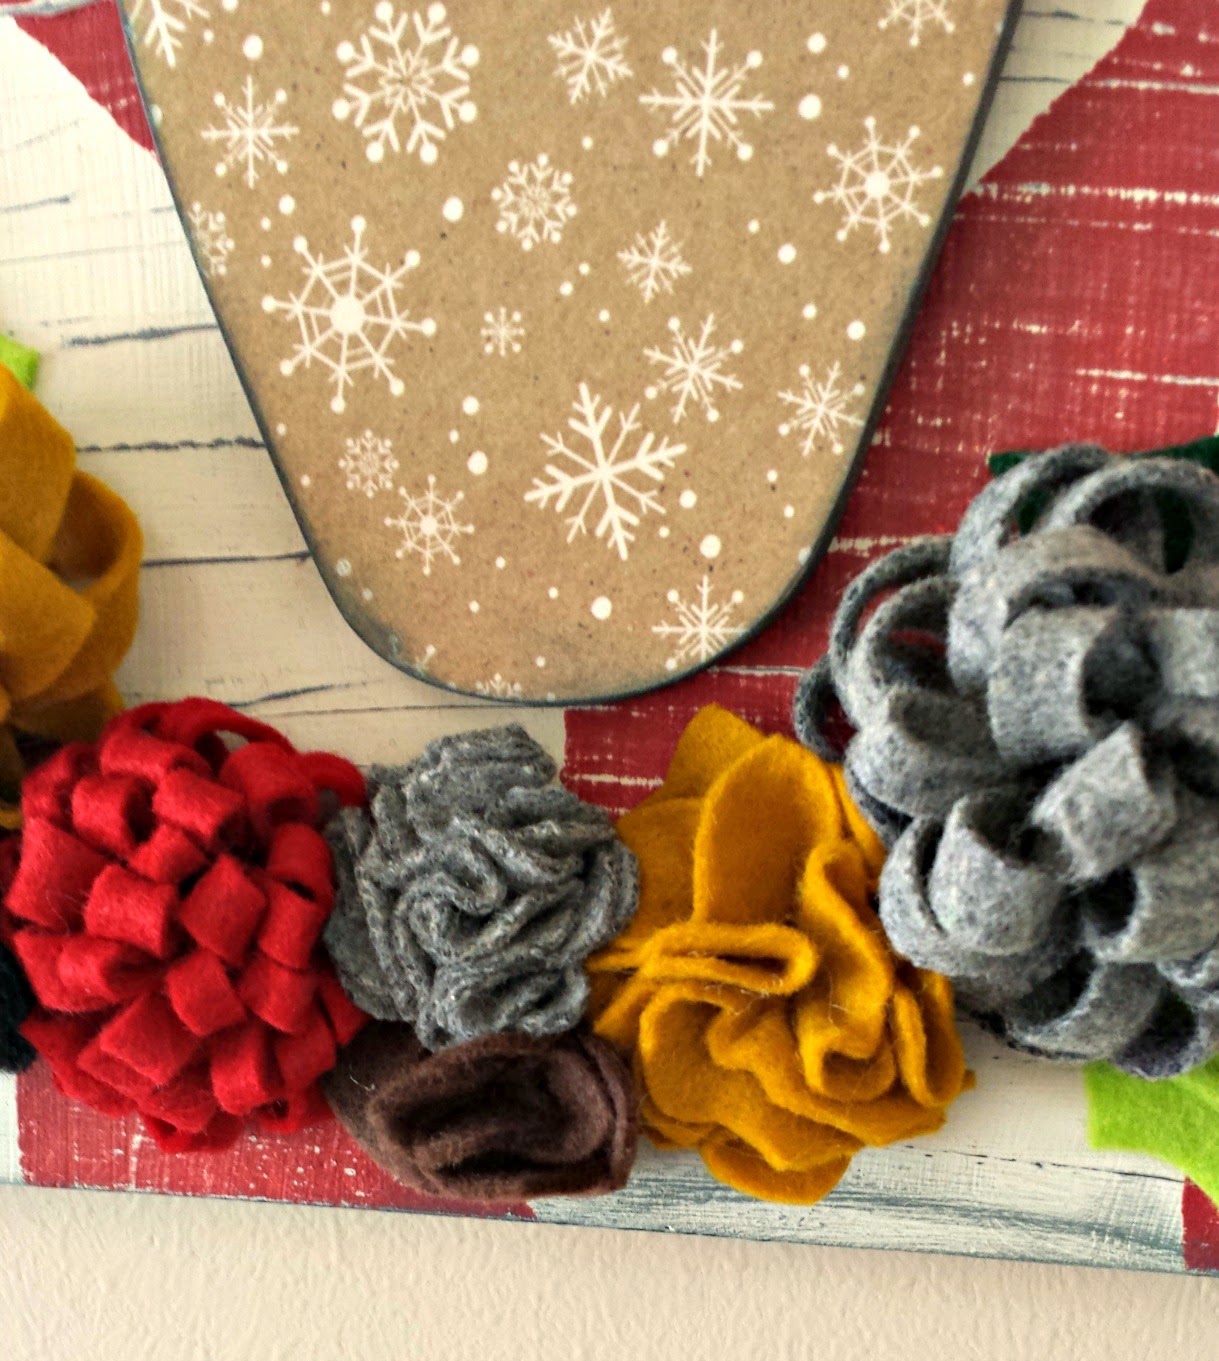
As I said in the beginning, I was loving the look of the Peabody and Sassafrass piece and the thing that really sent their piece over the top was the felt flowers on the bottom. So I pulled out my bucket of felt and went to work.

I started out with my go to pom pom flowers using strips of felt that were about 6″ long and only 2″ wide.

Of course the last step is the ribbon. I’m not sure if I’m going to keep this on it forever, but for now I love how simple and understated it is and that it lets the deer head and flowers take center stage.
Let me know if you have any questions. Do you change your holiday decor every year? I like to add a few new pieces each year, and I try to retire others too, just so I don’t have a gazillion boxes to store from year to year.
Have a fabulous Friday!
xoxo,
Amy


Cassie Moore
December 29, 2014 at 4:34 pmHey. I saw you posted on the book of christ all about Jesus birth and it was the free printable one on the blog sew alot or something. I cannot get it to work. Do you still have all the downloads to make that book? I know it's days before christmas, but if you have a few minutes can you email it to me please. I would greatly appreciate it. Thank you. My email is [email protected]