This post contains affiliate links. For full information on affiliate link policies see the legal tab on my home page.
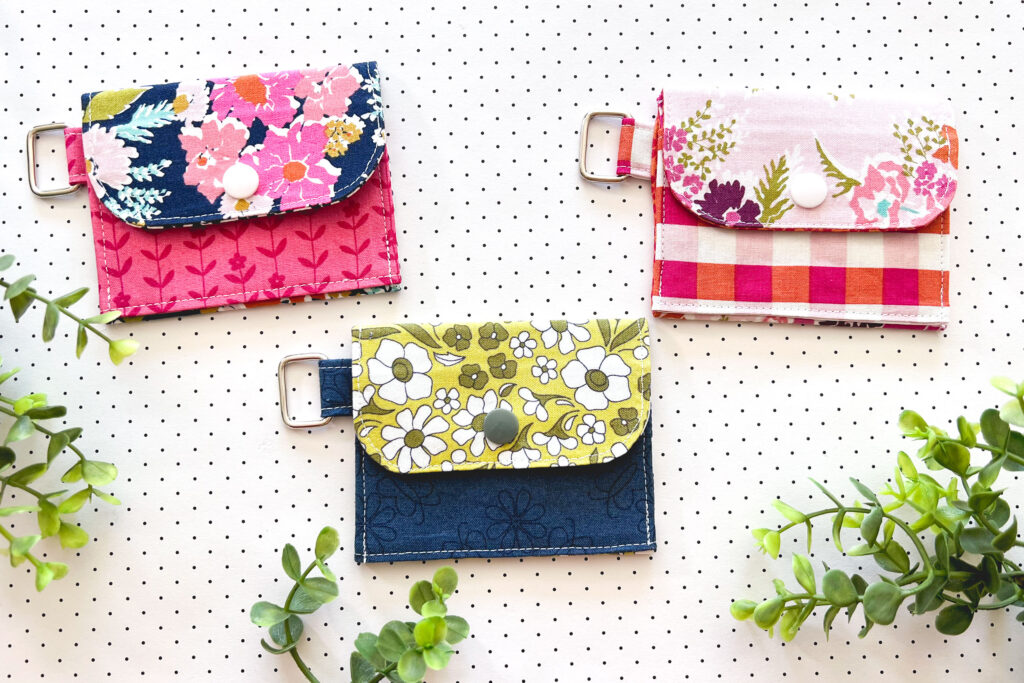
Plastic snaps are a fantastic way to add a closure to your sewing projects. Snaps come in lots of different colors and are quick and easy to install. If not knowing how to use a plastic snap has kept you from adding them to your projects, you’re in luck! This post will show you how to quickly install a plastic snap to your sewing projects!
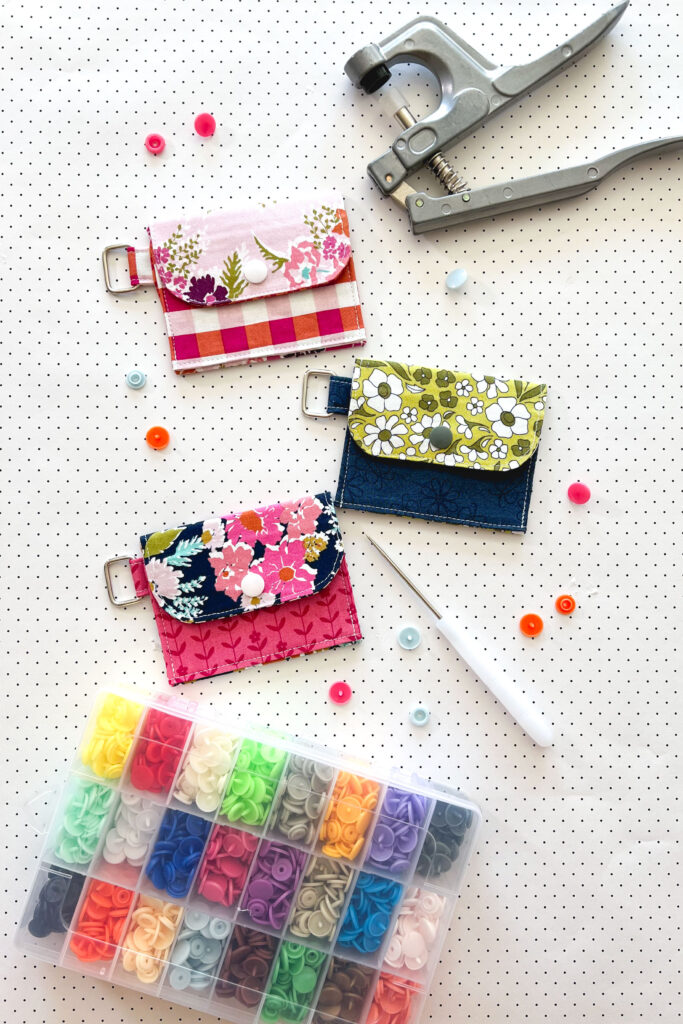
Supplies for Installing Plastic Snaps
To install your plastic snaps you will need a few items:
- Sewing project, ready for snaps. I am using my mini wallet pattern.
- An awl for piercing through your layers of fabric.
- A setting tool for flattening the stem to secure the snap.
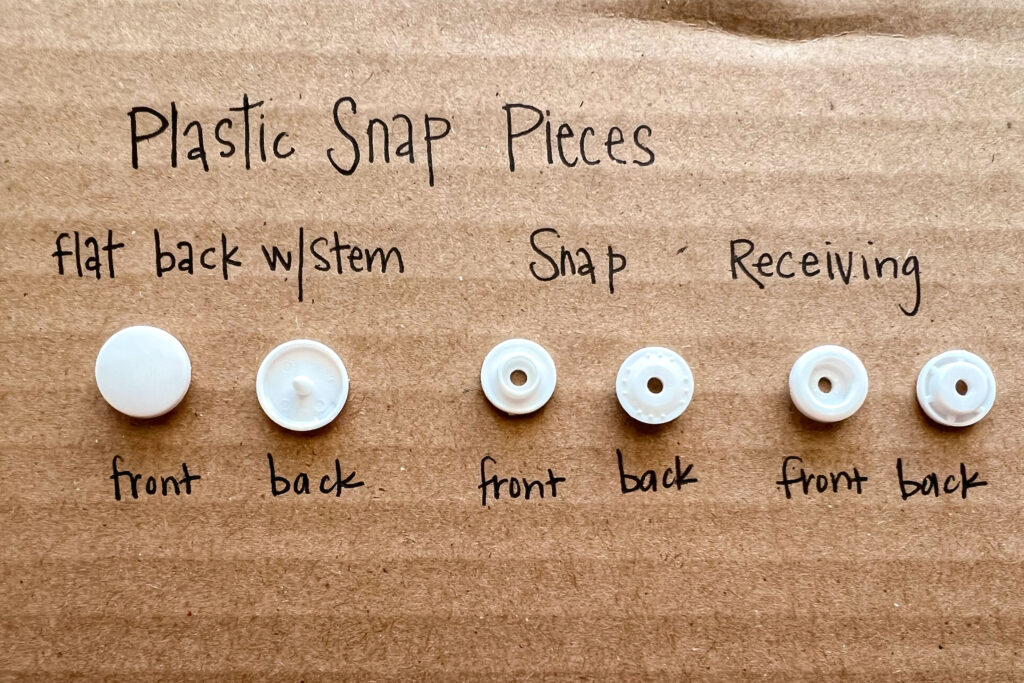
- The four pieces of your snap set, 2 backs, 1 snap and 1 receiving end.
Starter kits include all of needed tools which often also have a sampler pack of multiple colors of snaps.
If video is more your speed, you can see the full tutorial on YouTube here:
Installing the Snap End
Now that we have all of our supplies, we can install our snaps. Firstly, begin by marking where the first side of your snap will be placed. Mark that spot with a small dot.
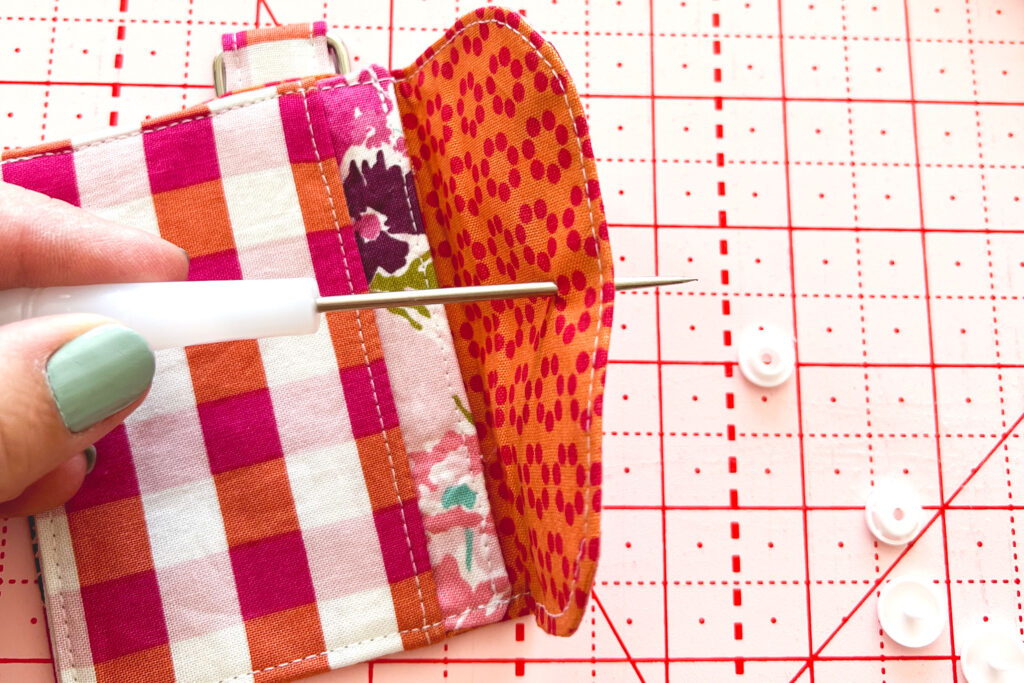
Next, pierce through all layers of fabric and interfacing with an awl. It can be helpful to wiggle the awl a little bit once it is all the way through to mark the hole well.
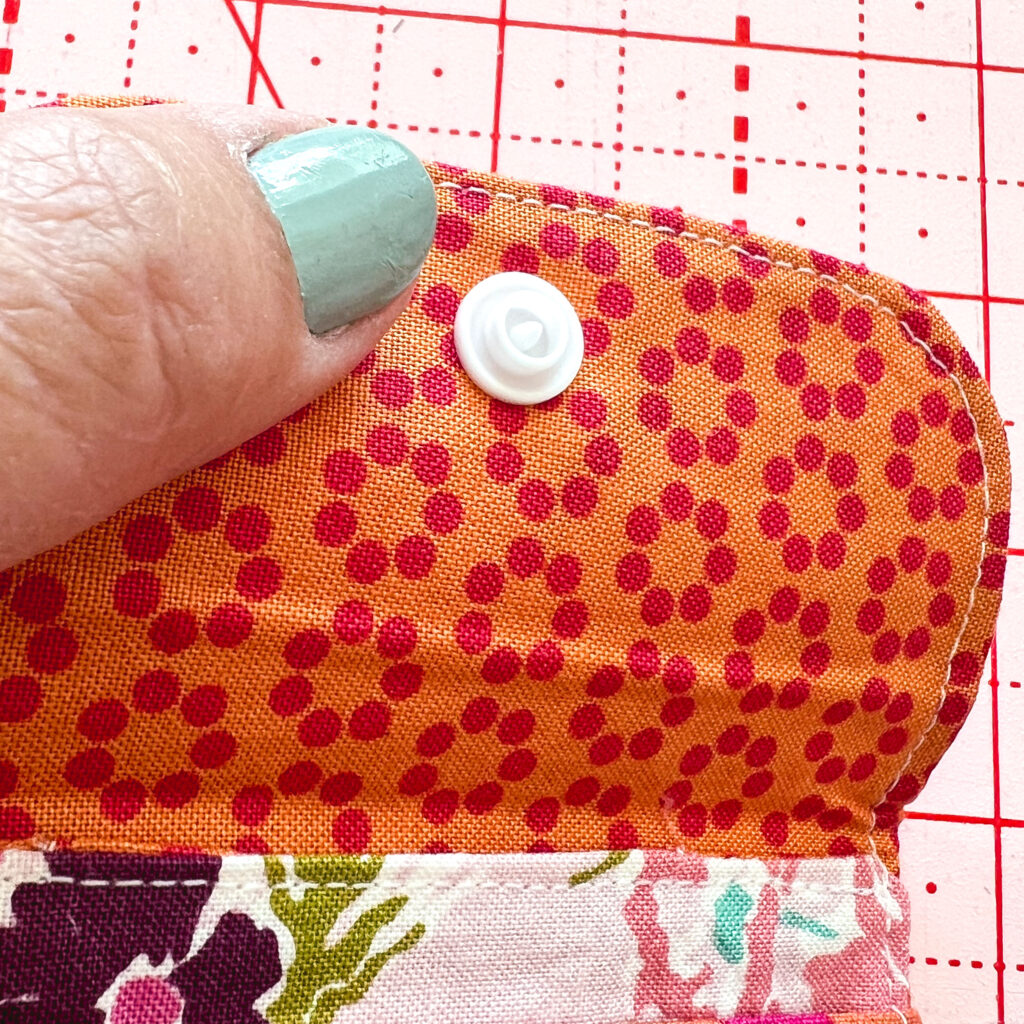
Then, push the post of one flat back piece through the hole. Position the flat back to be on the exterior of your project. Slide the snap end of your set onto the post, on the back side of the project. (in this case, the inside of the flap.) Use the setting tool to flatten the post to secure the snap:
- First, line up the flat end of the snap with the cupped side of the setting tool. The flat end should be centered in the cup.
- Second, hold the snap inside the setting tool and gently squeeze the tool to hold the snap in place straight.
- Finally, give the setting tool a firm squeeze to flatten the post inside the snap end.
Setting the Receiving end of the plastic snap
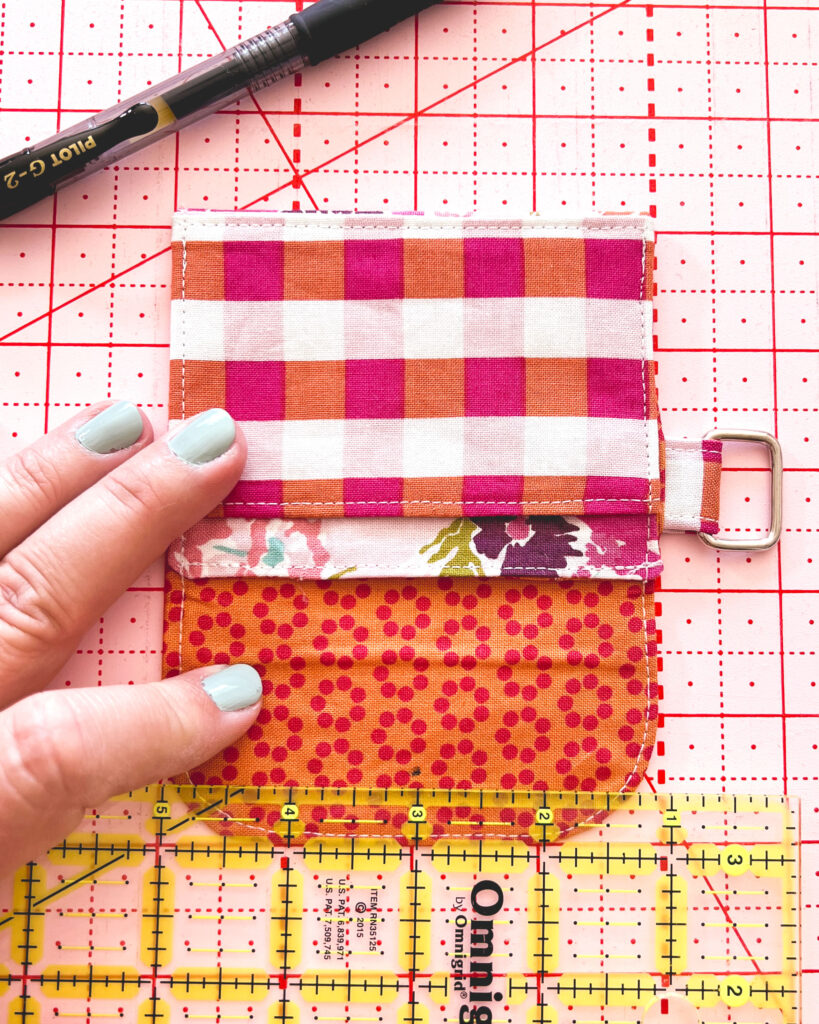
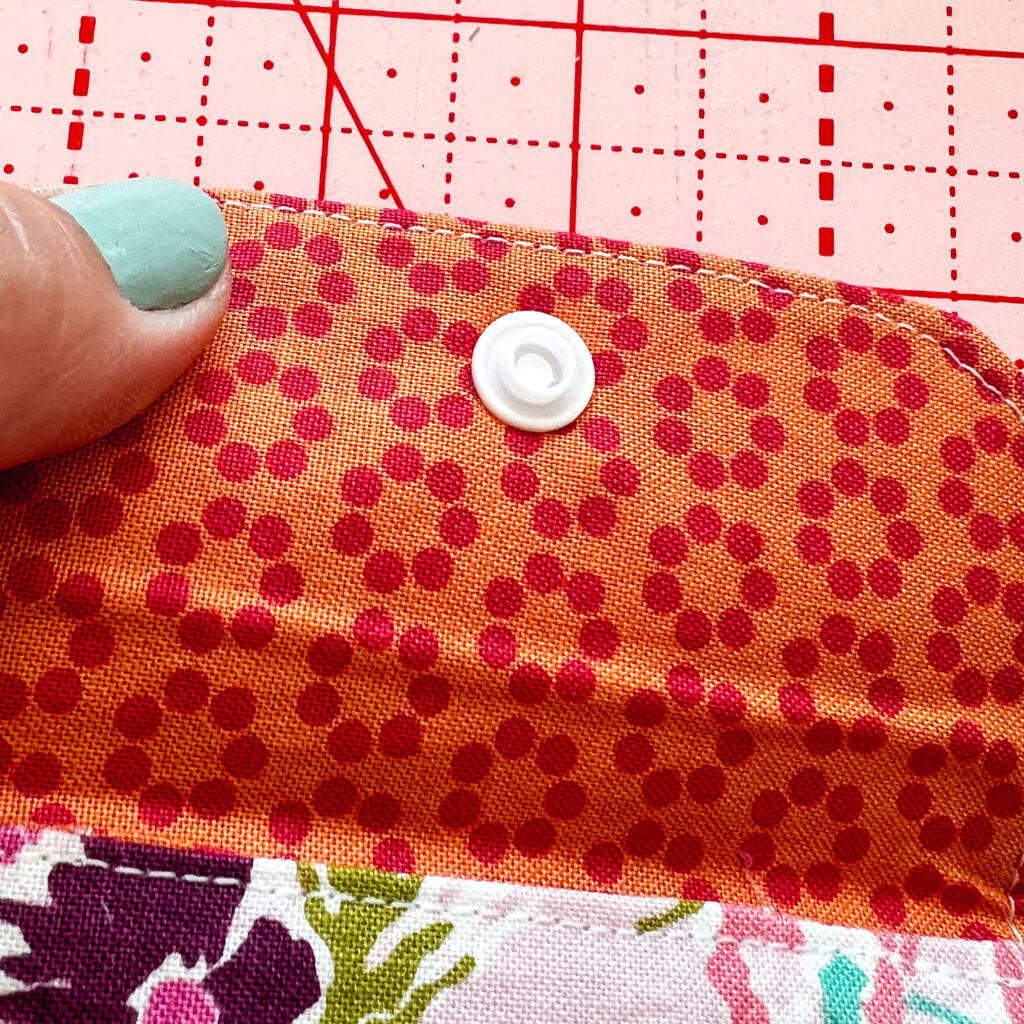
Now, fold over the project to position the snap end where it will go when the project is finished. In this example, fold over the flap of the mini wallet. Then, press firmly on the back of the snap to create an indent where the receiving end should go.
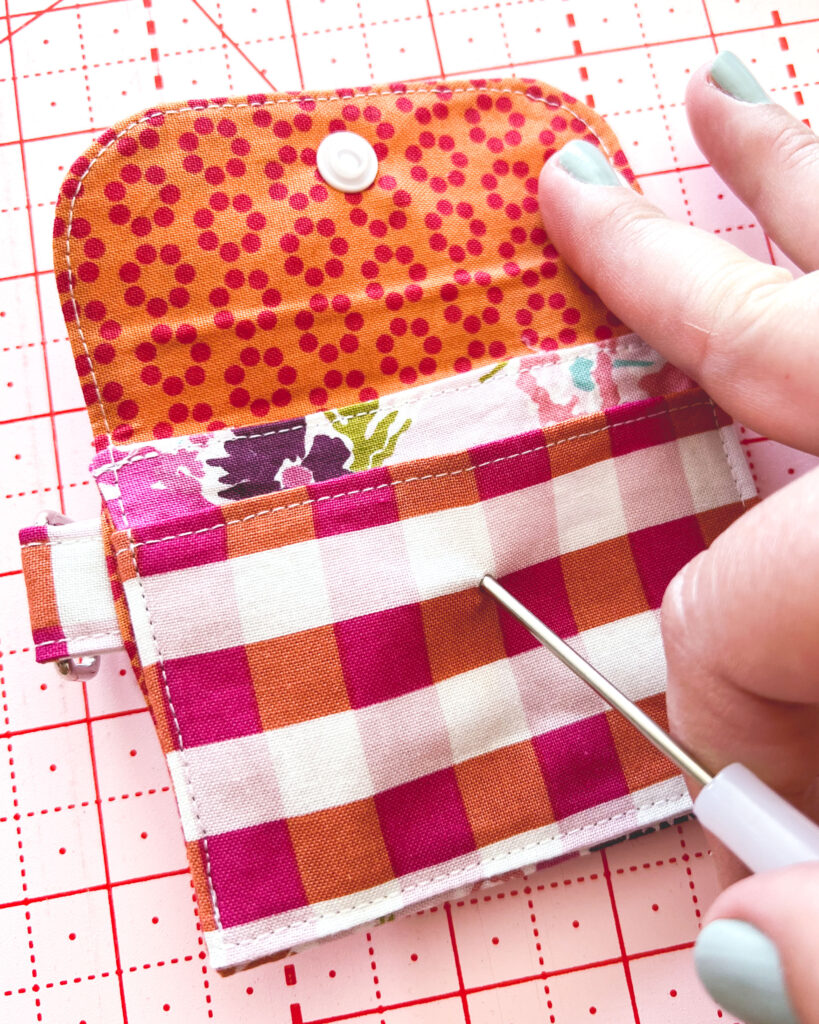
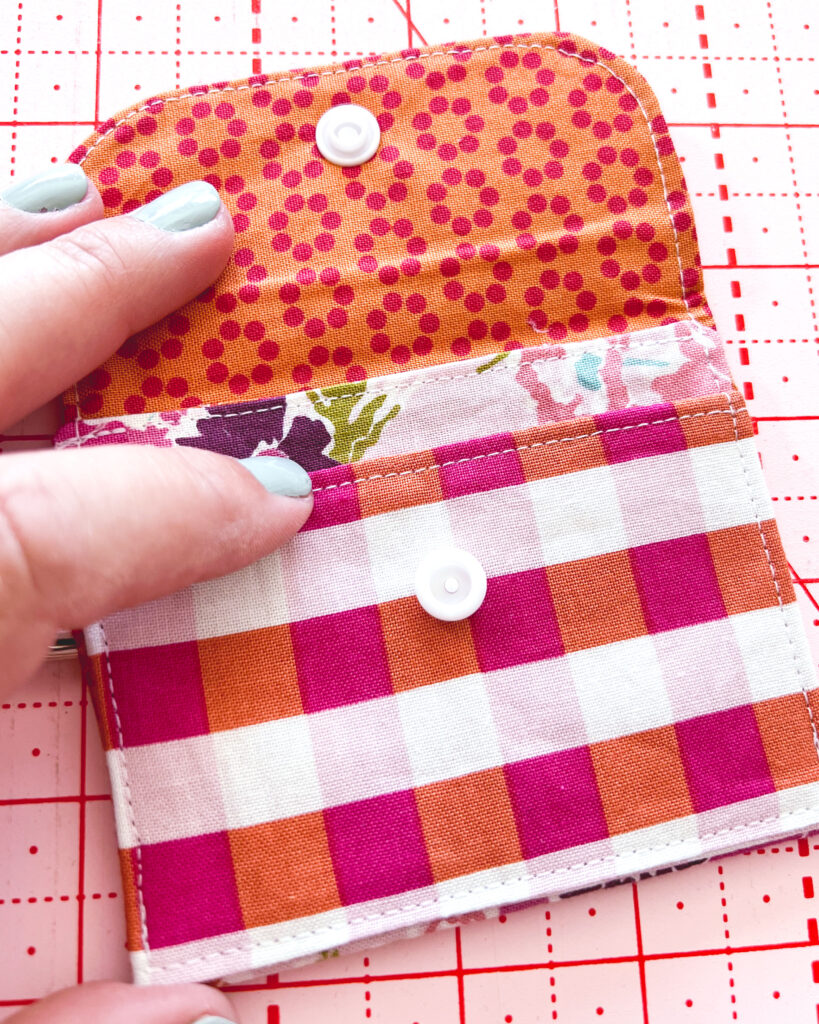
Next, place the receiving end of the snap onto the post. Finally, repeat the steps for setting the snap: slide the tool so the cupped end is under the flat back, squeeze gently to ensure the snap is straight, give a firm squeeze to flatten the post and set the snap.
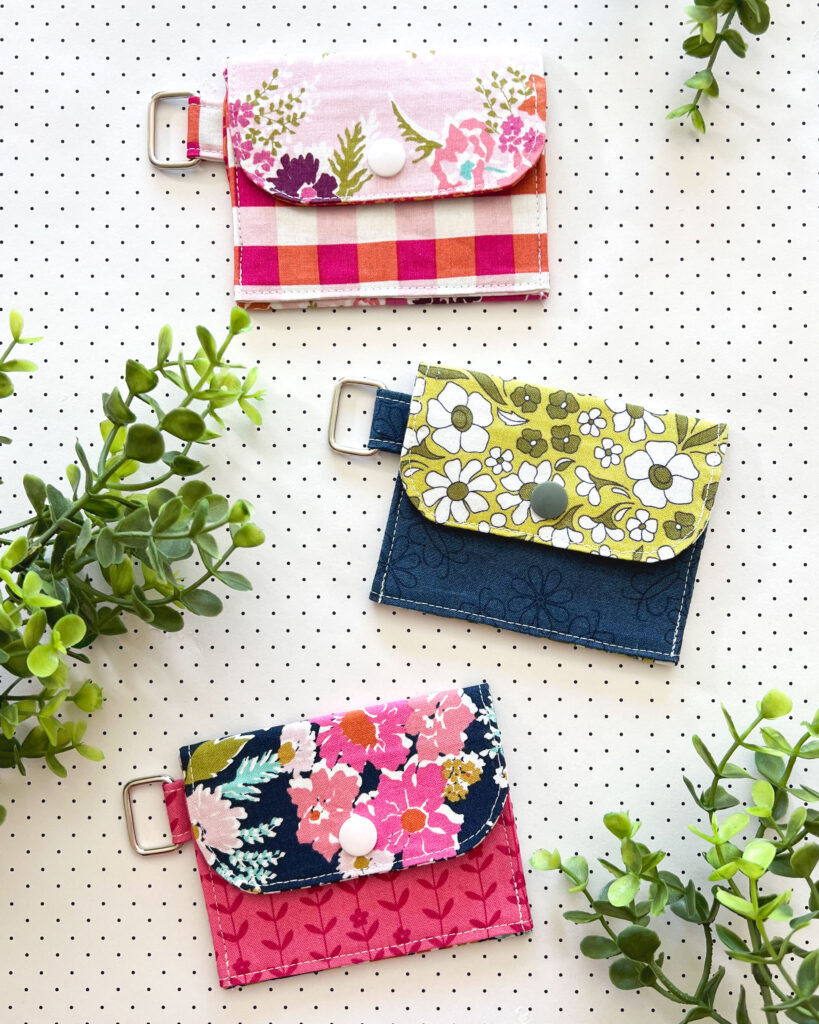
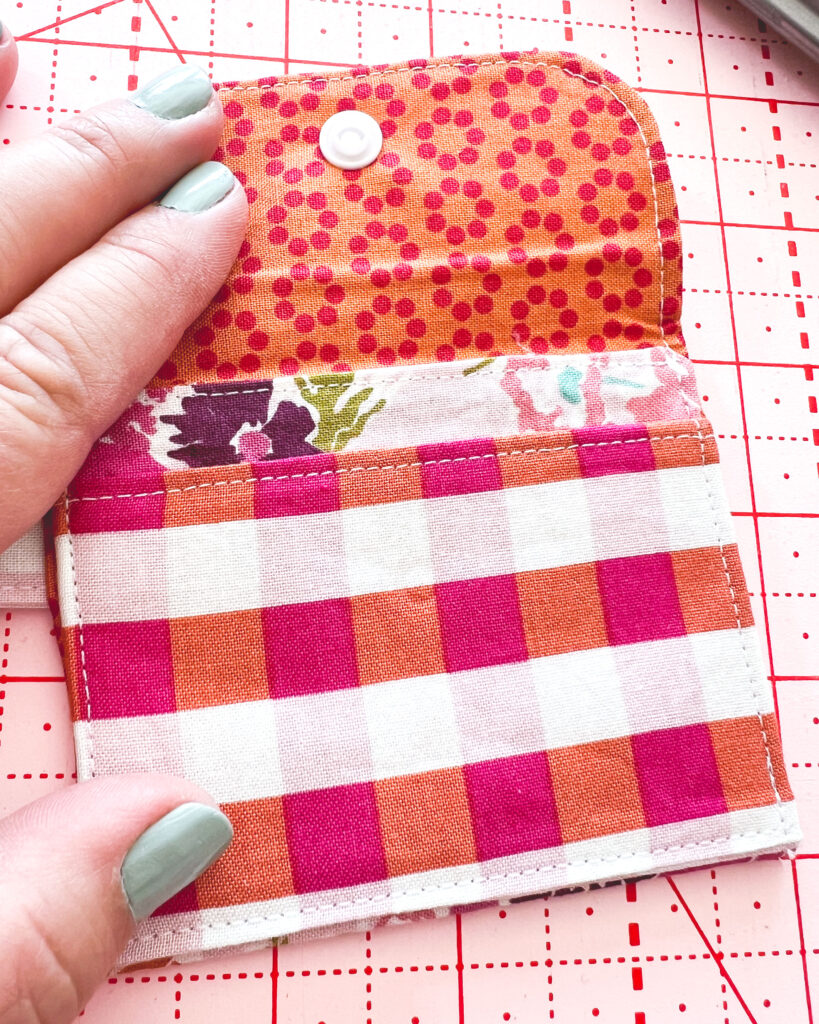
And that’s it! See, so easy right? Now the hard part is going to be not putting snaps on every project you sew, whether they need it or not! However, if you do want another project that uses these fun snaps, you might love my Needle Book pattern too!
If you make a mini wallet, or a needle book- I would love to see! Tag me @AmeroonieDesigns on Instagram or Facebook, or use the hashtag #amerooniedesignspatterns so I can see them! Happy Sewing!


Mini Wallet Tutorial with three closure options - Ameroonie Designs
September 27, 2023 at 2:03 pm[…] For a full tutorial on how to insert the plastic snaps into your project, including a video, you can go to this post here. […]