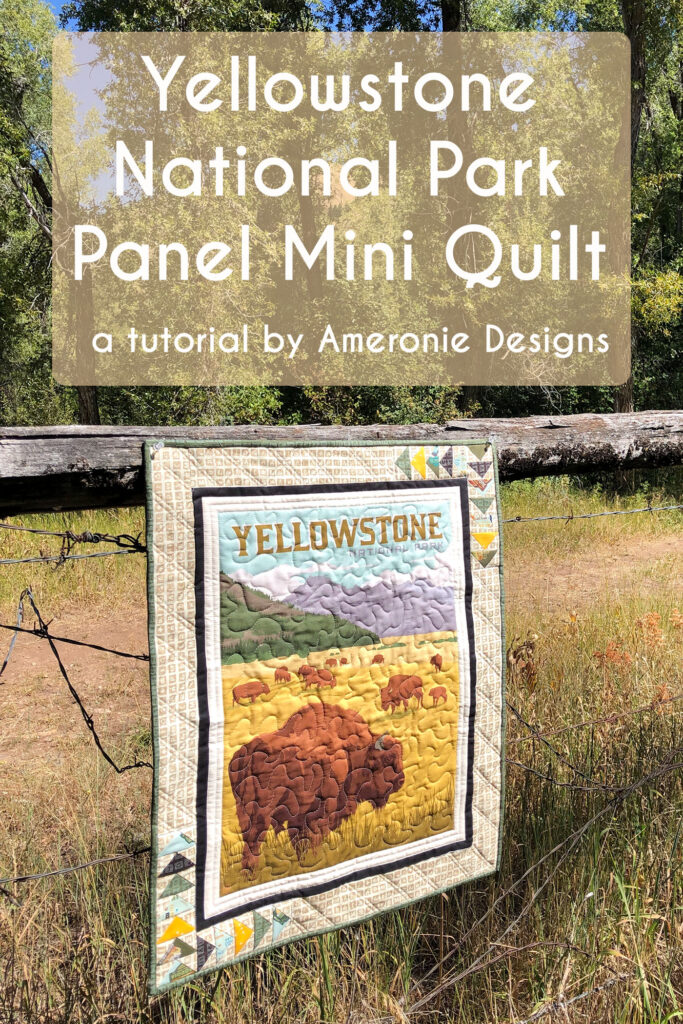
I am so excited to be here on the National Parks Fabric Panels tour. We recently moved to Wyoming and I am thrilled that we live so close to some of the most amazing national parks. These National Parks Fabric Panels have gorgeous artwork and the colors are rich and awesome! I knew a Yellowstone Panel Mini Quilt would be a perfect nod to our new home.
The fabric was provided by Riley Blake Designs, but the opinions and projects are mine.
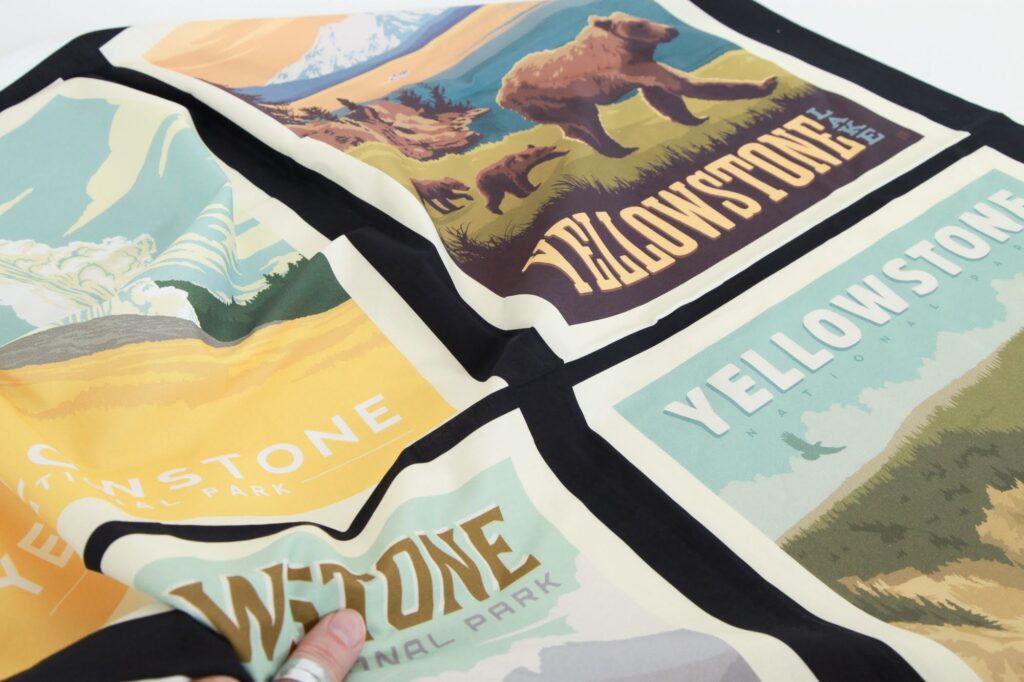
The poster panels are probably my favorite. They come in Large panels or smaller pillow panels and are just lovely.
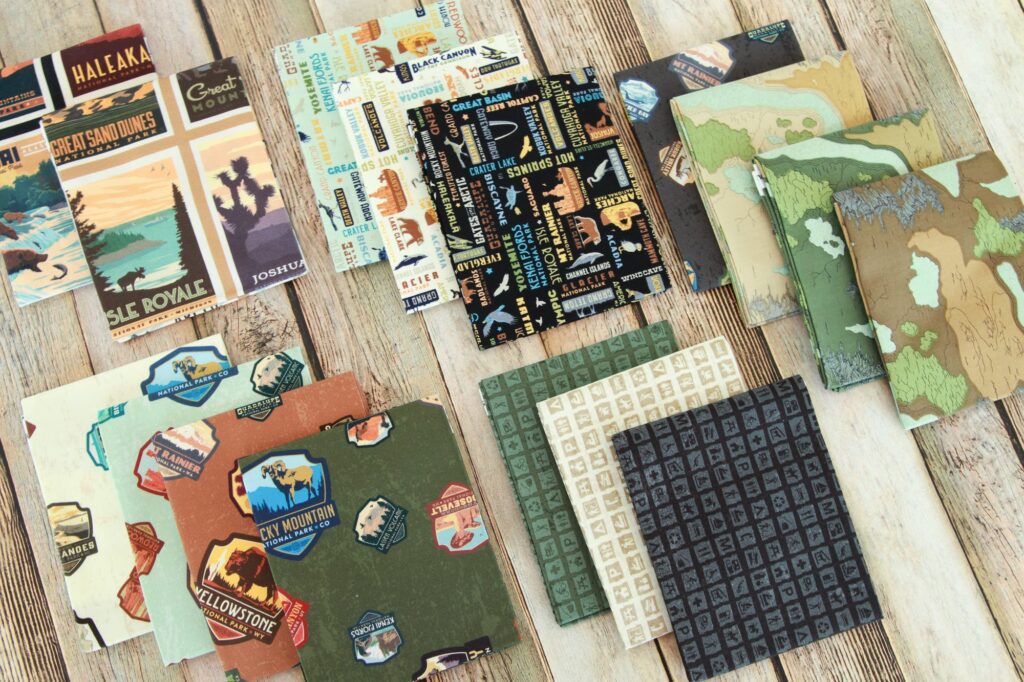
The accent prints from this line are also really fun. I love the badge print- my daughter is really into patches right now and this is perfect for her.
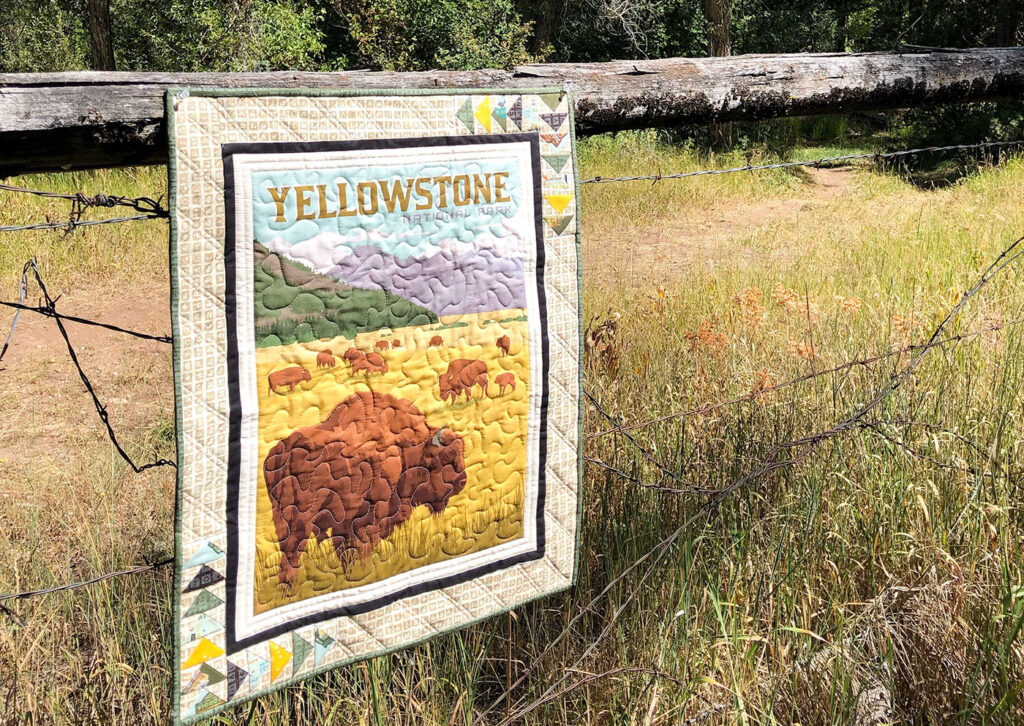
I decided to make a mini quilt because they are quick and involve very little fabric. That said, don’t be surprised to see a larger version of this quilt down the road- I just LOVE how it turned out! This Yellowstone Panel mini quilt is exactly how I pictured it!
If you are like me and LOVE a good mini quilt- you might also like this Sewing Machine Mini Quilt which is also a free tutorial on my blog.
Yellowstone Panel Mini Quilt Tutorial with Flying Geese border
Supplies:
- National Parks Pillow Panel
- scraps or small pieces of coordinating fabric for geese
- 1/4 yard of fabric for borders
- 2/3 yard fabric for backing
- 1/4 yard fabric for binding
- batting
- sewing and quilting supplies
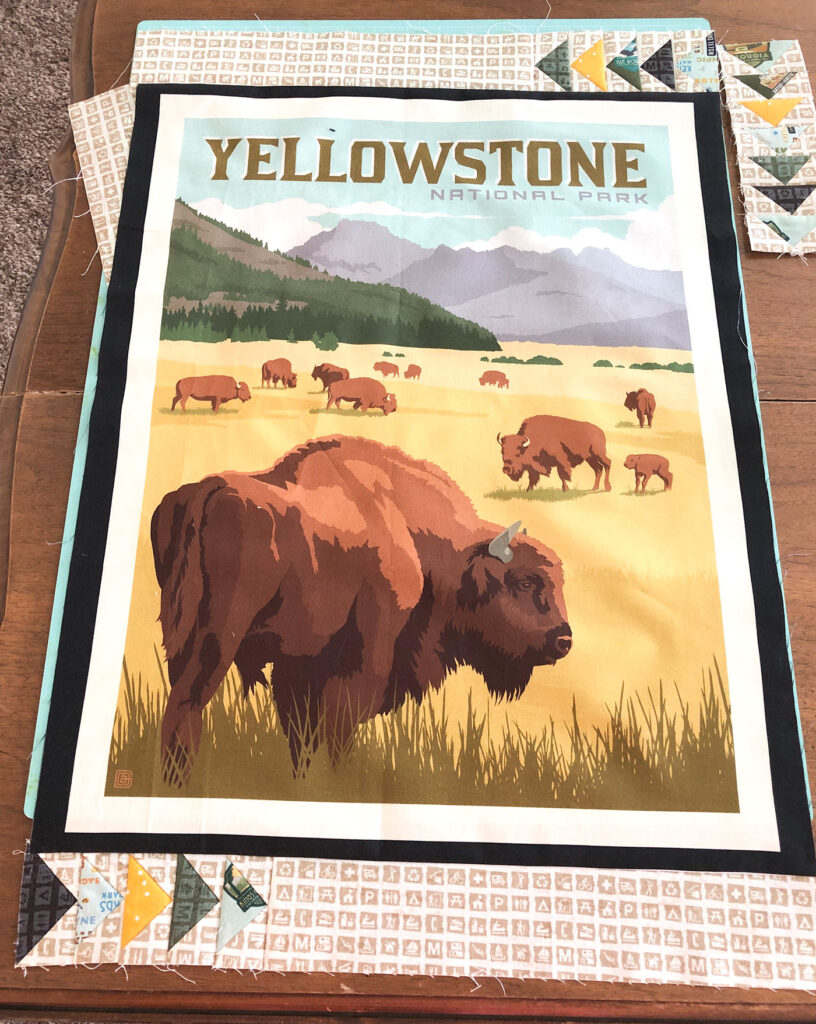
Prepare the center panel
Use the pillow panel as the center of this mini quilt to make this project quick and easy. Include the white and black border from the printed panel to make it even easier. Because I wanted the black border to be 1/2″ wide (finished) and it is ONLY 1/2″ wide on the top and bottom of the pillow panel, I cut 1/4″ away from the black border on the top and bottom. The side black borders are thicker, so I just cut 3/4″ away from the white border to make sure the finished black border was 1/2″- make sense?
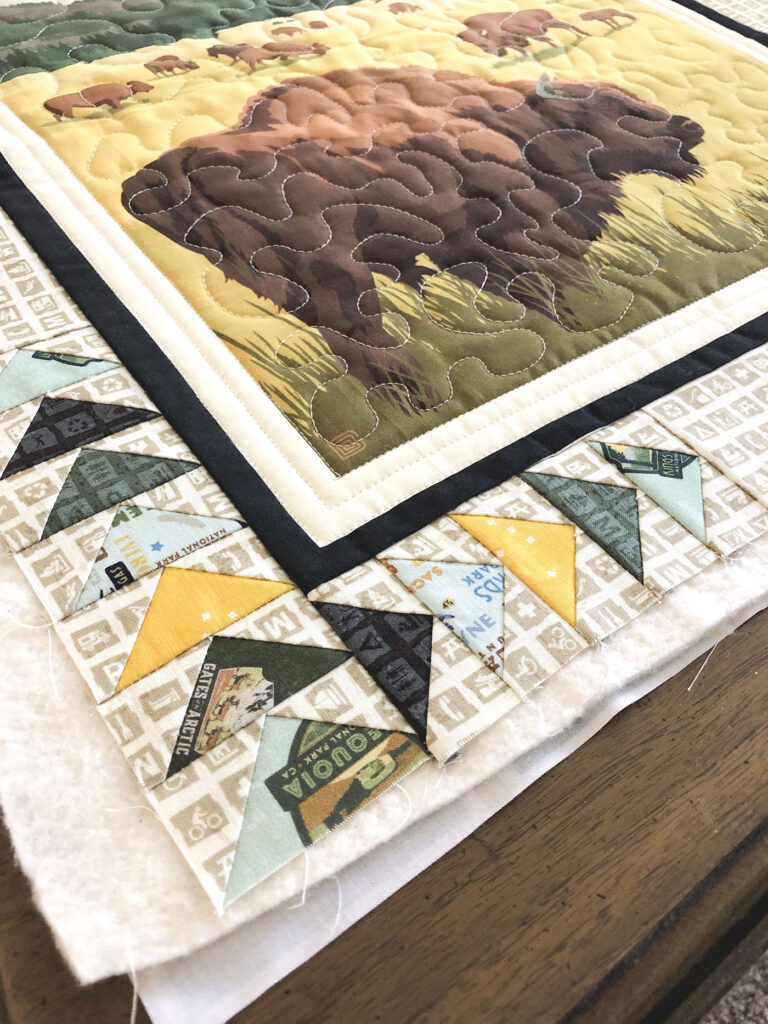
Adding Flying Geese to the border
To create the flying geese border you will need:
- 6- 3 1/4″ squares of various prints- I used pieces of the blender fabrics and some yellow blossoms fabric for mine
- 24- 2″ squares of the border fabric
If you do not know how to make flying geese blocks, head over to this post on Diary of a Quilter blog for a wonderful tutorial. This method creates 4 flying geese blocks of each color. Arrange your blocks into 2 groups of 5 and 2 groups of 7. When you are happy with the arrangement, sew the groups together.
Finishing Borders
First, cut 2- 2 1/2″ X 12 1/2″ strips from the border fabric. Sew these to one end of each of the 5 geese groups. Pay attention to which direction you want your geese to point. Next, sew the border strips to the top and bottom of your panel. *note: I like to add a scant buffer to my borders and then trim it off once it is attached to the quilt, line up the geese end of the border with the edge of the panel and pin the rest of the border from there. Trim off any overhang.
Now, cut 2- 2 1/2″ X 19″ strips from the border fabric, add the 7 geese groups and then attach these borders to the sides of the mini quilt. Again, be sure to watch the direction of the geese as you do so. Finally, to finish the quilt you will need to cut a 22 1/2″ X 26 1/2″ piece of both batting and backing fabric, create your quilt sandwich, quilt and bind.
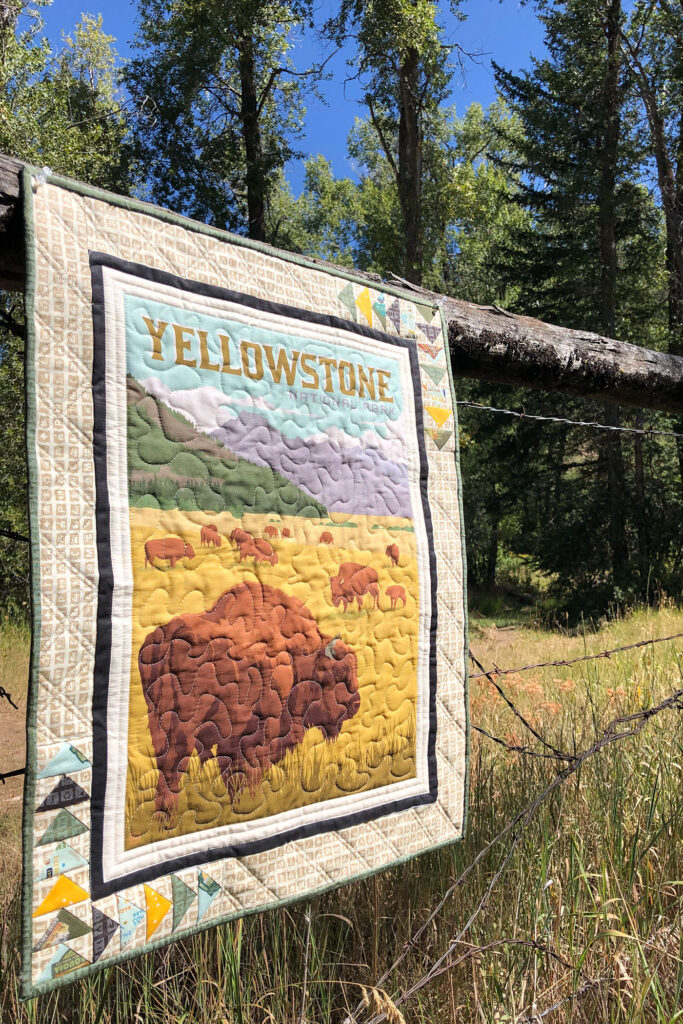
This quilt is super fast, but the flying geese in the border make it sophisticated and interesting. It is the perfect quilt for you if you want to practice this fun skill.
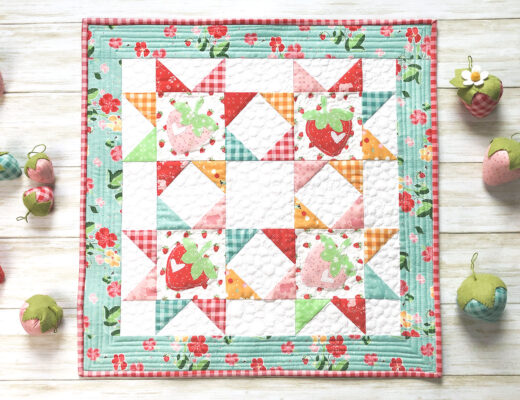
If you enjoy making flying geese already, you may want to check out my Springtime Showers Mini Quilt which also uses this fun technique.
Or, you might like this Valentines Mini Quilt for more ideas on how to use panels to take some of the work out of Mini Quilts!
Happy Sewing my friends! Xoxo, Amy


National Parks – Yellowstone Mini Quilt – Riley Blake Designs
August 28, 2019 at 9:41 am[…] stopping by AMEROONIE DESIGNS today for a peek at Amy’s beautiful Mini Quilt featuring fabric from Anderson Design Group’s […]