The fabric for this post was provided by Riley Blake Designs as part of the Fireworks and Freedom Fabric blog tour. The opinions and projects are all mine.
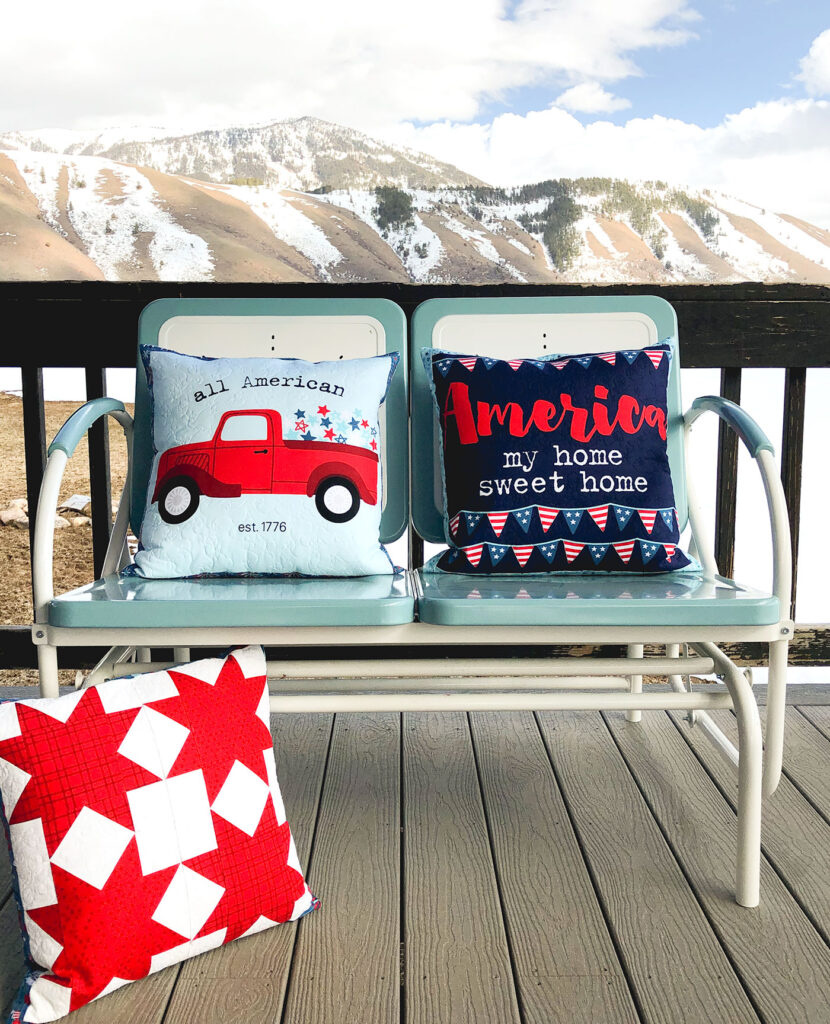
Is anyone else looking forward to summer? I know I am. After a long winter and weeks of being cooped up in the house, the thought of barbeques , walks down the lane and warm evenings on the porch are giving me life! Today I am sharing this Patriotic Porch Pillow Tutorial to help you create a cozy spot for your own summer memories! Please note the snow still visible in my yard and send me all the warm vibes you can muster!
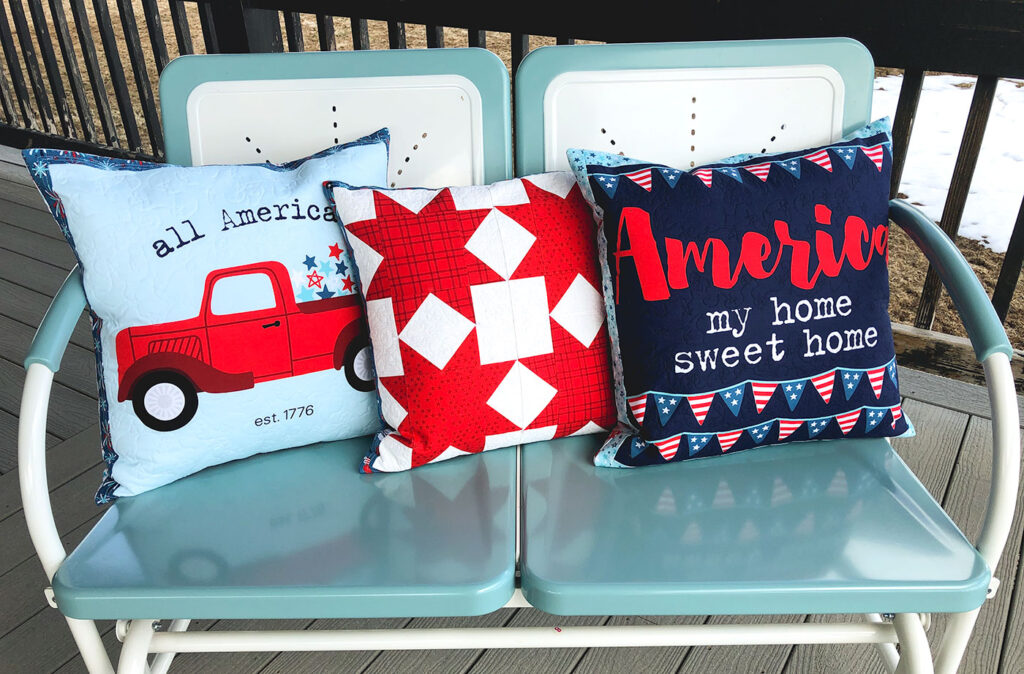
Patriotic Porch Pillow Tutorial
Read all directions before beginning. All seams are 1/4″ unless noted otherwise. Instructions for making the pillow back is not included in this tutorial- feel free to use your favorite method. This hidden zipper tutorial is what I used on all three of my pillows. I designed these pillow covers to fit the pillow forms I have on hand. If you are purchasing pillow forms, I might suggest buying 2- 24″ pillow forms and a 20″ pillow form and then just adding some width to your border strips. If you have any questions on how to do that, please let me know. You would not need any additional yardage to make that adjustment.
Supplies:
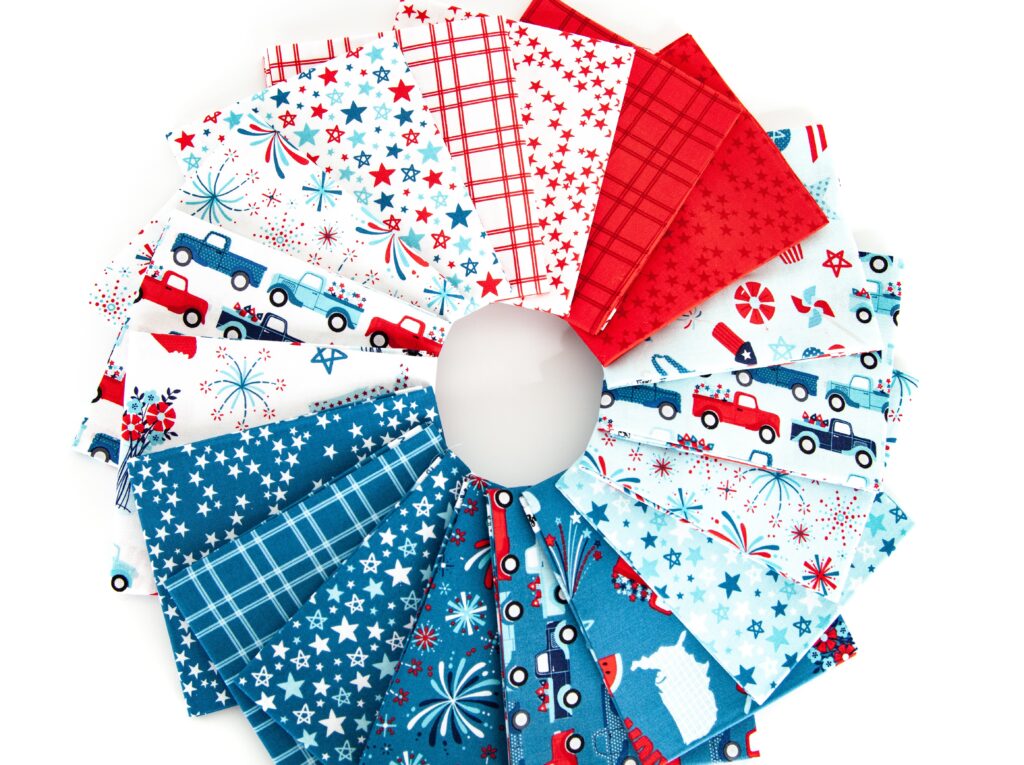
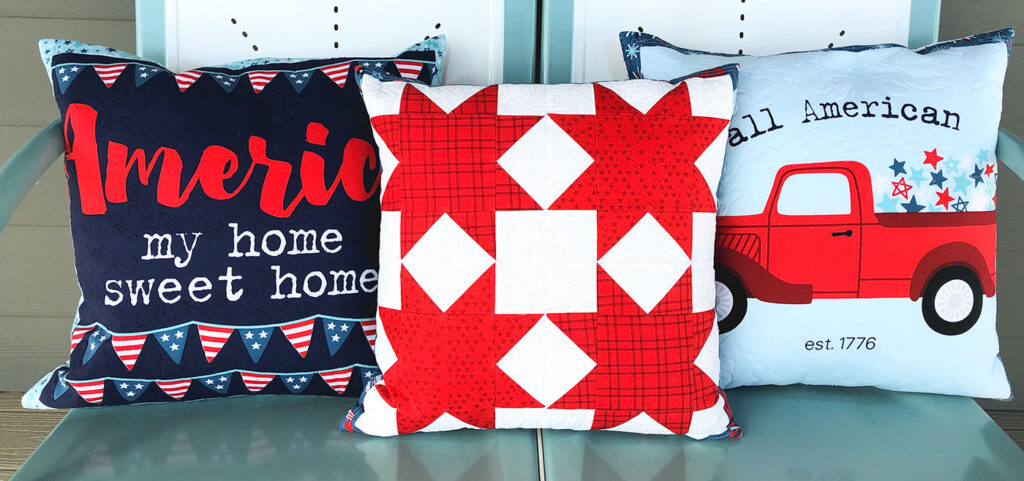
I am using fabrics from the Fireworks and Freedom fabric line by Riley Blake Designs. They have an amazing Placemat panel that I used for the two simple pillows! The colors of this line are so fun and look so great on my front porch glider! The Pickup truck print might be my favorite!
You will need:
- 1 placemat panel
- 2/3 yard of 3 prints for the borders and backs of the pillows
- 1/4 yard white fabric- I used white on white Texture fabric
- 1/4 yard red fabric for patchwork stars
- 3- 18-20″ zippers (if desired for pillow back)
- 2- 20″ pillow forms
- 1- 18″ pillow form
- Fusible fleece or quilt batting for each pillow
Placemat Panel Pillows
Cutting:
- From the placemat panel, select two of the placemats and cut down to 18″ squares. I used my clear ruler to help center the design in the square.
- Cut 2 strips of border fabric to 1 3/4″ X 18″
- Cut 2 strips of border fabric to 1 3/4″ X 20 1/2″
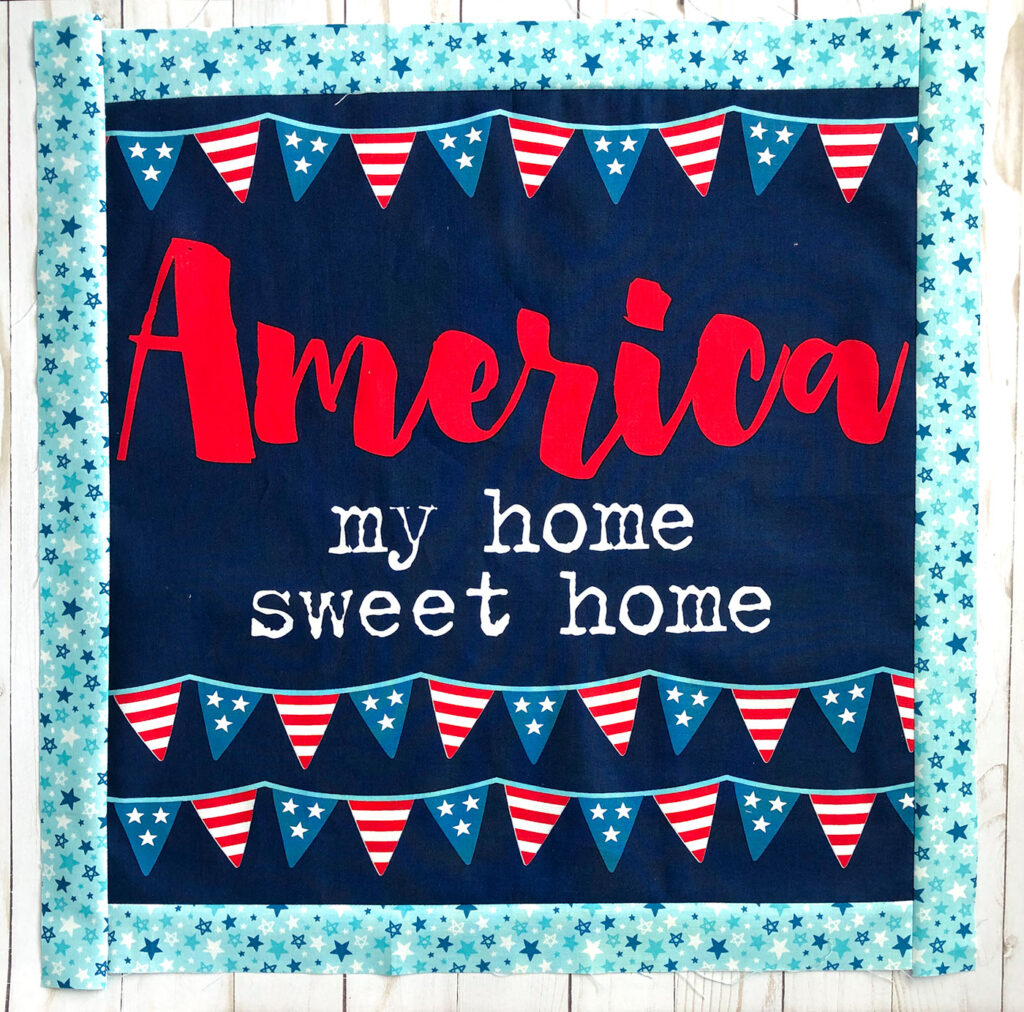
- Sew the 18″ long strips to the top and bottom of your 18″ square. Press the border fabric away from the center square.
- Next, sew the 20 1/2″ strips to both sides of the 18″ square. Press border fabric away from the center.
- Now, cut a 20″ square of fusible fleece or quilt batting and baste or fuse to the wrong side of your pillow front.
- Quilt the pillow front as desired
- Make and attach your pillow back
- Repeat for second 18″ square from the panel.
Sawtooth Stars Patriotic Pillow Tutorial
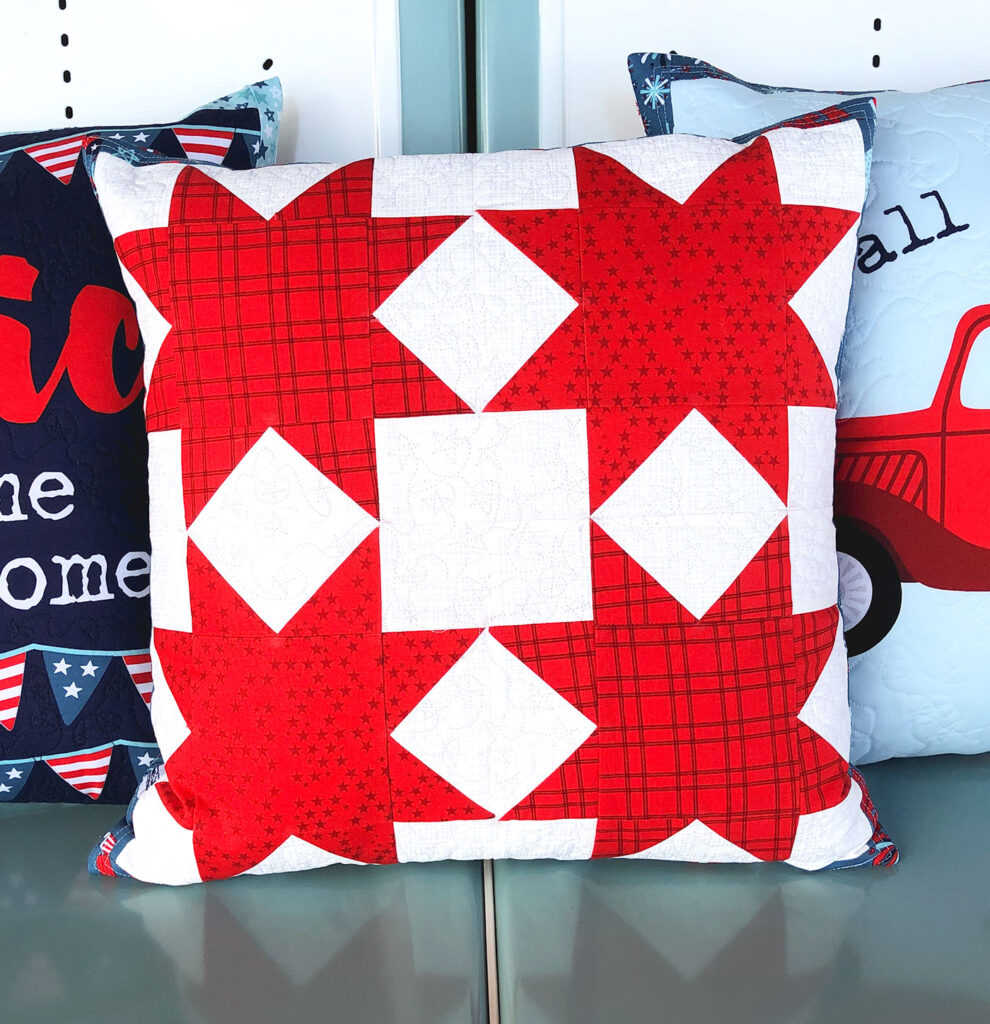
I am not going to do a full tutorial for this pillow because it is basically this Springtime Showers Mini Quilt in different fabrics, however, the cutting is a bit different because of the stars so I am going to share those here.
Cutting:
From the White on White fabric-
- cut 4- 5 1/4″ squares
- cut 16- 2 1/2″ squares
From the Red fabric (note: I used two different red fabrics for my pillow, feel free to just use one. Also, if this is a pillow you will be washing frequently, prewash your red fabric before cutting!)
- Cut 4- 4 1/2″ squares
- Cut 16- 3″ squares
From the Border fabric:
- Cut 2 strips 1 1/2″ X 16 1/2″
- Cut 2 strips 1 1/2″ X 18 1/2″
Follow the directions in the Springtime Showers Mini tutorial to assemble your sawtooth stars and create the pillow front. Add the borders, batting or fleece and quilt before finishing with your pillow back.
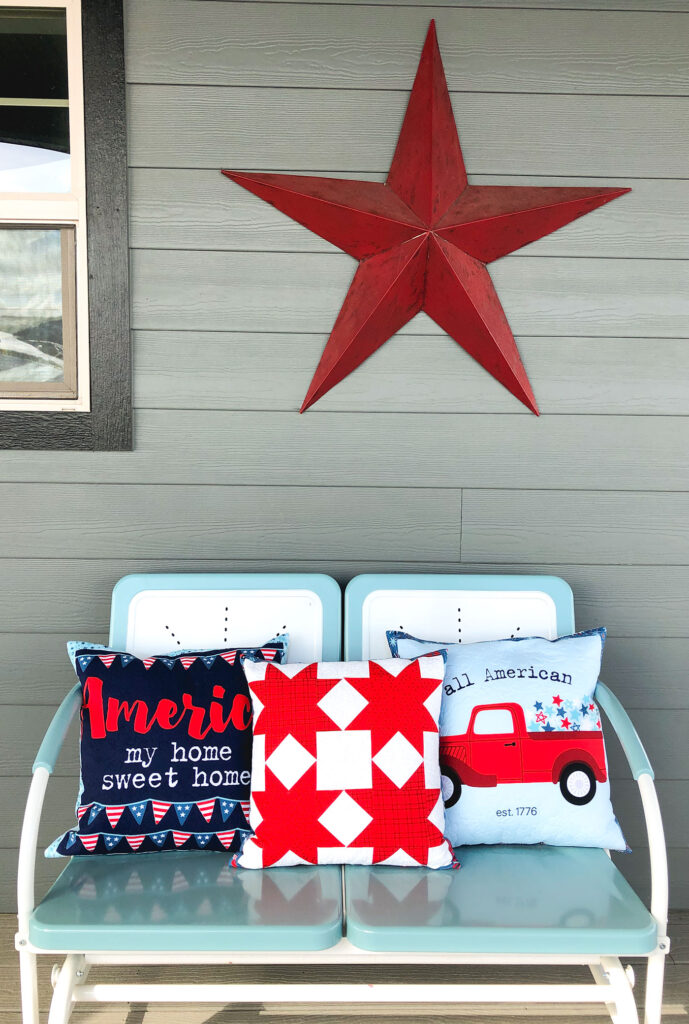
Now if I could just get the weather to cooperate, I’m all ready for summer! Or at least spring! Happy Patriotic Pillow sewing my friends! xoxo, Amy
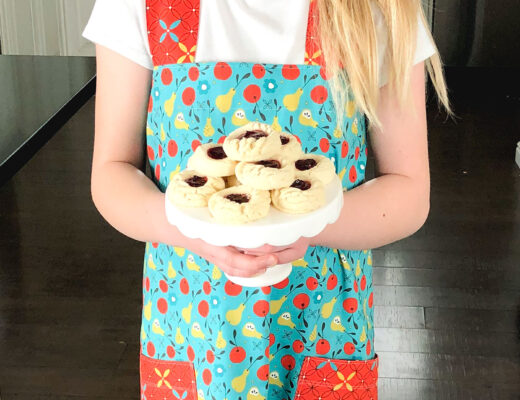
If this post has you thinking about getting ready for summer- This Simple Sling Bag for kids is a fantastic and fun project.


Fireworks & Freedom – Patriotic Porch Pillows + Tutorial! – Riley Blake Designs
April 8, 2020 at 10:30 am[…] stop on the Fireworks & Freedom Project Tour takes us to AMEROONIE DESIGNS, where Amy is sharing three fabulous Patriotic Porch Pillows featuring fabric from Bella Blvd.’s […]
Walk Jog Run Book Review for Free motion Quilting | Ameroonie Designs
April 10, 2020 at 4:02 pm[…] you are looking for more small projects to practice your free motion quilting skills: These Patriotic porch pillows are quick and fun! A mini quilt is also a great idea, like my Springtime Showers mini […]