I am a 2022 Husqvarna Viking Sewing Ambassador and this post and mentions of my Opal 690 sewing machine are representative of this relationship. The opinions and projects are my own.
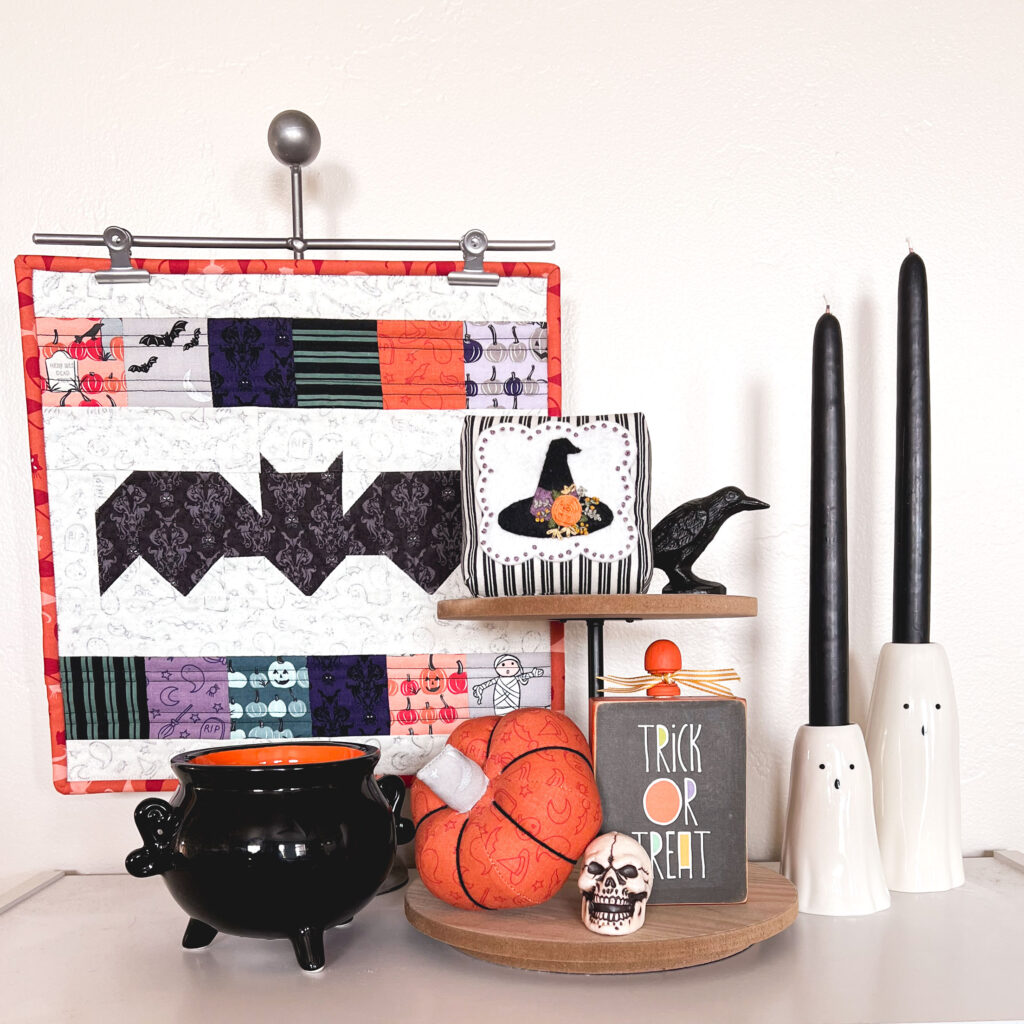
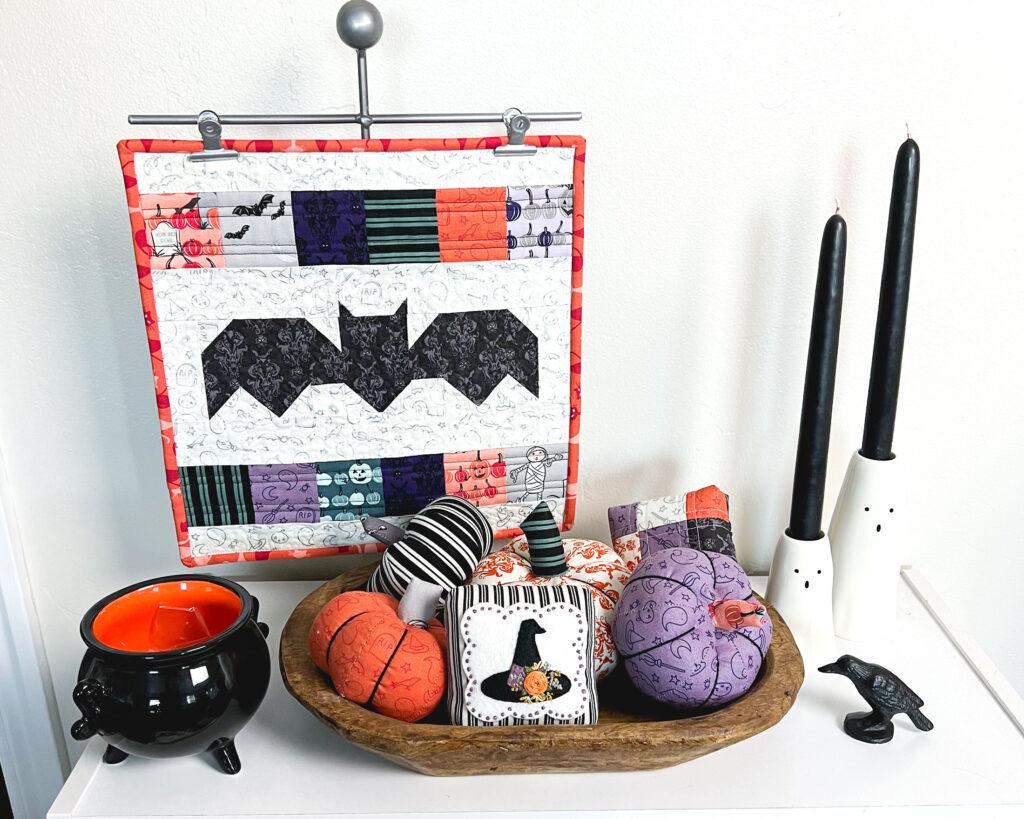
If you learn how to sew a mini pillow, you can add so much fun and texture to your tiered trays. Tiered trays are so delightful to decorate and style, adding a lot of interest in a relatively small space. Mini pillows are also fantastic for bowl fillers, or just to add a touch of softness to any decorating!

Choose to add an appliqued and embroidered front, like this Witch Hat Mini Pillow. Or create a simple patchwork or strip pieced front (directions and measurements included in this post). Any way you pull it together, a mini pillow is a quick and satisfying project. And simply swap out the fabrics to create mini pillows for any other holiday, season or theme!
How to Sew a Mini Pillow Tutorial
Supplies
Fabric-
- 5″ square for the back
- 5″ square for front (to add applique), 9- 2″ squares for patchwork OR 6- 1 1/4″ X 5 1/2″ strips
Stuffing
Optional:
- 4 1/2″ square of fusible fleece or quilt batting to add a quilted look to the mini pillow front
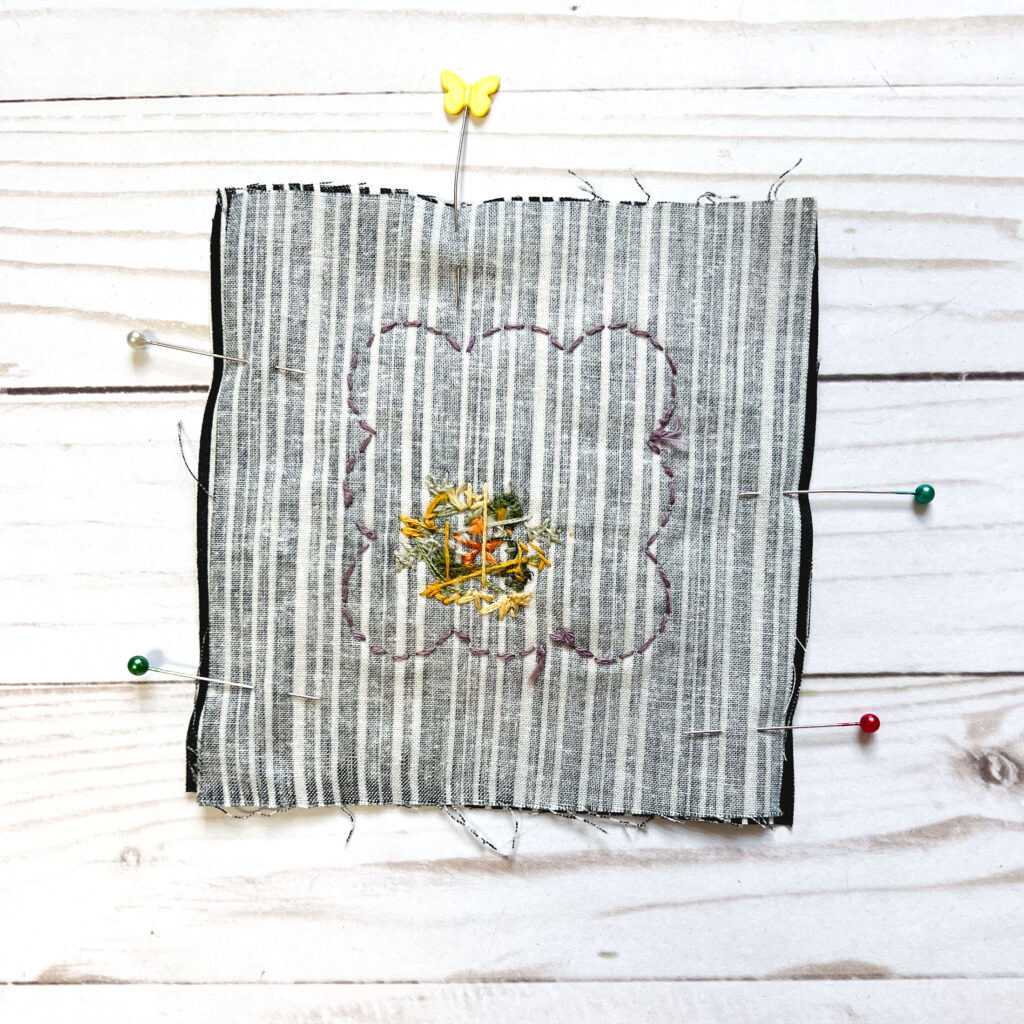
Create the pillow front
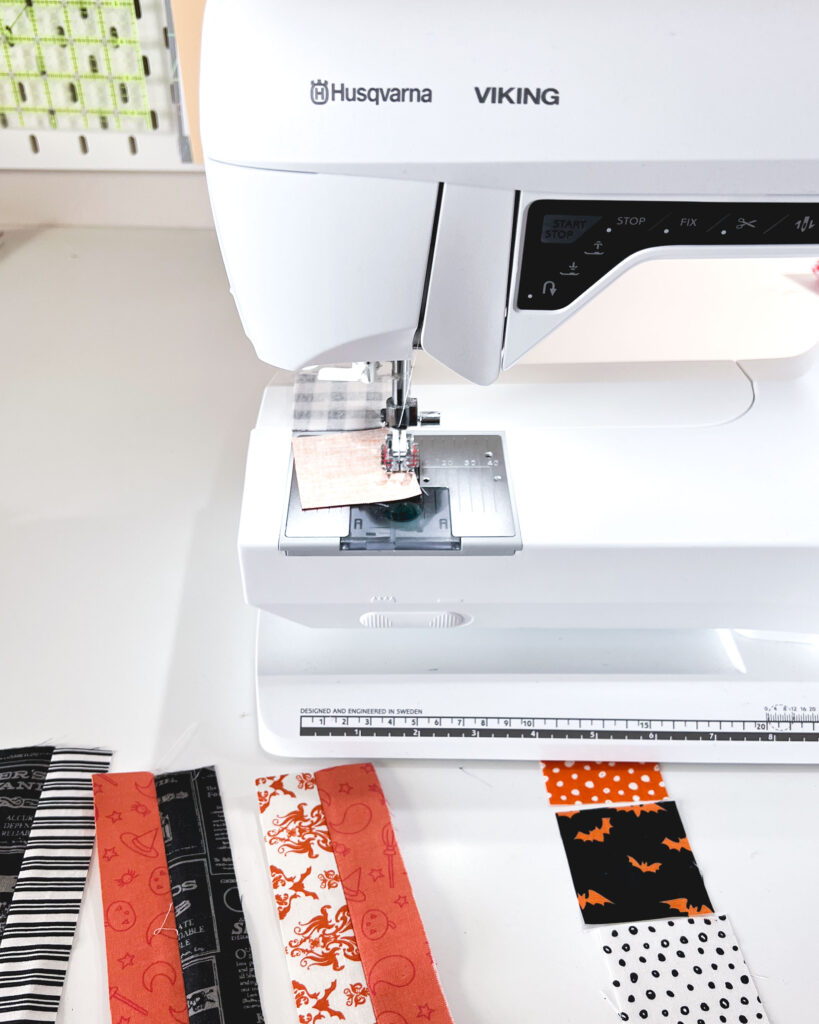
Add felt applique and/or embroidery or piece the front together. Sew 2″ squares into a 3 rows of three squares and then sew those rows together. Strips are sewn together along the length. Use a 1/4″ seam allowance for both. Trim the strip pieced front to a 5″ X 5″ square. *TIP: using a 1/4″ foot like the one on my Opal 690q machine is a great way to get accurate seams!
If adding fleece or batting, do this now. Add any quilting as desired.
Sew Front and Back to create mini pillow
Place front and back of mini pillow right sides together. Sew around all four sides using a 1/4″ seam allowance. Leave a 1 1/2″- 2″ opening in the bottom for turning. Back stitch at the beginning and ending of your stitching.
Box the Corners of the Mini Pillow

- First, mark a 1/2″ square at each of the four corners.
- Next, cut out the marked squares.
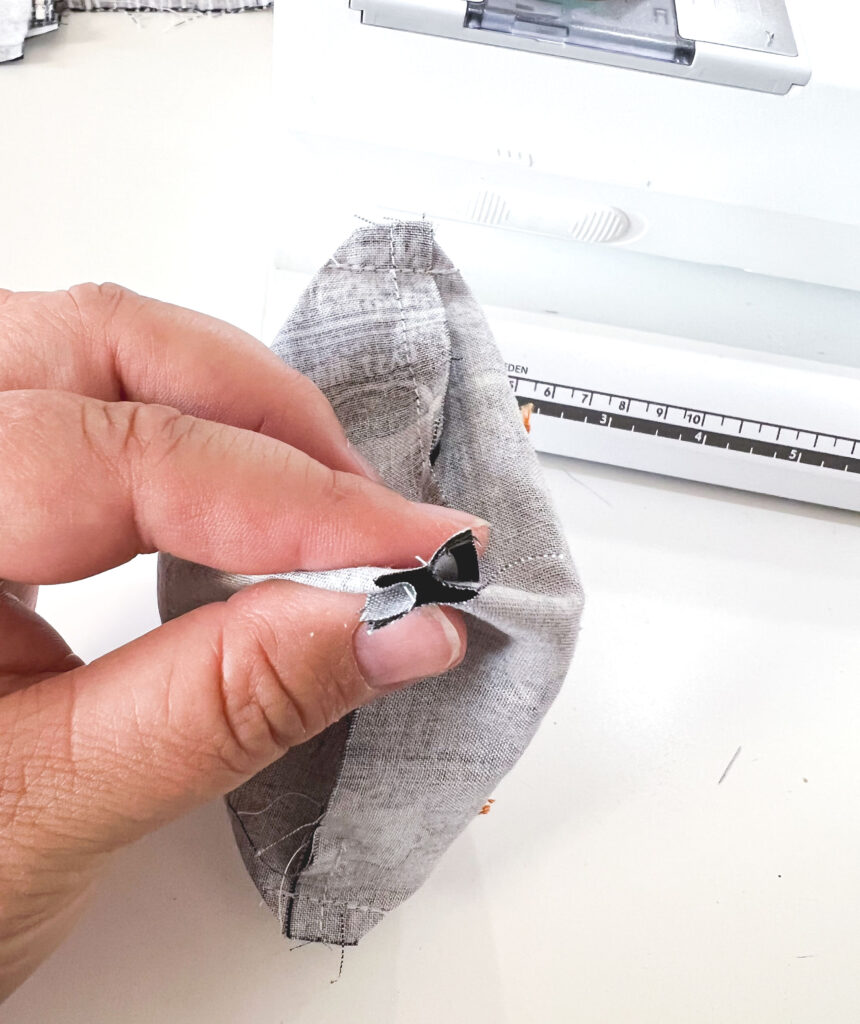
- Pull the front and back fabric away from each other at the corners that were just cut.
- Now, line up the cut edges to create a straight line.
- Push the seams in opposite directions, making sure the seam on each side isn’t twisted.
- Nest the seams and sew across the straight line using a 1/4″ seam allowance, back stitch at the beginning and ending of your sewing.
- Finally, repeat for the remaining three corners.
Finish sewing the mini pillow

- Turn the pillow right side out using the opening left for turning. Push out the corners well.
- Stuff the pillow using polyester stuffing or other stuffing of choice.
- Sew the opening closed using a ladder stitch (shown in picture) or whip stitch.
All that’s left is to enjoy your darling new mini pillow!
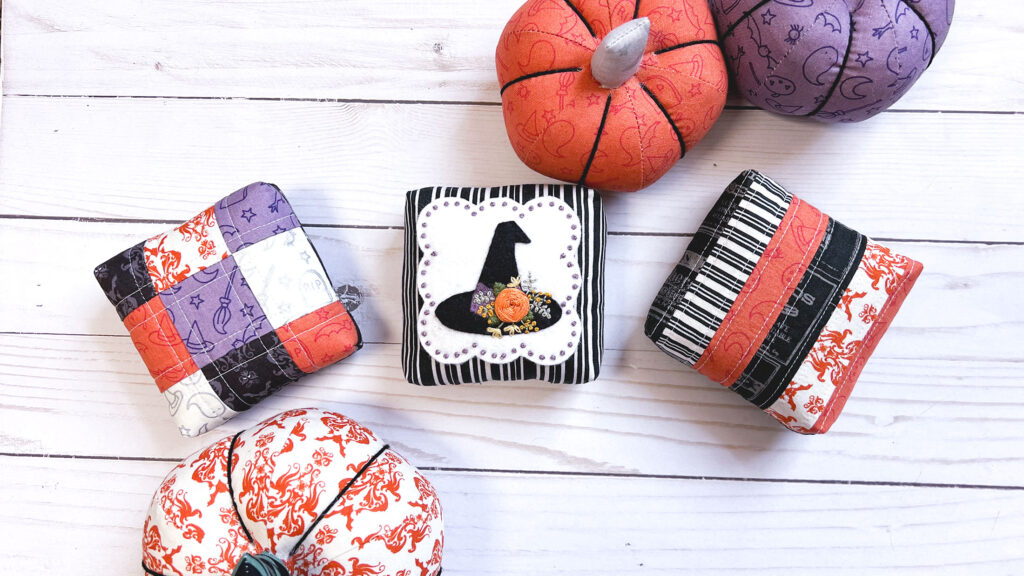
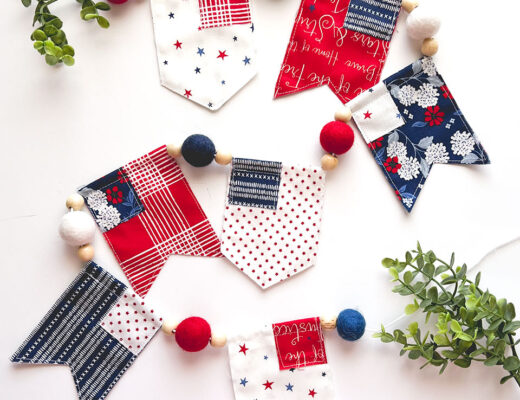
You can find the Fabric Pumpkin pattern in my Etsy shop. And if you want to find some more fun Halloween themed projects, you can find the tutorial for making a delightful fabric banner or some Creepy Word Art right here on my blog.
Happy Sewing, Friend! Amy