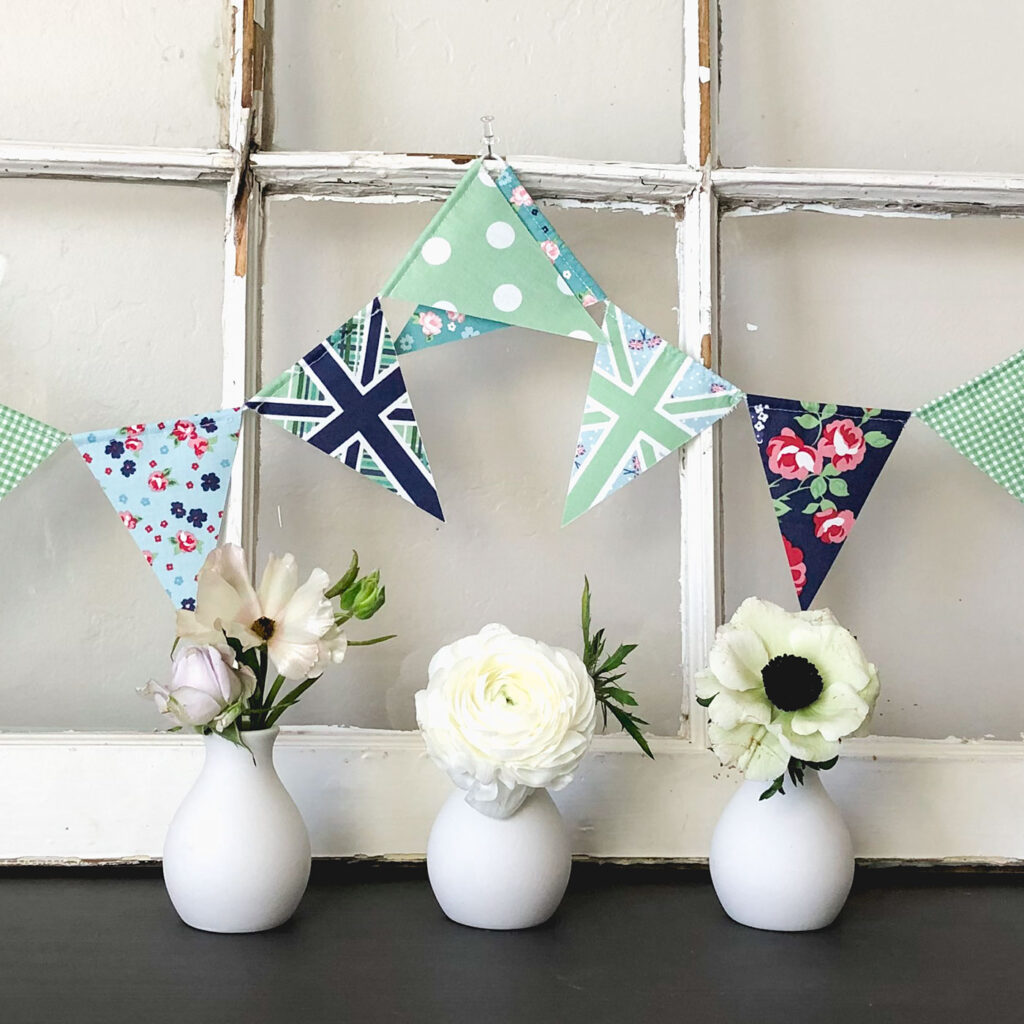
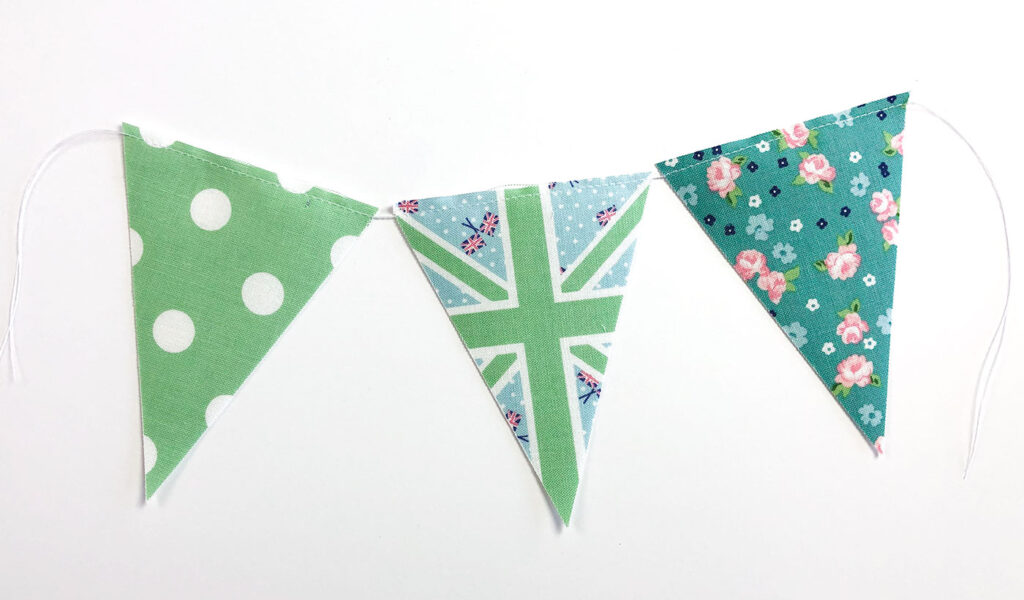
Colorful fabric flags fluttering in a warm gentle breeze. Bright buntings cris-crossing to create a happy background. Festive banners brightening a celebration. There are so many ways to use fabric buntings but no matter what you are using them for you are sure to bring joy, color and happiness when you use them. Today I am going to share two ways to sew a beautiful and simple fabric bunting. Then, you can brighten up even the most dull day or space with some happy fabric flags.
These tutorials are made using the gorgeous bunting panels from Notting Hill fabric by Amy Smart from Diary of a Quilter, but the same methods can be used to create buntings from regular fabric- and you can customize the size of the flags you want to use. I will include instructions for adjusting to your own fabrics in each section.
If you love the idea of fabric panels- I have some more fun ways to use fabric panels on my blog. This post shows how to turn a fabric panel into a mini quilt. And this mini quilt is another fun way to dress up a fabric panel.
Let’s get sewing! The two versions of the fabric bunting I will share are a simple raw edge bunting, and a finished edge bunting. One is really fast and simple, and the other, while simple, takes a bit more time to finish.
Simple Raw Edge Bunting
Supplies

- Fabric Panel (or fabric to cut into bunting flags)
- Light Weight fusible interfacing
- string or twine
- sewing supplies
Preparing Fabric
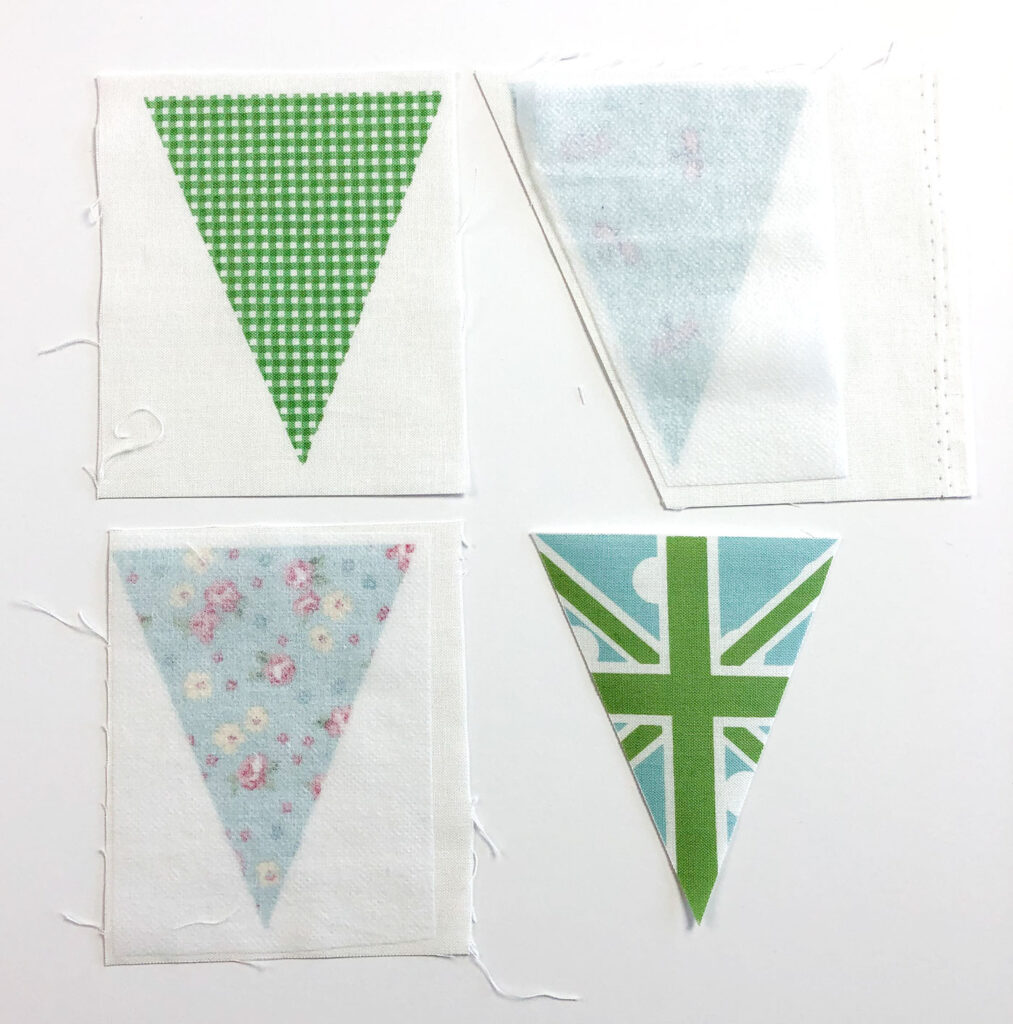
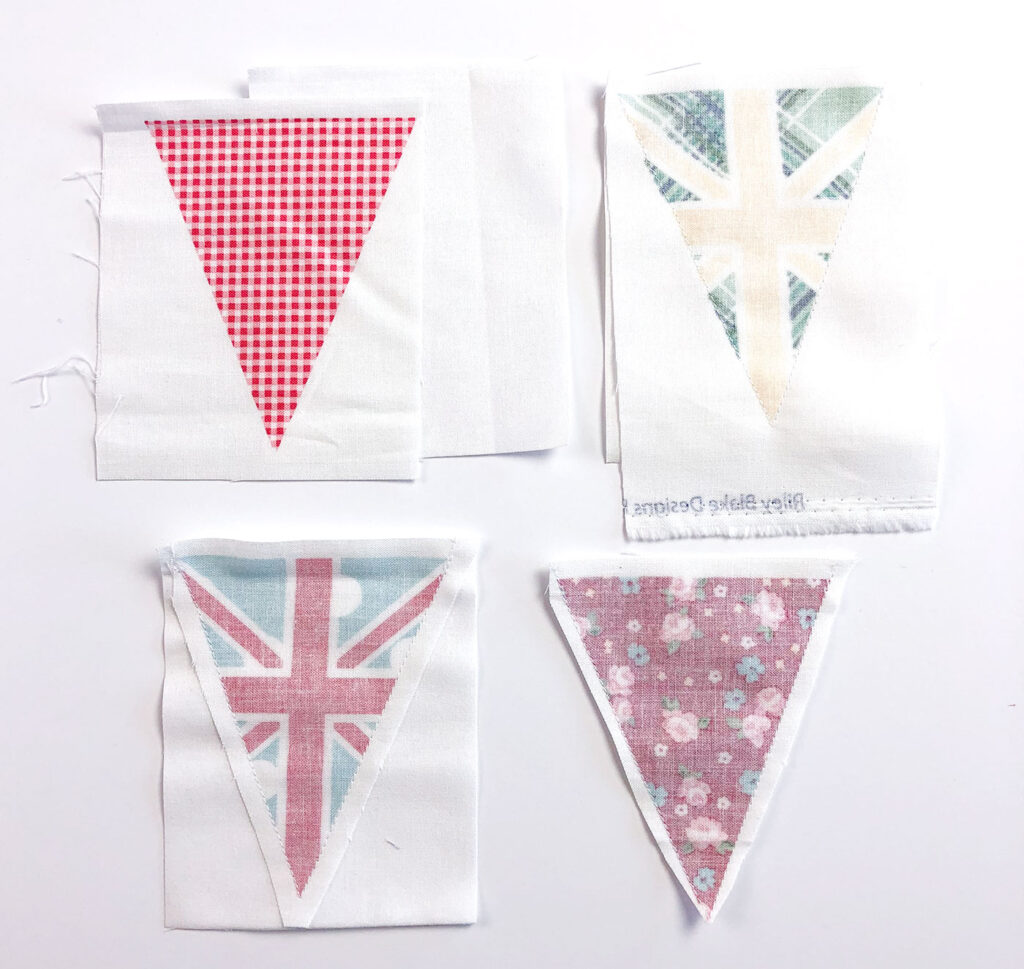
- First begin by separating the small bunting flags from the fabric panel. Leave as generous a margin around the flags as you can.
- Cut rectangles of the fusible interfacing 3 1/2″ wide and 4 1/2- 4 3/4″ high.
- Next, fuse the interfacing to the wrong side of the fabric flag following the manufacturers instructions.
- Now, cut out each individual flag along the edges of the printed fabric design.
*Alternatively, you can create your own flags to whatever size you like- for reference these flags are 3 1/4″ wide and 4 1/4″ high. Once you have determined the size of the flags you would like, cut your fabric rectangles 1/2″ bigger than you desired height and width. Cut your interfacing rectangles 1/4″ bigger than your desired size. Center the interfacing on the wrong side of the fabric rectangles and fuse. Cut out the fabric flag from the fused fabric.
The interfacing helps slow fraying of the fabric flags and gives the fabric a more robust and clean look. If you are really in a hurry, or prefer a softer look to your fabric flags, you can omit the interfacing and simply cut out the flag shapes in this step.
Finishing the Raw Edge fabric flag bunting
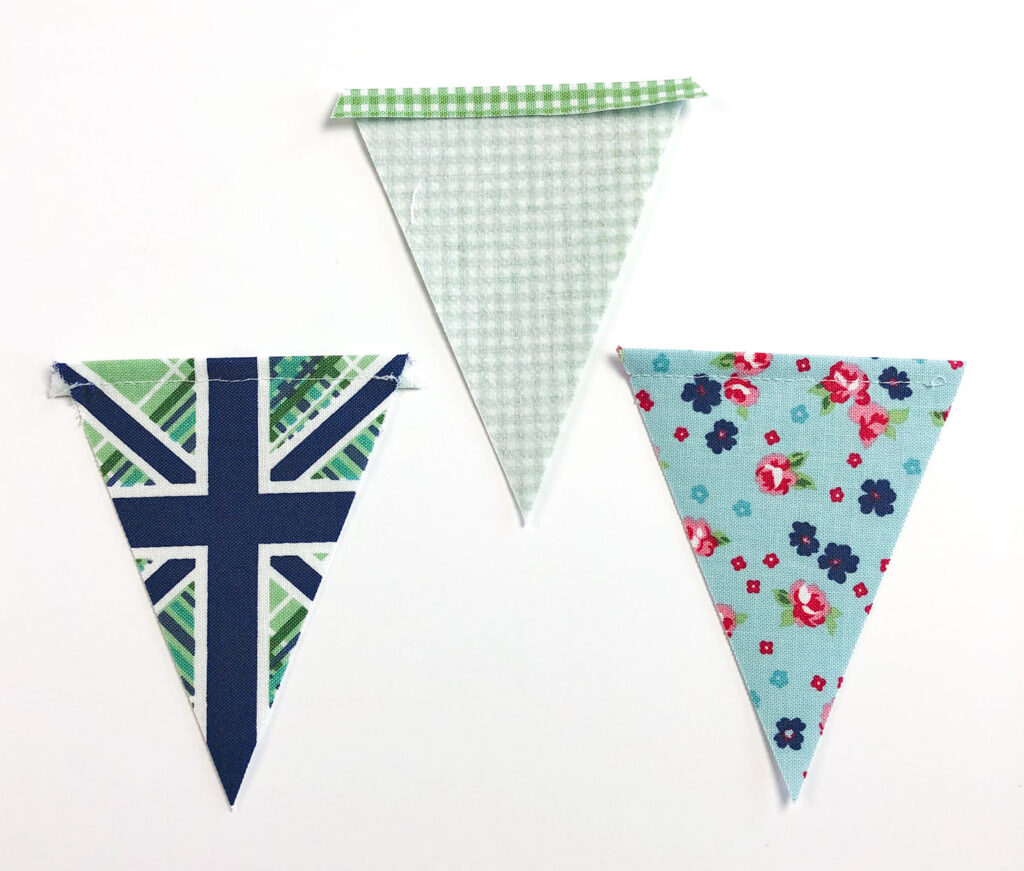
- Fold over the top of the flag 1/4″ toward the wrong side. Press.
- Then, sew the top of the flag a scant 1/4″ away from the folded edge, catching the top of the flag to create a channel to run your string or twine. Back stitch at the beginning and ending of your stitching.
- Finally, trim the little corners of the top of the flag that was folded over.
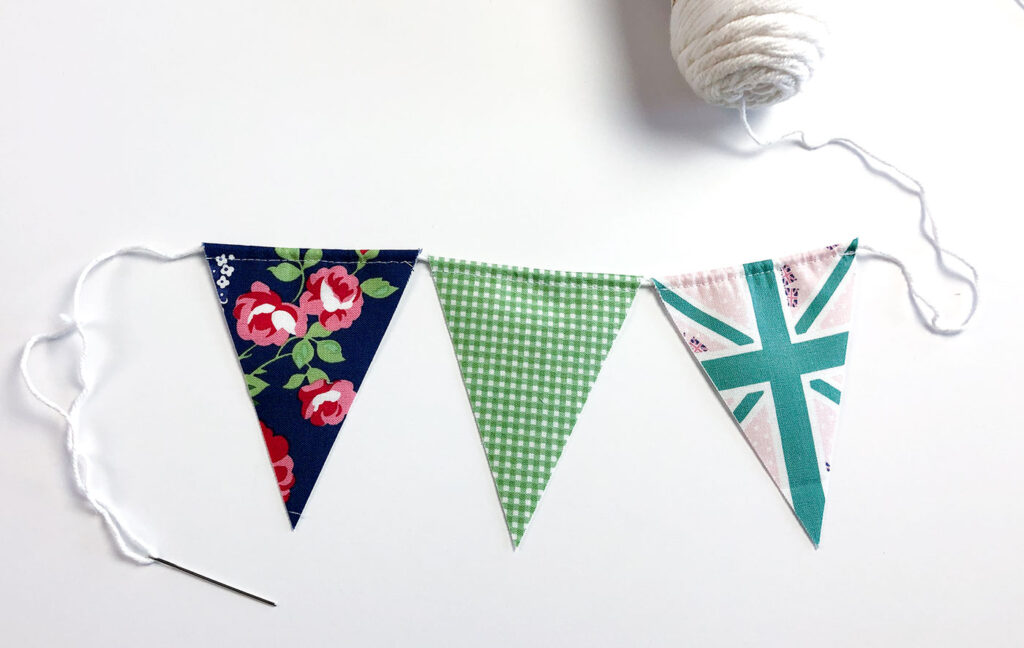
Use a long, blunt needle to run your string or twine through the channel of each of the flags to create your bunting.
I really like this method because it allows you to create a lovely banner quickly. You can adjust the placement of the flags to suit your needs sliding them along the string as needed.
An alternate method for finishing the banner is to simply sew across the tops of the flags using your sewing machine and a 1/8″ seam allowance. Create spacing between the flags by pulling the threads before adding the next flag for stitching.
This is a really fast and easy method to create the bunting. You cannot adjust the spacing once sewn, but it is much faster than the first method. If you are using the bunting for a single event- this may be the method you would want to use.
Finished Edge Fabric Bunting
If you are looking to create a bunting that will hold up to multiple uses or you simply prefer a more polished look to your bunting, this method takes a bit more time and effort, but will result in a gorgeous banner that will last for a long time.
Supplies
- Fabric panel
- Fabric for back of flags
- double fold bias tape
Cutting Finished edge fabric bunting
- Begin by separating the fabric flags from the panel. Cut 1/4″ from the top of the flag, and leave as much fabric as possible on the sides and bottom.
- Cut a piece of backing fabric 3 3/4″ wide X 4 3/4″ high.
- Next, place the fabric flag right sides together on top of the backing fabric, lining up the top edges.
- Now, sew around the two angled sides of the flag- back stitching at the beginning and ending of your stitching.
- Trim the seam allowance on both angled sides to a scant 1/4″. Trim the seam allowance even further at the point. This will reduce bulk and allow for a neater point on the flag. DO NOT cut too close to the stitch lines though.
If you are not using a fabric panel, first determine the size of the flags you would like to make. Cut two rectangles of fabric 1/2″ wider and taller than the flag size. Draw the flag shape on the rectangle, accounting for the seam allowances in the measurements. Alternatively, you can cut out the flag shape now, cutting from the top corners to the center of the bottom side. Sew around the flag shape- either on the drawn line, or using a 1/4″ seam allowance on the cut angled sides. Trim seam allowance, especially at the point.
Assembling the finished edge bunting

- Turn the flag right side out. Use a blunt turning tool to CAREFULLY push out the point of the flag.
- Press the side seams well.
- Open up the two folded sides of the double fold bias tape and slide the flag inside so the top of the flag matches up with the fold line.
- Finally, refold the bias tape and pin or clip the flag in place. Add the remaining flags, spacing them out as desired. Edge stitch along the open side of the bias tape to close it and secure the tops of the flags inside.
One alternative to the bias tape is to use a ribbon that is 1/4- 1/2″ wide. Place the ribbon along the top of the flag and use a zig zag stitch to secure it to the flag. This is a great option if you do not have double fold bias tape or want to add a patterned ribbon for interest.
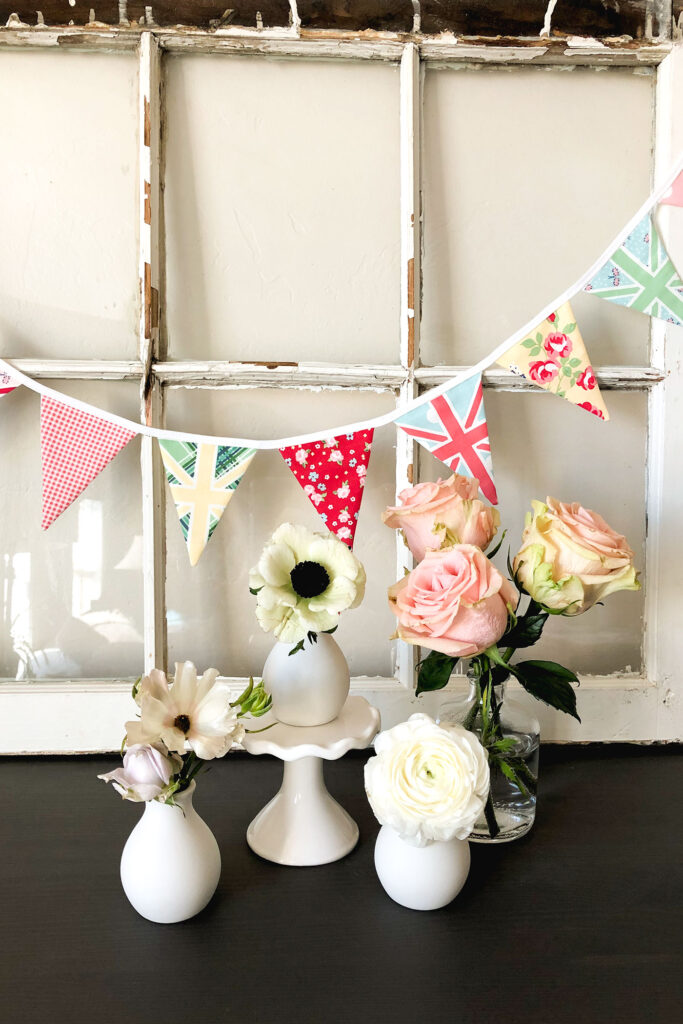
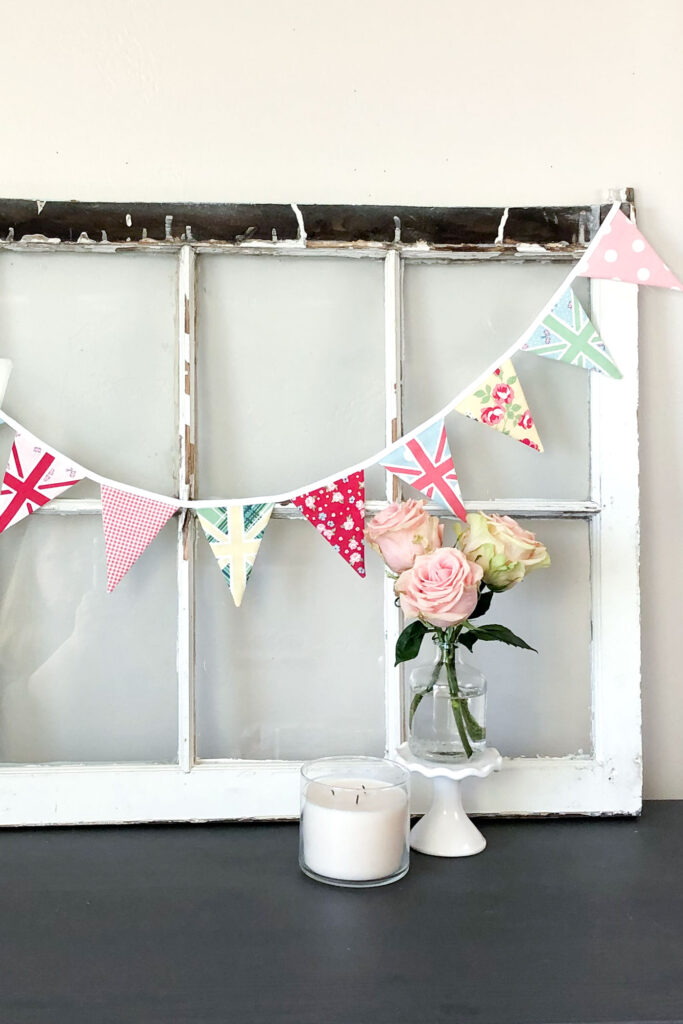
Create a festive feel to any space with fabric buntings. In just a short time you can add color, movement and liveliness to any occasion.
If you want to dress up your buntings even further, you may like my Happy Birthday banner tutorial. Or if you want to change the shape of the flags in your fabric bunting, this mini banner flag tutorial may be just what you need.
Until next time, Happy Sewing friends! Amy

