This post is sponsored by Cricut. I was provided a Cricut Joy Extra and supplies to complete these project. The opinions and projects are my own. This post also contains affiliate links. Purchases made through these links may result in a small commission to me at no additional cost to you. For full affiliate policies, please see the legal tab in my header.
Whether you have a whole room or just a selection of craft supplies, staying organized can make sure you get to spend more time creating and less time hunting for the things you need. Here are 3 simple tips to organize your craft room with Cricut Joy Extra. This post is sponsored by Cricut but the project, opinions and ideas are all mine.
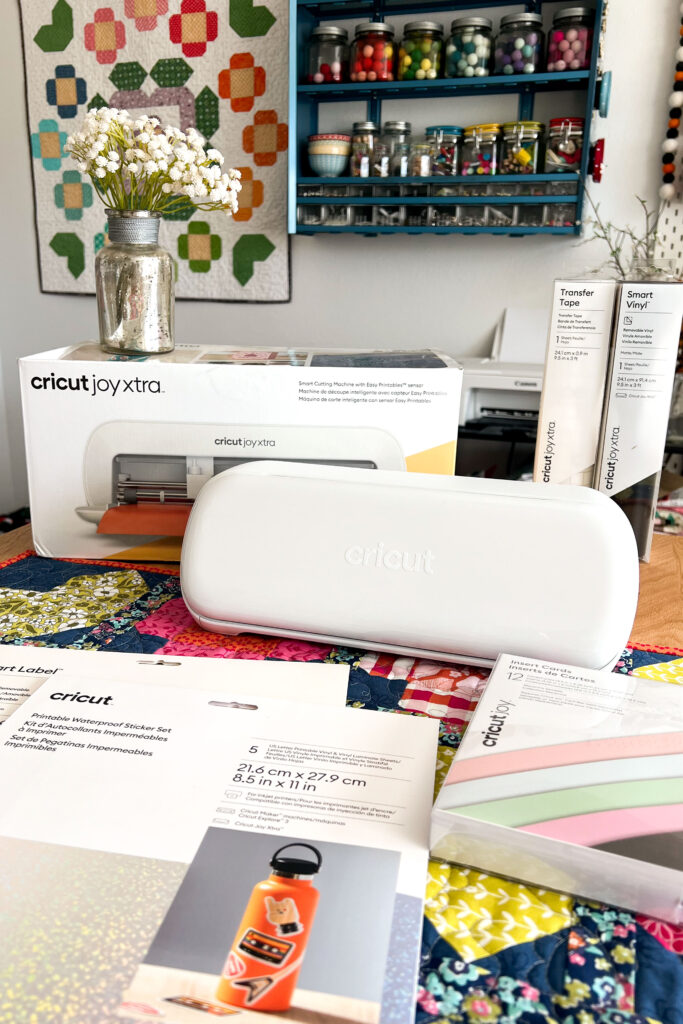
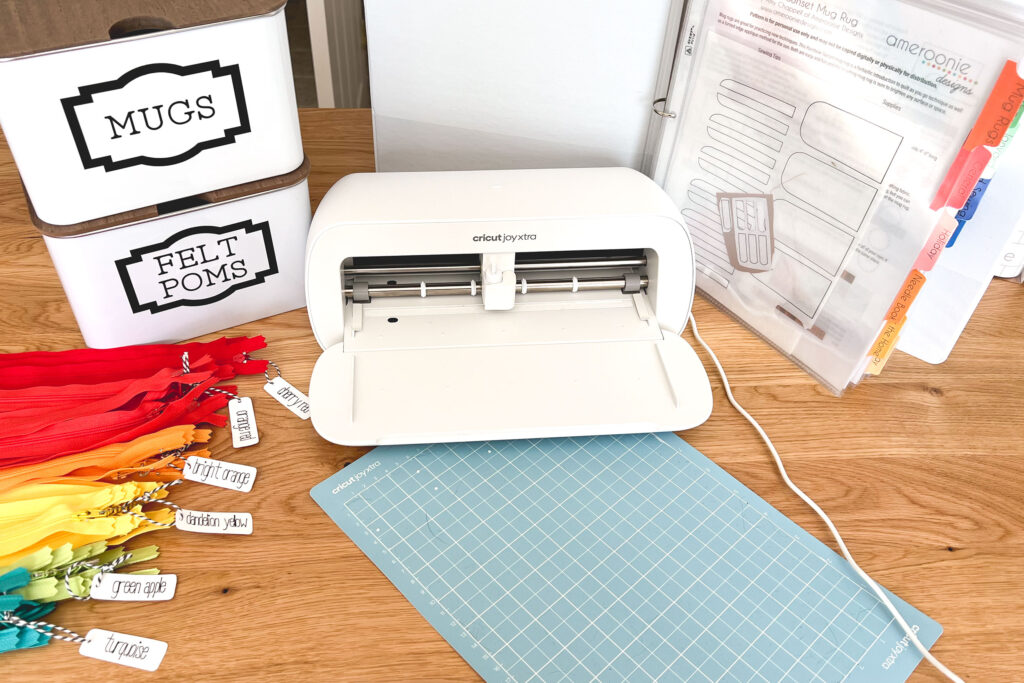
The Cricut Joy Extra is a small but mighty machine! I love it’s compact size- it’s so easy to store and then pull out when you need it. The “Extra” in Cricut Joy Extra includes some fantastic new features that make it so versatile and fun. Print then cut, writing, the fabulous card mat, and so many great products like sticker paper, card blanks and vinyls mean the creative possibilities are endless. The first thing I wanted to do with it was to finally do some small projects around my craft room that I kept putting off- like creating tabs for my pattern binders, tags for my zippers and labels for my boxes and bins for my storage systems.
Use Sticker Paper to make Tabs
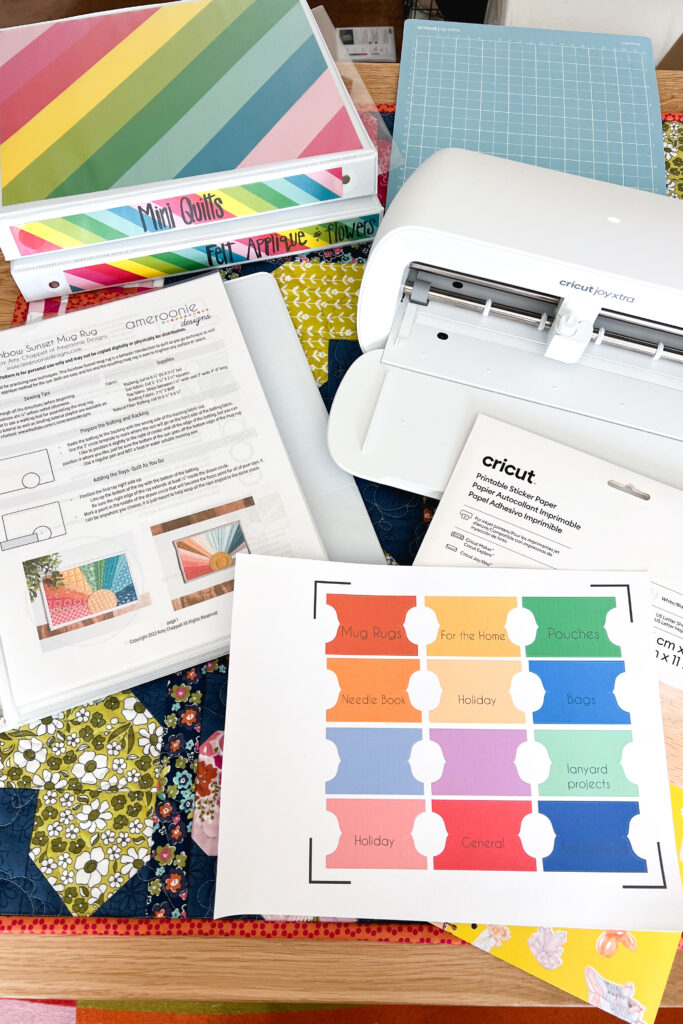
I keep my patterns in project binders and spend more time than necessary flipping through all of the pages to find the project I need. Sticker paper and the Print and Cut feature of the new Cricut Joy Extra make customizing tabs for your binders quick and easy.
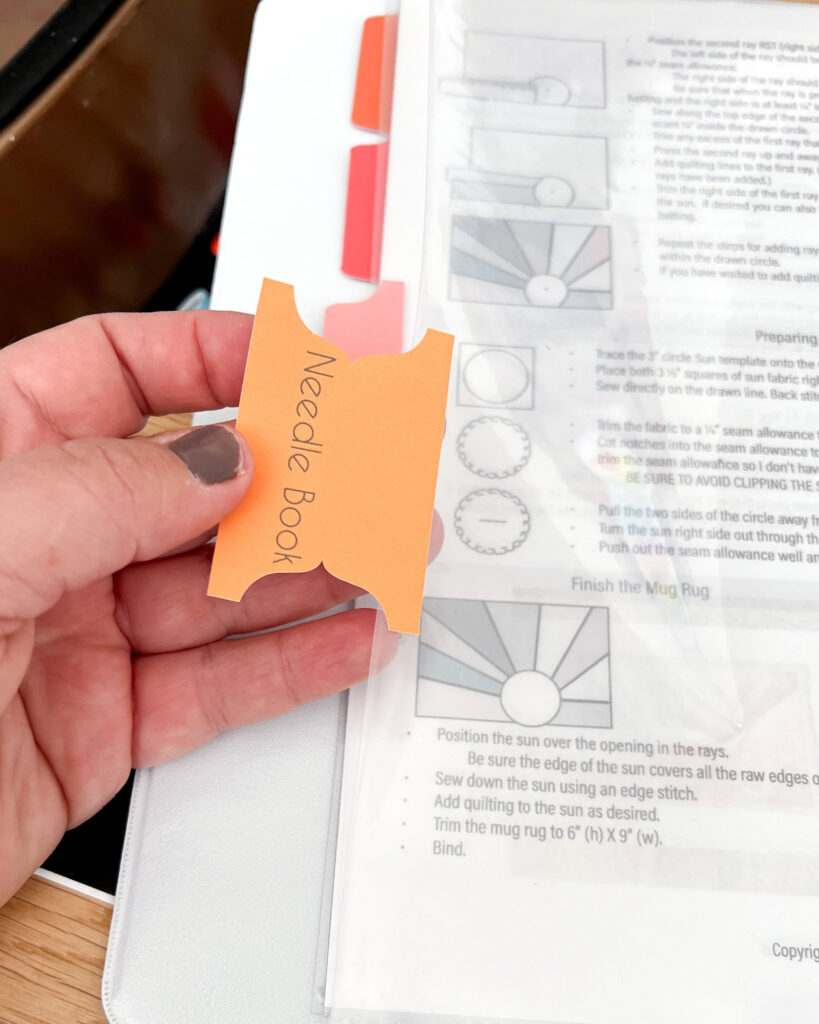
Once the tabs are printed and cut, use empty page protectors and fold over the tab on the edge. Print a title page or table of contents and slip it into the page protector if you want to take the organization a step further.

Create Tags to organize groups of zippers
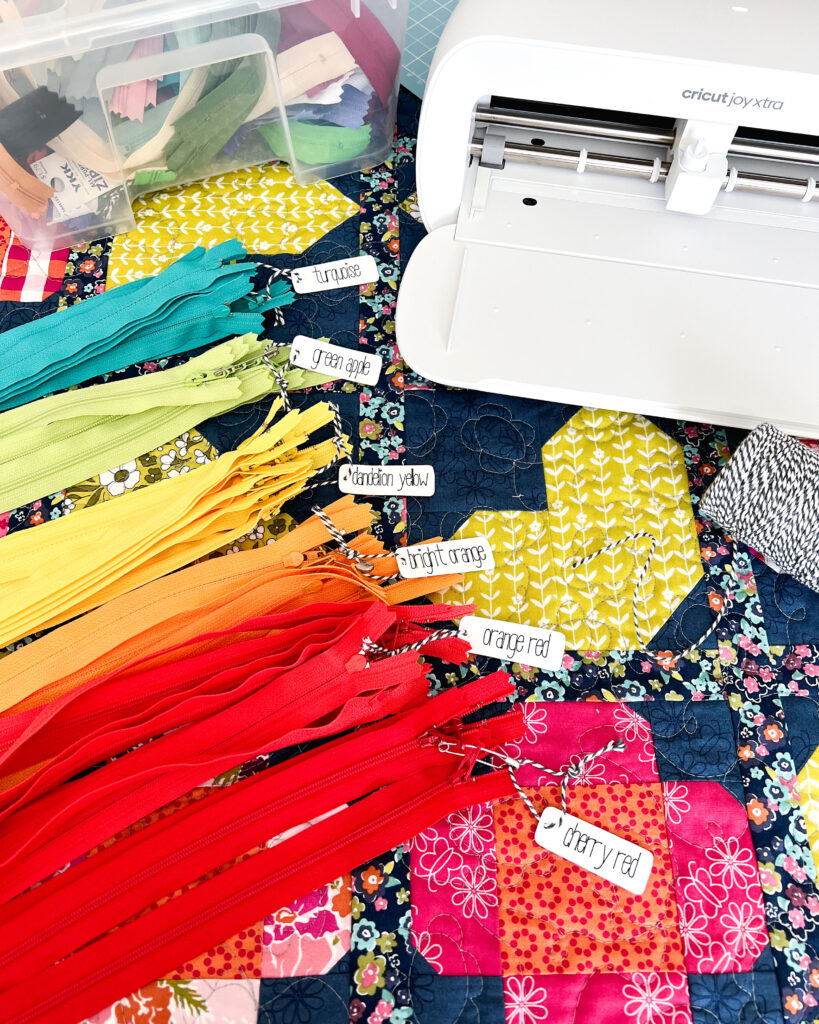
Buying supplies in bulk can help save money, but it also means there are more things to keep track of. I used the writing feature of the Cricut Joy Extra to draw the names of the colors of zippers I wanted to organize on simple white cardstock and created tags to keep them labeled. Large safety pins run through the holes of the zipper pulls keep groups of same colored zippers together and the tag identifies the specific color.
Vinyl Labels for Storage Boxes
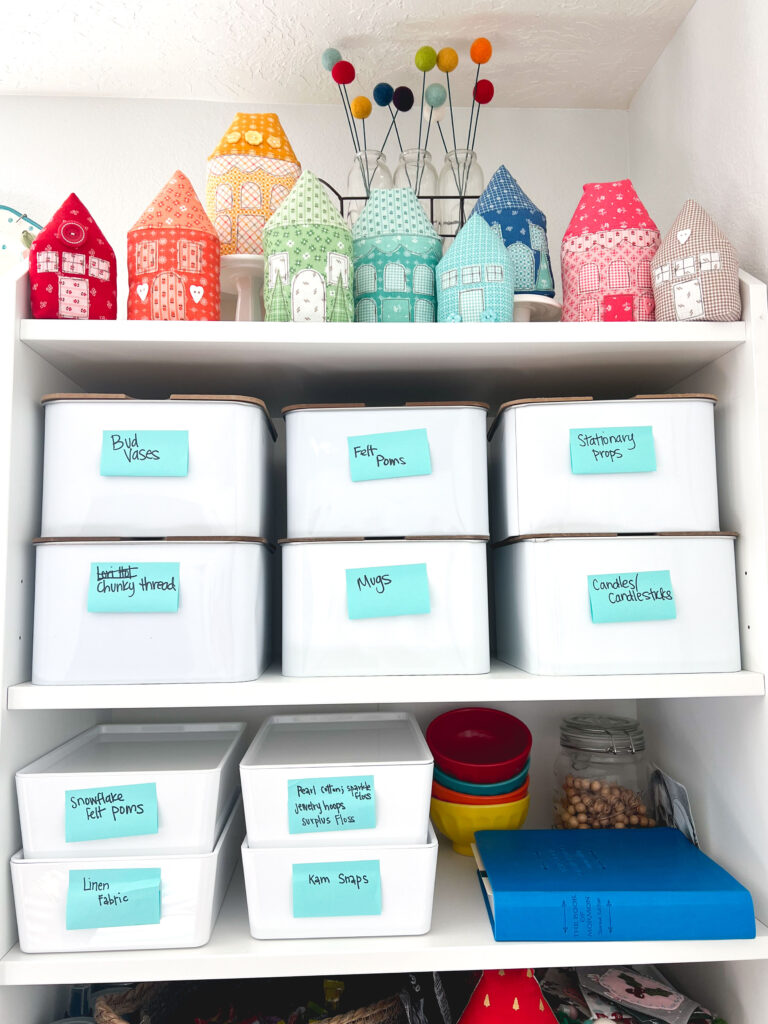
Solid white storage containers keep my craft room organized. I really love that it helps keep the visual space of the room calm, but it does make it hard to find things because you can’t see inside. I resorted to post it notes on the outside so I didn’t have to look through every bin each time I needed something. It did the job, but it’s not very pretty. This project was at the top of my list for my Cricut Joy Extra.

Use removable vinyl just in case you end up using the bin for something else in the future. Find a label you like and pick a font. Make sure to attach the text and the label together in Design Space before cutting so they stay lined up. Weed the extra vinyl away and use transfer tape to put the label on your bin.
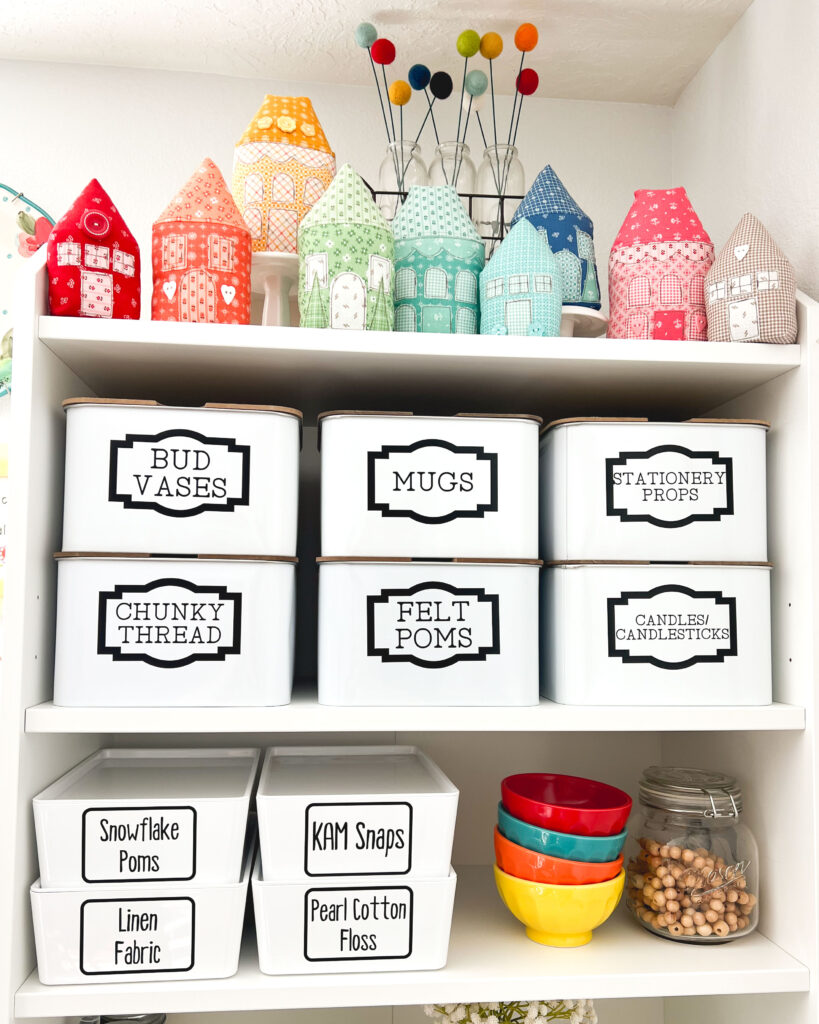
The result is magic! I just LOVE how this project turned out. The fabric houses pattern can be found in my Etsy shop here.
I hope that even if you don’t need to do these specific projects for your craft room, it will inspire you to figure out some quick and easy ways to organize your craft room. And if you use your Cricut Joy Extra? Even better. 🙂
For more craft room organization inspiration- check out my very popular Embroidery Floss Storage.

